
Build a Mini NES Emulator Using Raspberry Pi!
Nespi NES Case – Image from amazon.com
Have you ever wanted to revisit some of the classic retro video games from your childhood? Instead of the more technical stuff that we usually write about, in this post we’ll take a look at how to build a mini NES emulator system using a Raspberry Pi board and the Linux distro RetroPie. RetroPie includes all of the components necessary to run your old games on Linux. While the set up steps are actually quite straightforward, it does require some familiarity with Linux and Raspberry Pi. This is a great project for someone looking to learn how to build and use Linux, for work and play!
The RetroPie OS also includes emulators for all kinds of old game console systems, so this little power-house can play more than just NES games. This guide goes through the process of getting the system built up, but you will be on your own for sourcing the ROMS, which are the actual playable games, due to copyright issues.
Shopping List
This whole mini NES emulator project can be built for around $100 and purchased on Amazon. Here’s what you’ll need, and what they cost at the time of writing.
- Rasbperry Pi Board (We Went with the 3B+ Model, due to Being Slightly Cheaper and Having a Full Size HDMI Built in) – $50
- Micro USB Power Supply (Raspberry Pi Compatible) – $10
- Micro SD Card – 128Gb Amazon Basics Works Great and Includes a Full Size SD Card Adaptor – $12
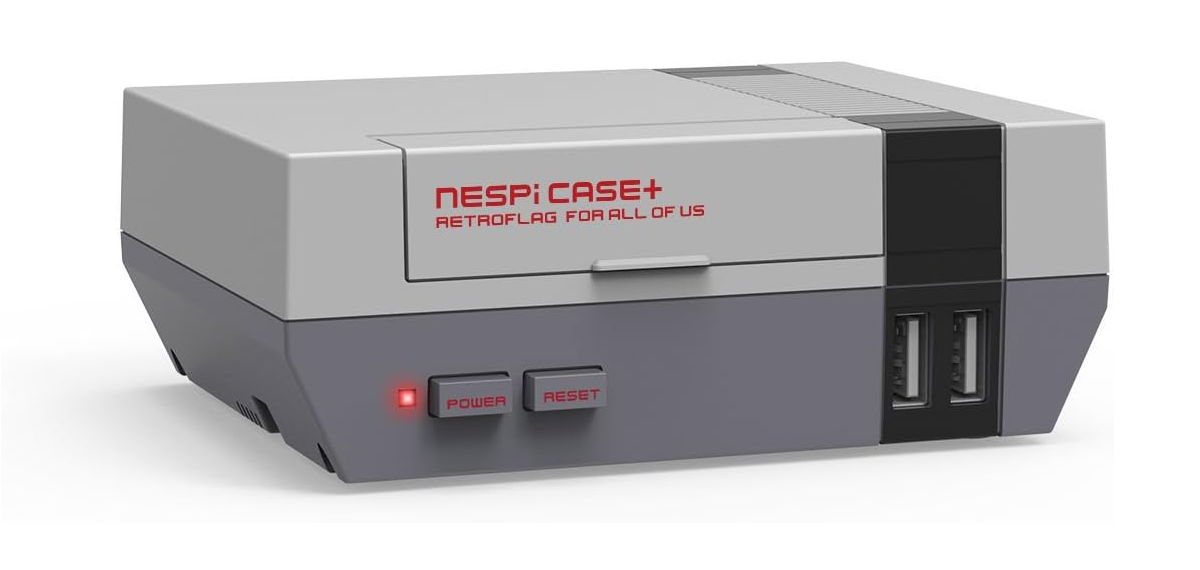
- Raspberry Pi Case Shaped like a Miniature NES (We got the NESPi Case Made by RetroFlag) – $21
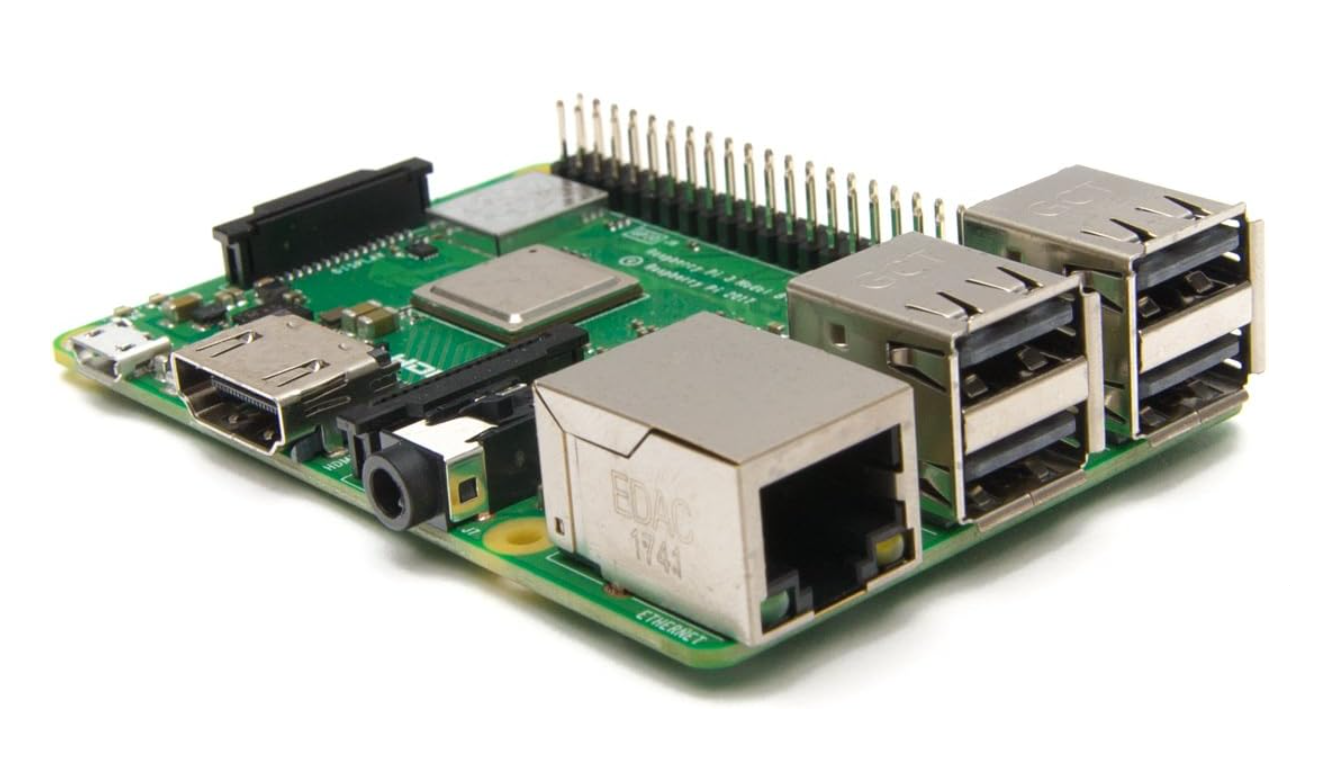
Rasberry Pi 3B+ Board – Image from amazon.com
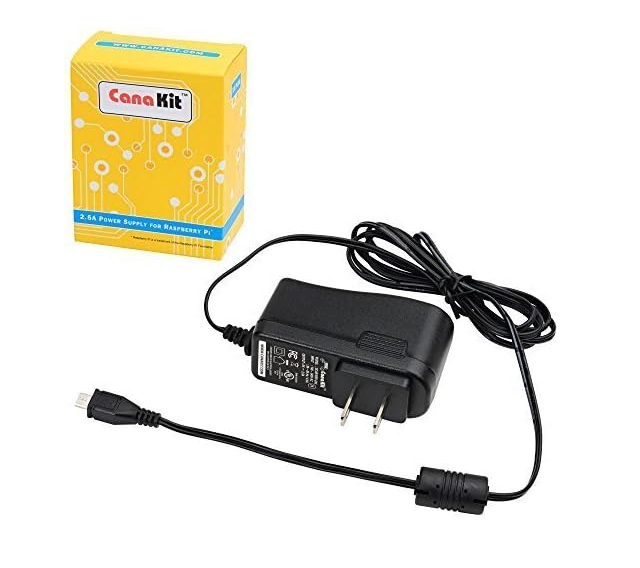
Raspberry Pi Power Cable – Image from amazon.com
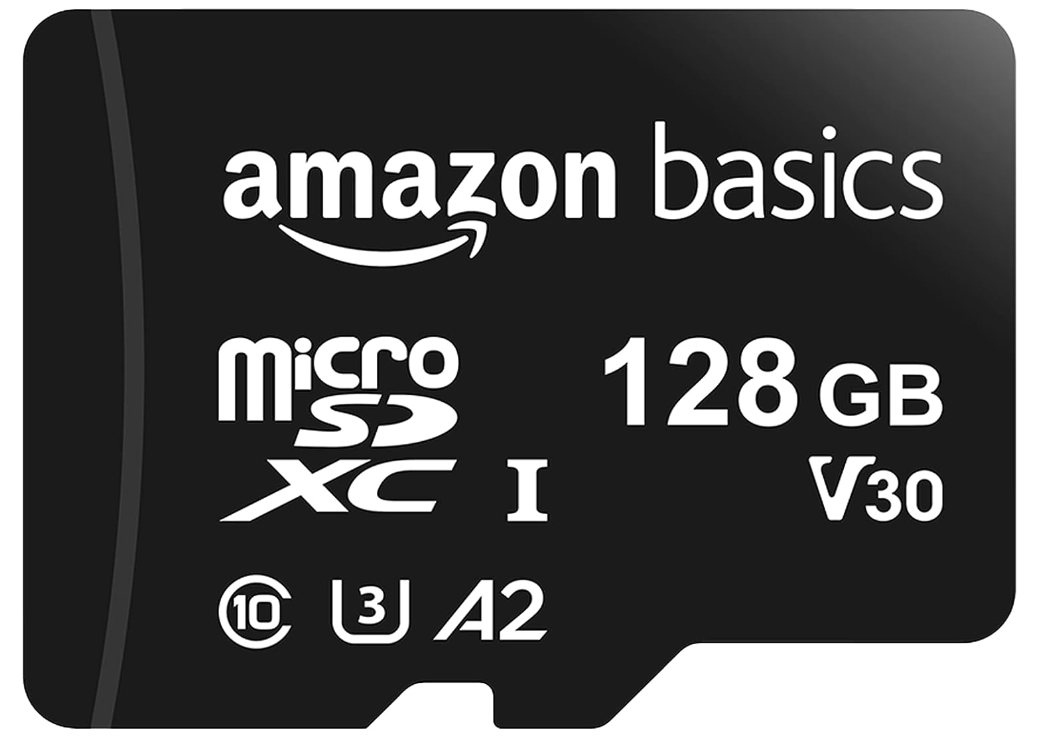
Amazon Basics SD Card – Image from amazon.com
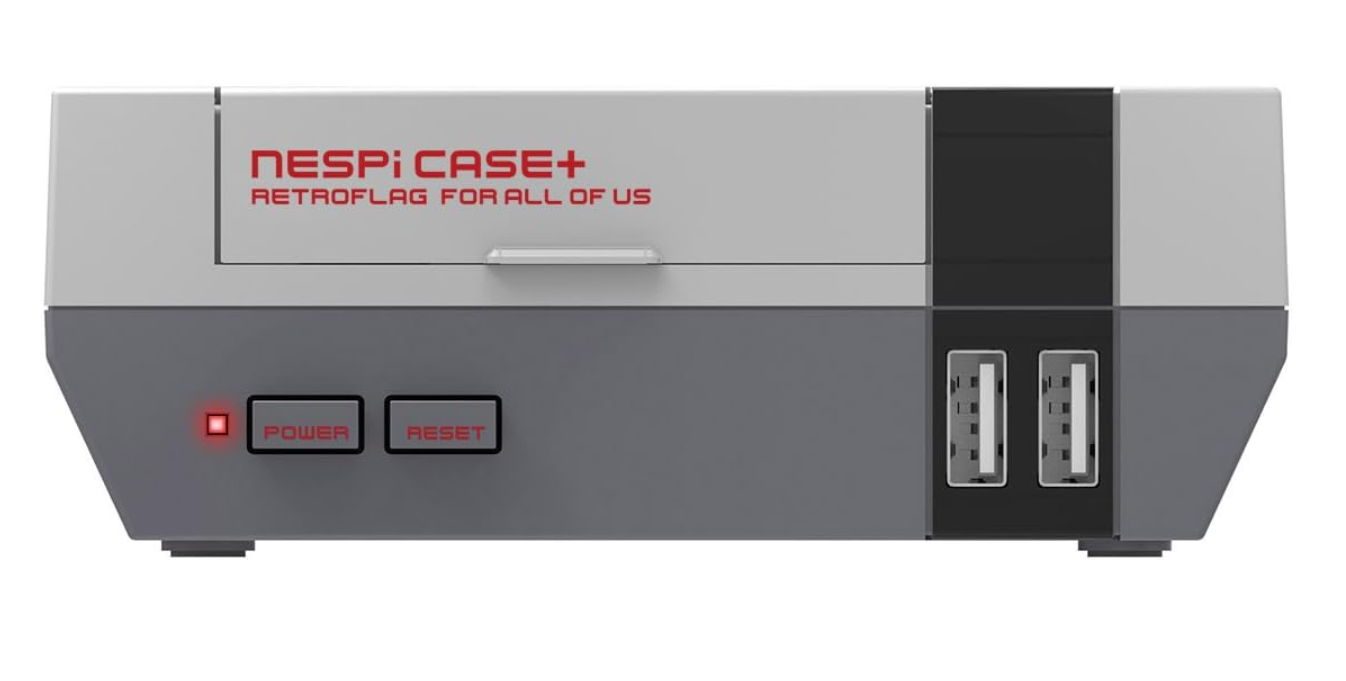
Miniature NES Case for Raspberry Pi – Image from amazon.com
In addition to this, you will also need an SD card reader (often times a laptop will have one built in), an HDMI cable, monitor, keyboard, and some sort of a controller to actually play games with. Modern USB or even Bluetooth controllers will work (Xbox controllers for example). There are also USB controllers made to look like the original retro game controllers.
Install the RetroPie System Image on the Micro SD Card
Once you have all your gear purchased, the first step is to install the RetroPie image onto the SD card.
There are a number of ways to do this, but we’ll focus on the easiest, using the Raspberry Pi Imager. Full documentation on RetroPie and installation instructions can be found here.
Often times laptops will have a full size SD card reader built in, and the Amazon Basics Micro SD card includes an adaptor to convert micro SD into standard SD. Insert the SD card into your laptop and it should be recognized as a drive just like a USB flash drive would.
Head on over to the Raspberry Pi website and download the Imager software.
https://www.raspberrypi.com/software/
Once you’ve download and installed the software, we can use it to image to the SD card.
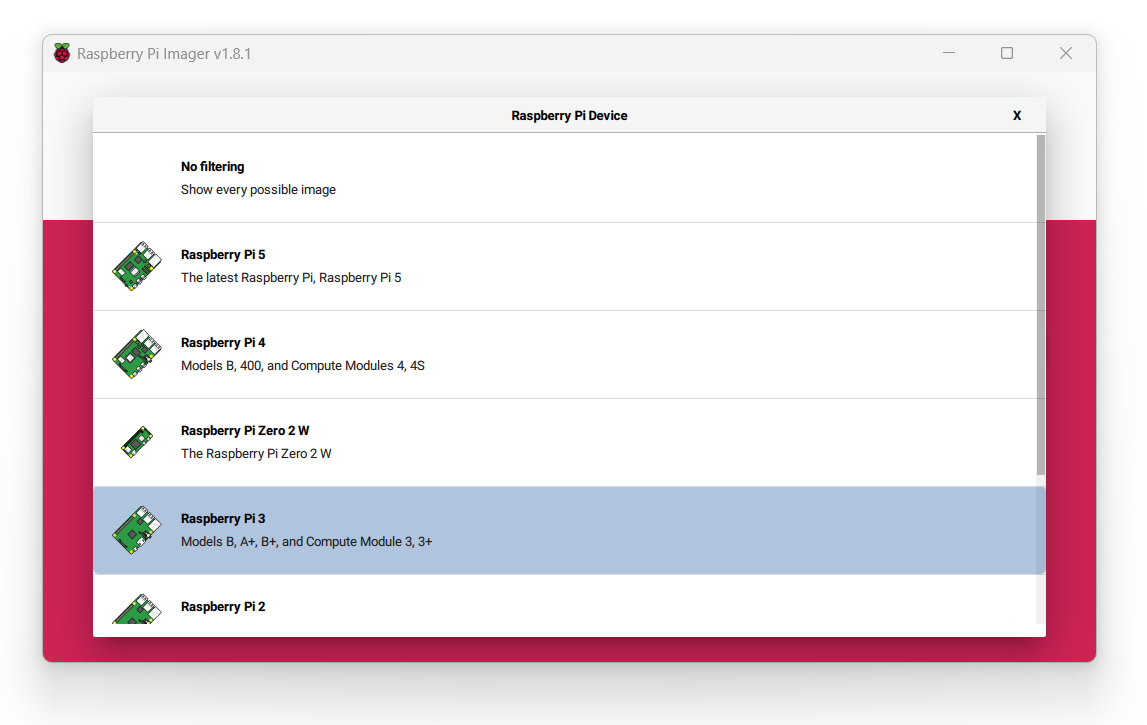
First, select the model of Raspberry Pi. In our case we are installing on the 3B+ model.
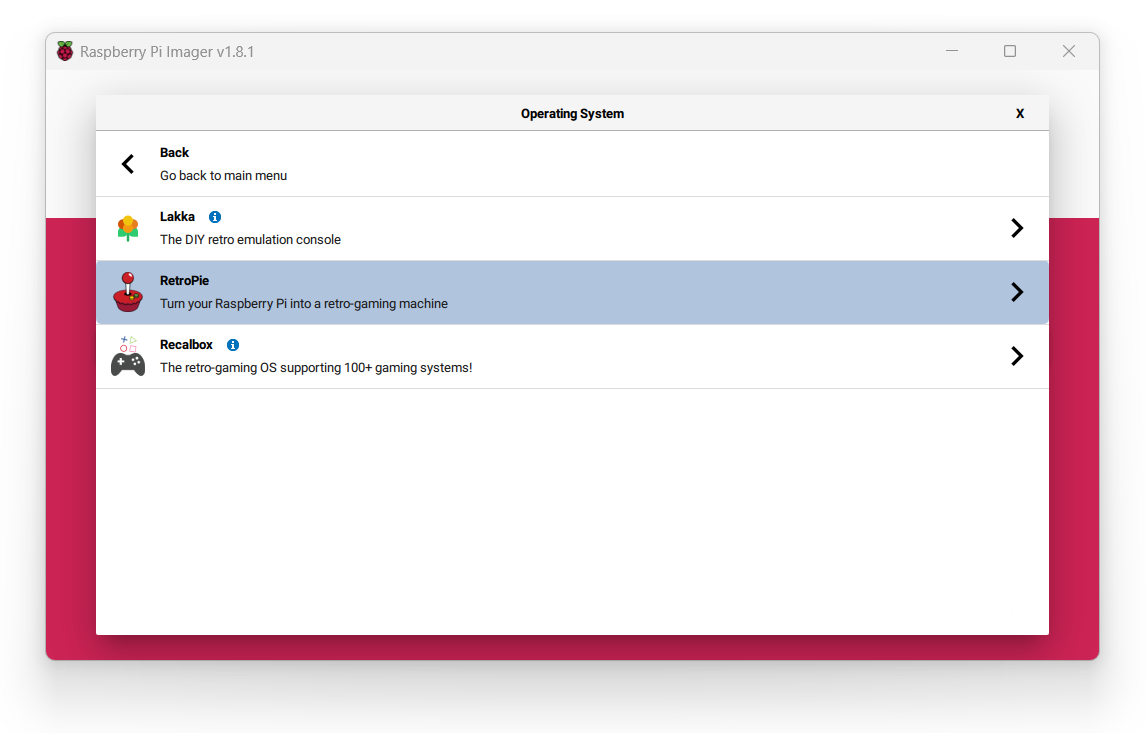
Next, Select the Operating System to Install. You will want to choose the category “Emulation and game OS” then “RetroPie” and then the version for our Pi model, in our case “RetroPie 4.8 (RPI 2/3/ZERO 2 W).”
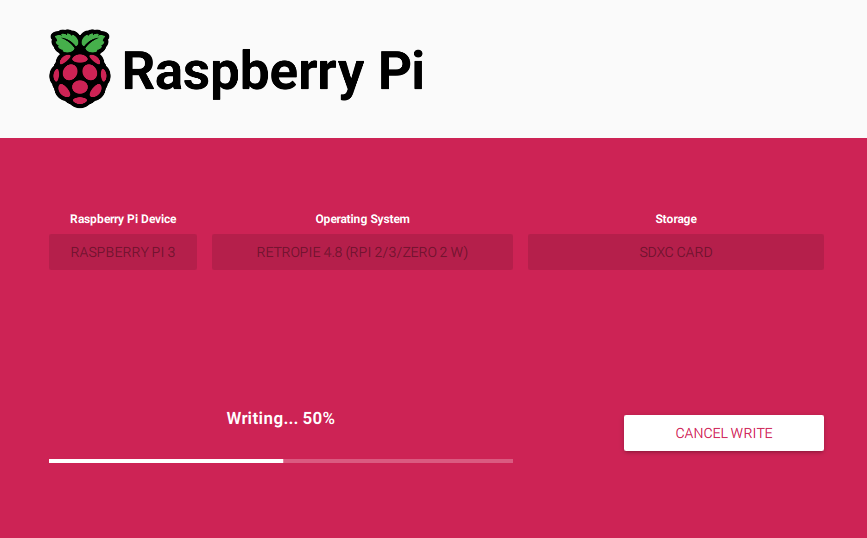
Lastly, select the SD card as the storage media for Installation.
Once those have all been selected, click “Next” and RetroPie will be installed.
Assemble the Case
Now that the SD Card is imaged with the RetroPie OS, the next step is assembly.
Connect the peripherals of the NESPi case (Ethernet adaptor, USB, and GPIO pins) to the Raspberry Pi board per the instructions that come with the case. Install the Raspberry Pi board in the case, using the 2 screws to lock the board into place. Use the remaining six screws to secure the top of the case to the bottom.
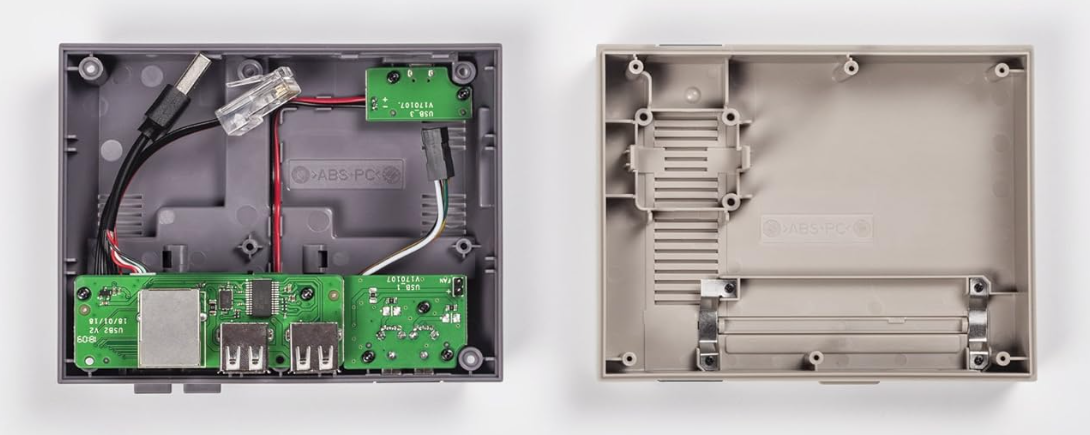
Inside the Retroflag NESPi Case – Image from amazon.com
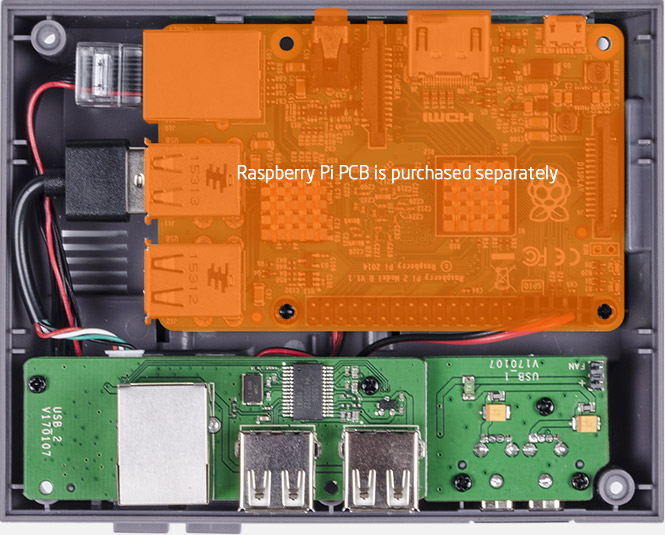
NESPi Case with Rasbperry Pi Board – Image from retroflag.com
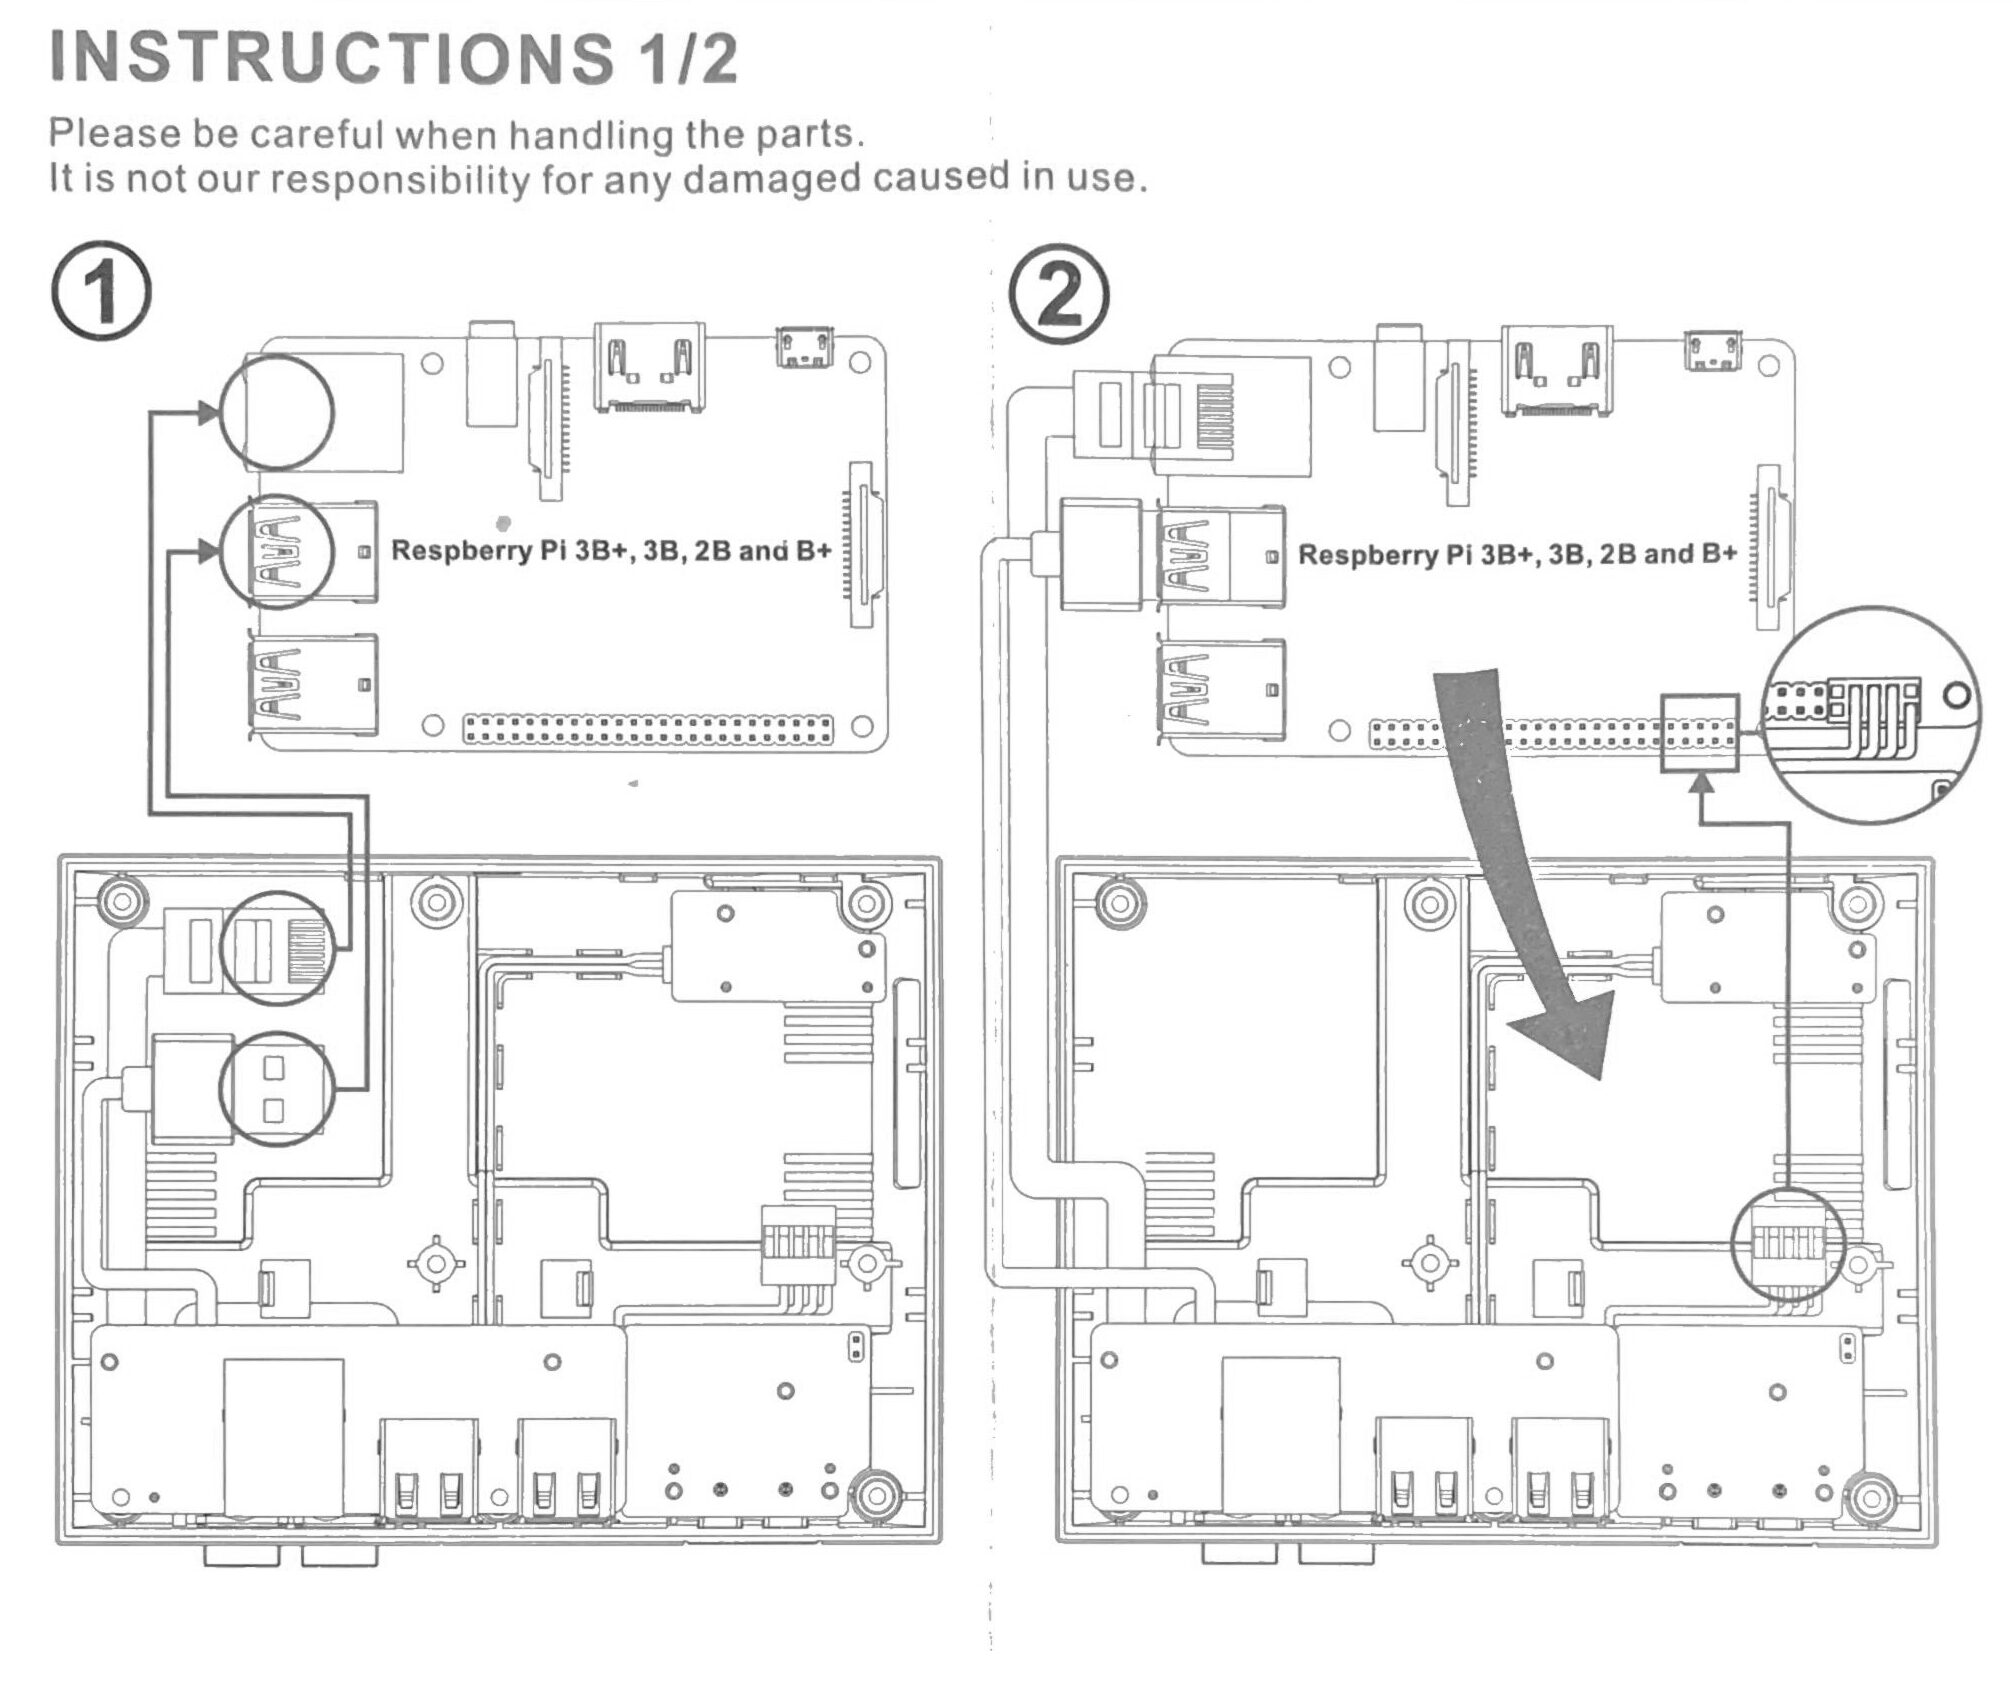
Instructions 1/2
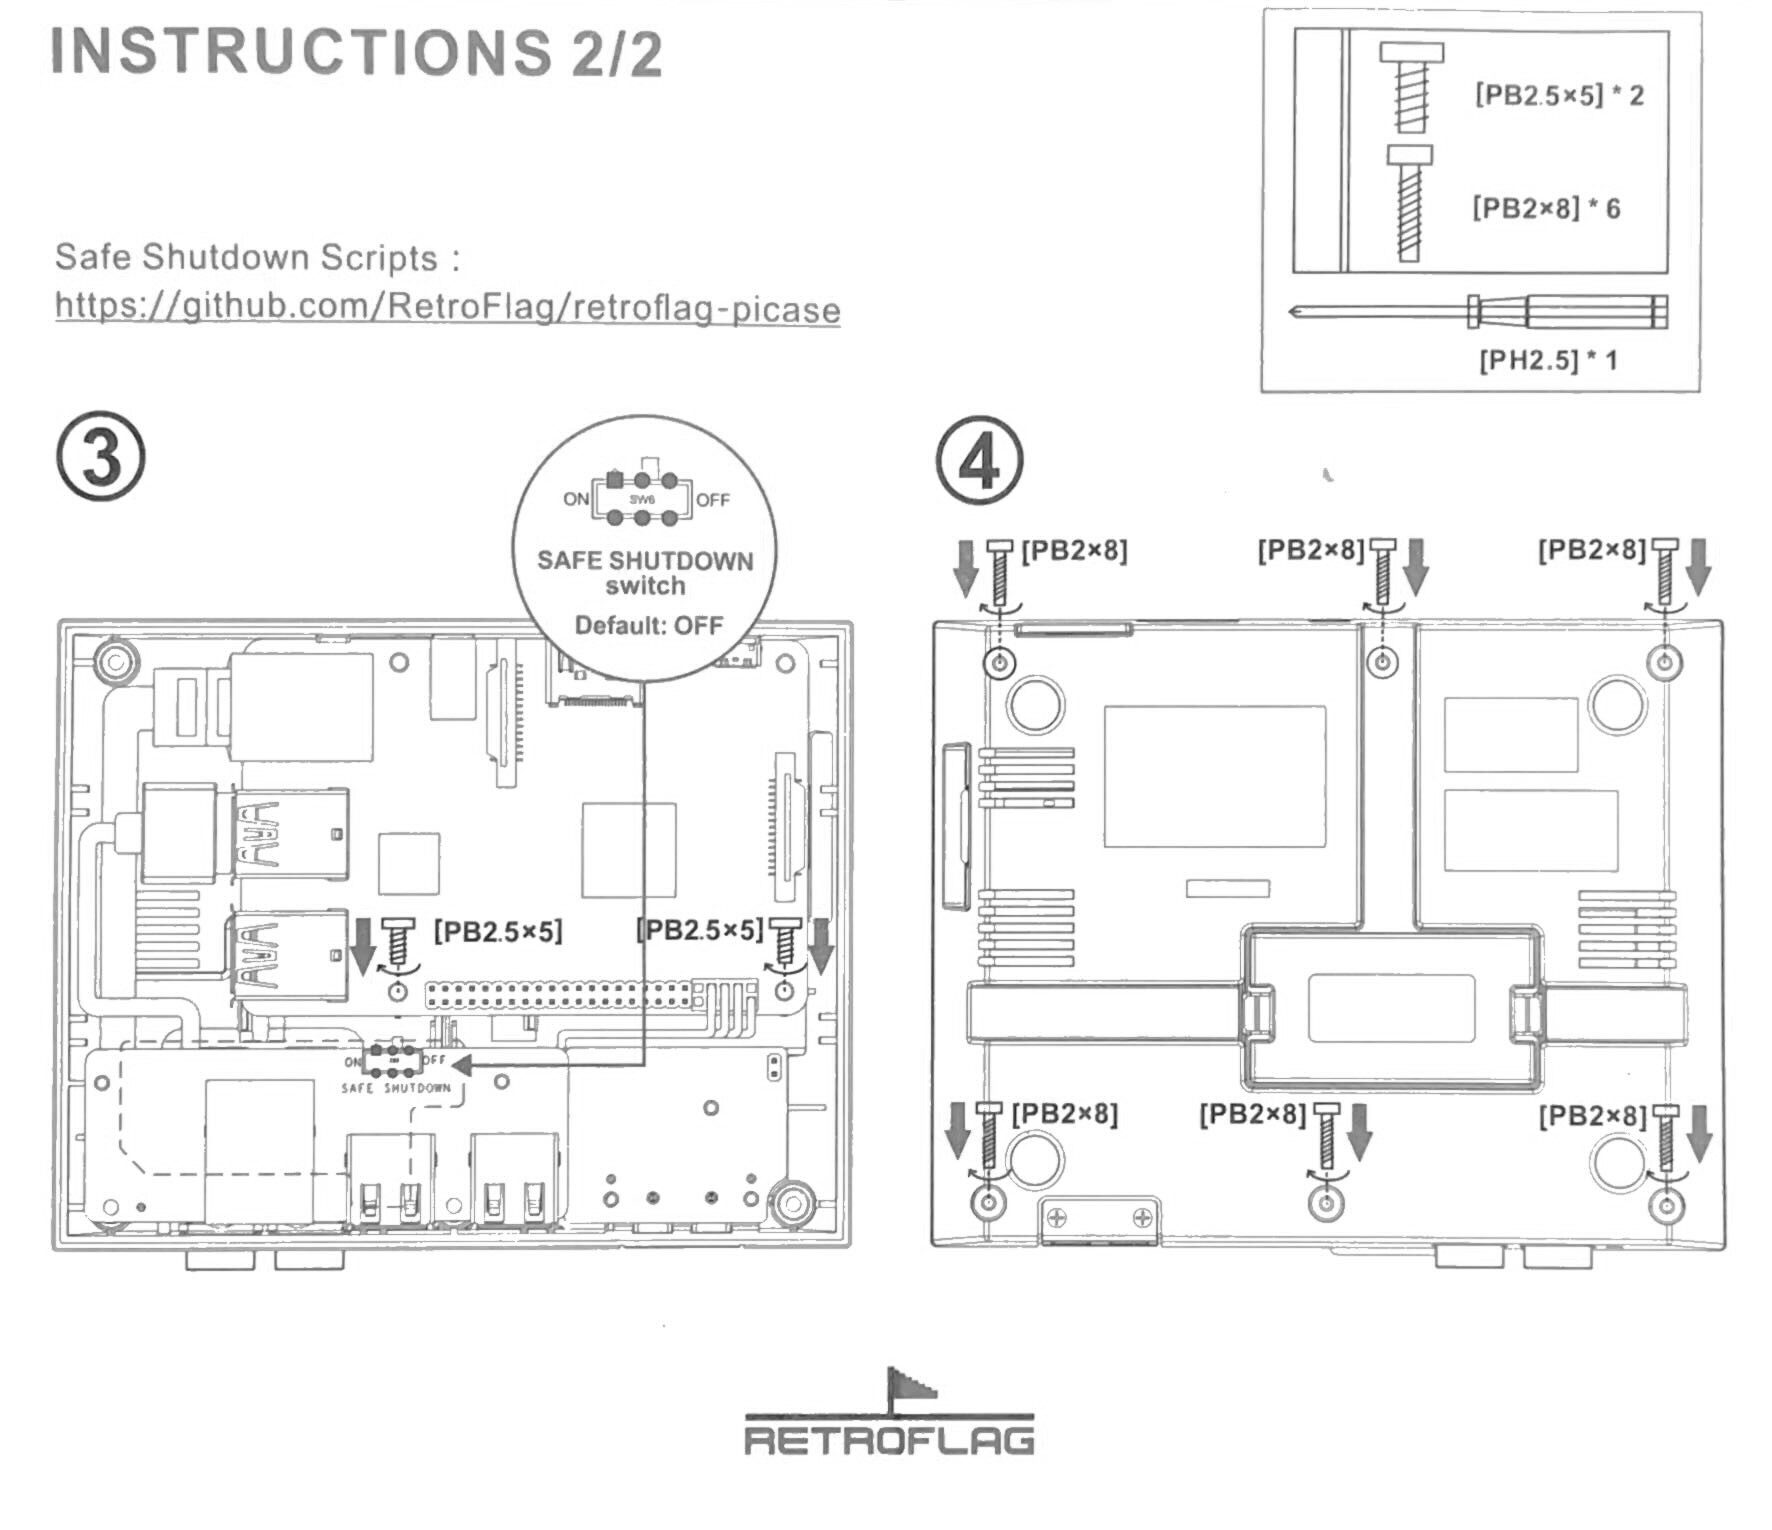
Instructions 2/2
Once the board is installed and the case assembled, insert the SD card imaged in the last step.
You are now ready fire up your mini NES emulator for the first time!
Connect power, a monitor, an Ethernet cable, and a keyboard for the rest of the set up.
RetroPie Set Up, Tweaks, and Finishing Touches
Once the board is installed in the case and the SD card is inserted, you are ready to power on the system for the first time. Before getting to the games, though, there are a few additional steps that we recommend to get started.
- Connect to a Network and get Your IP Address
- Enable SSH for Remote Management
- Disable Underscan/Overscan
- Set the Hostname
- Run Updates
- Configure Your Controllers
- Add ROMS
Connect to a Network and get Your IP Address
We recommend attaching all of the peripherals for first set up (mouse, monitor, network). Once everything is connected you can go ahead and turn on the system using the power button on the front of the case.
You will see Linux and all of the RetroPie services start up and eventually boot into the gaming software “Emulation Station.” On first launch, press F4 to exit Emulation Station and get back to the core RetroPie OS.
The first think you will want to do is check your network settings using the command “ifconfig.”
You should see your network interfaces listed and with Ethernet connected, you should see that you are getting an IP address, 10.10.10.135 in our case.
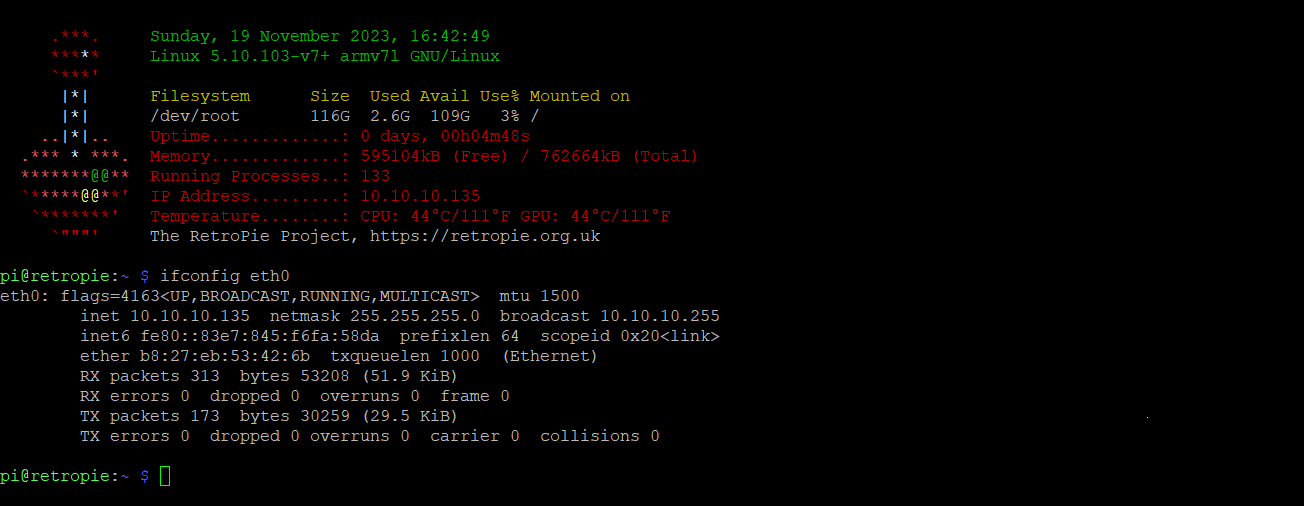
Eth0 IP Address
Enable SSH for Remote Management
The next thing we’ll want to do is to allow SSH connections so the Pi can be managed remotely. To allow SSH connections, first run the command “sudo raspi-config” to launch the Raspberry Pi Software Configuration Tool.
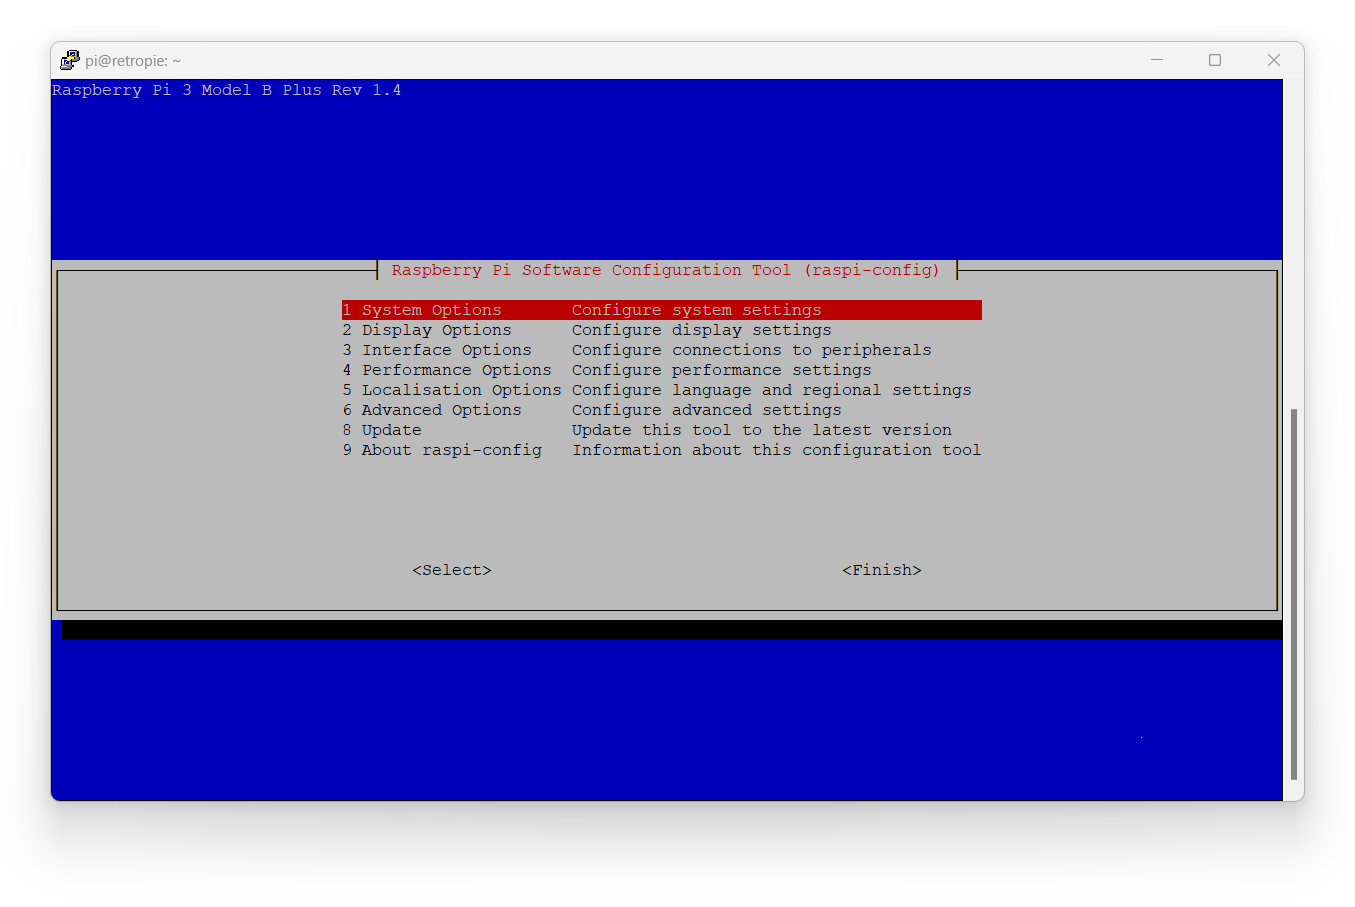
The Raspberry Pi Software Configuration Tool Interface
To enable SSH, navigate to “3 Interface Options” and then “P2 SSH” from the Raspberry Pi Configuration Menu. Press Enter to enable.
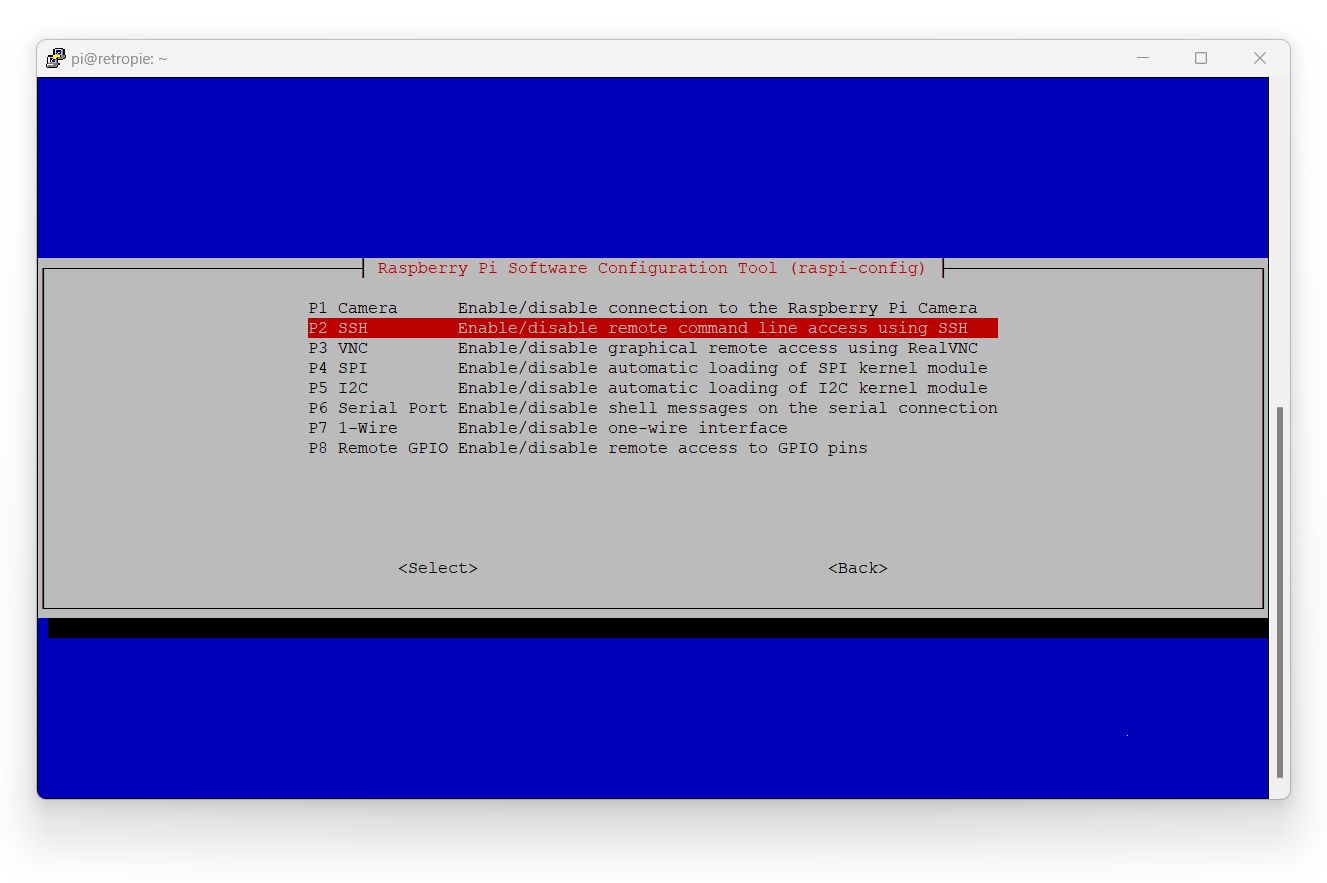
Enable SSH in the Raspberry Pi Software Configuration Tool
Once enabled, you should be able to SSH to the Raspberry Pi using the IP address determined in the previous step and an SSH client, such as Putty. For more information, see How to SSH Using Putty. With SSH enabled, you no longer need the the keyboard connected to the Pi as commands can be run remotely. The default SSH user is “pi” and the default password is “raspberry.”
Disable Overscan/Underscan
While still in the Raspberry Pi Software Configuration Tool, we’ll also want to disable Overscan to remove the black bars around the screen (if applicable). Disable Overscan by navigating to “2 Display Options” and then “D2 Underscan.” Select “No” to disable. This will get rid of the black box around the screen and make the display full screen.
Set the Hostname
Back on the Main Menu of of the Raspberry Pi Software Configuration Tool, you can easily set the hostname to something more descriptive than the default “retropie.” Simply navigate to “1 System Options” then “S4 Hostname” and follow the prompts.
Run System Updates
Exit the Raspberry Pi Configuration Tool and get back to the regular command line.
Type the following to access the Retro-Pie Set Up Script menu.
Once you are in the Retro-Pie Set Up Script menu, select “Update” to update the software. This can take a few minutes or more.
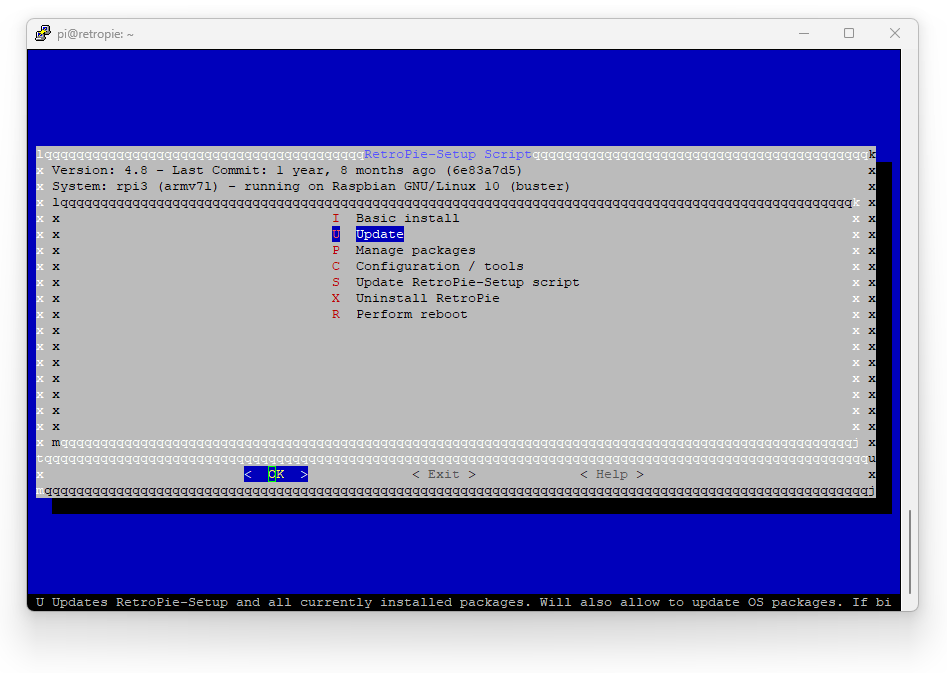
Update the RetroPie System
Configure Your Controller Inputs
To configure your controller, simply start up the system with your controller connected to a USB port. Once Emulation Station starts, it should detect your controller and prompt you for initial configuration.
More information can be found in the RetroPie documentation.
Add Some ROMS
The last step is to add some game files (ROMS) to the “roms” folder on the Raspberry Pi. The easiest way to do this is to use a PC to connect, via IP address, to the SMB network shares that RetroPie automatically creates during installation, and copy your files over. With our IP address of 10.10.10.135, the share would be accessed in a File Explorer window by typing the following.
For more information on accessing network shares see How to Access and Map a Network Share in Windows 10.
Note that the ROMS should go in the respective emulator folders, NES ROMS, for example, should go in the NES folder with the following path.
Have Fun!
There are still plenty of tweaks and optimizations that can be done on your new mini NES emulator, but this guide will get you started with a working NES emulator system, ready to play all of your retro game classics!
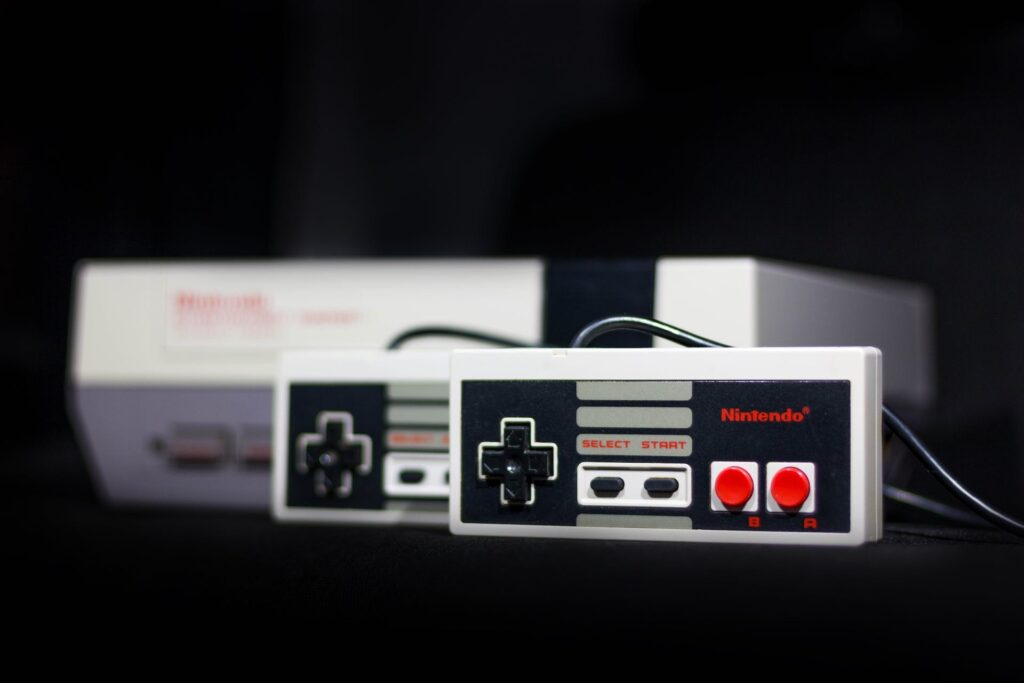
The Original NES System, Released in 1985