
Use the Free Software Putty to Securely Manage Your Devices Over SSH
Secure remote management of infrastructure is important. One of the most widely used protocols for this is Secure Shell or SSH. A popular SSH client is “Putty,” an open source (free), lightweight program that supports a number of protocols including SSH, telnet, serial and more.
For example, you may do an initial out of box configuration for your Cisco switches over a serial connection Using the Cisco Console Port. But, once your infrastructure is in place you’ll want a secure way to remotely connect to and manage your devices.
Putty’s terminal emulation, Secure Shell or SSH, feature will allow you to make an encrypted connection to your devices. SSH connects over IP using the default TCP/IP port 22.
Download and Install Putty
The first step in making your SSH connection is to download and install a terminal emulation software. We will focus on Putty here but there are many alternatives. Download and installation of Putty is straightforward. Follow the official Putty website to the downloads page to download the installer.
Assuming you are using a Windows PC, use the first download link on the list, which is the 64 bit Windows Installer. It will look like this.

Download the 64 bit Putty Windows Installer
Once the installer has downloaded, install it as you would any other application.
Make the Connection
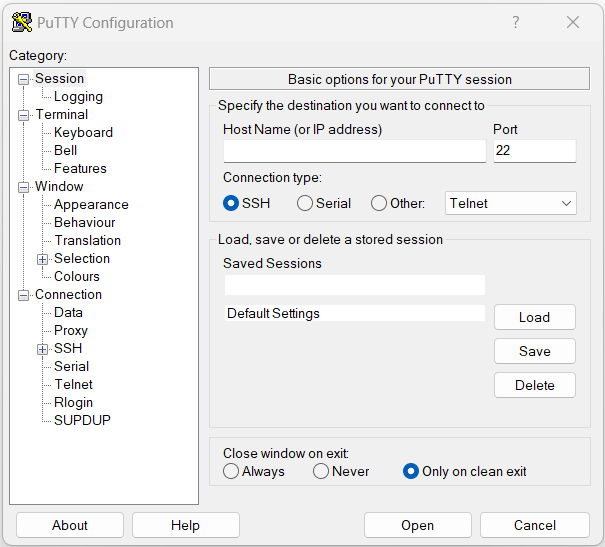
Now that you have installed Putty, go ahead and open the software. By default it will be set to use SSH as the connection type, as shown below with the selected radio dial for SSH selected under “Connection type.”
Now all you’ll need to make your SSH connection is the hostname or IP address of the remote device you are connecting to. In our case we will be connecting to a Raspberry Pi board with the IP address 10.10.10.135. Note that the device your are connecting to will need to be reachable by IP, with port 22 open, and SSH enabled.
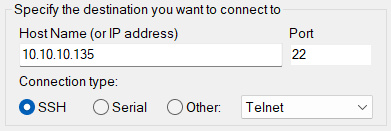
Enter in the hostname or IP address for the SSH connection
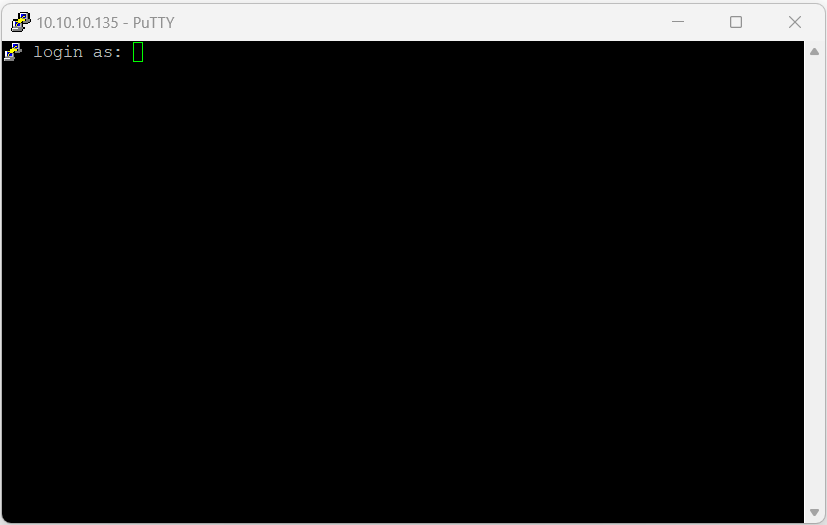
Click “Open” to connect. If it is your first time connecting to the device you will likely get greeted with a Putty Security Alert saying that the host key is not cached. You can go ahead and click “Accept” to allow the connection. After this you will get prompted for your log in user and password.
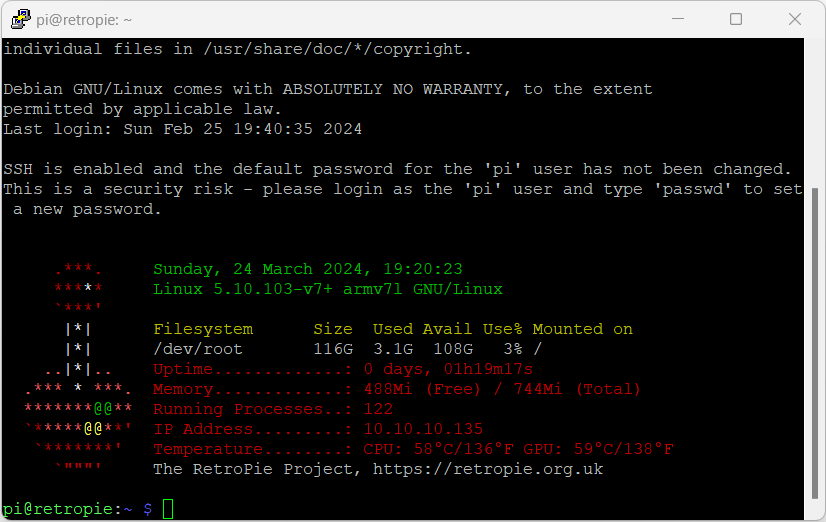
A successful SSH connection to a Raspberry Pi board running RetroPie
Once you have successfully authenticated, your remote session will begin. You have successfully remotely connected to your device using Putty to create an encrypted SSH connection.