
How to Access and Map a Network Share in Windows 10
Once you’ve got the Share Set Up on Your Server, Accessing it is Straightforward
Typically, a simple file storage location accessed over the network or “share” will be created on a server of some sort. The host that is acting as the file server is usually a Windows server, NAS, or other type of file server. Once the set up of the share is complete, accessing it in a simple network environment is a pretty straightforward process. This guide assumes the share is already set up on the server.
Step 1 – Accessing the Share
This step is not totally necessary, but it’s a good proof of concept, ensuring that your share is accessible over the network. You will need, the IP address of your file server, the network share path or location, and the user credentials to access it.
Open a file explorer window (Win+E) and click into the address bar at the top. This is where you will enter in the path of your network share using the UNC syntax (either by hostname or IP address):
Alternatively, you may be able to leave out the share path and enter the IP address or hostname of your server directly and browse all of its shares, if your server configuration supports it.

Type the share path into the File Explorer address bar
Enter the path or server IP into the address bar. Press enter and you will be prompted for credentials. Enter in your user credentials with the proper permissions to access the share. After authenticating, you will be granted access browse the share. Note that there is a different authentication syntax when Accessing Network Shares Using Azure Active Directory Joined Devices.
Step 2 – Mapping a Network Drive
No that you’ve successfully accessed your network share, we can go ahead and mount it for quick access in the future.
Note: The share will typically only be available while you are on your Local Area Network (LAN), unless there are some remote access services extending the LAN your server is on. Because of this, mounting the share is better suited for desktops or other more permanent workstations. One way to access a share remotely is by Setting Up an L2TP VPN on the Ubiquiti Dream Machine Pro.
Open a File Explorer again (Win+E), and right click “This PC” on the left hand side navigation pane and select “Map network drive… .” Alternatively, click “Computer” on the top bar of the File Explorer window, and select “Map network drive” from there. Specify a drive letter and the Folder or path, for example “S:” and the IP address syntax are used here.

Select a drive letter and enter the path of the share to map a network drive
Click Finish to Map the Network Drive. You may need to enter in your credentials if they are not already saved.
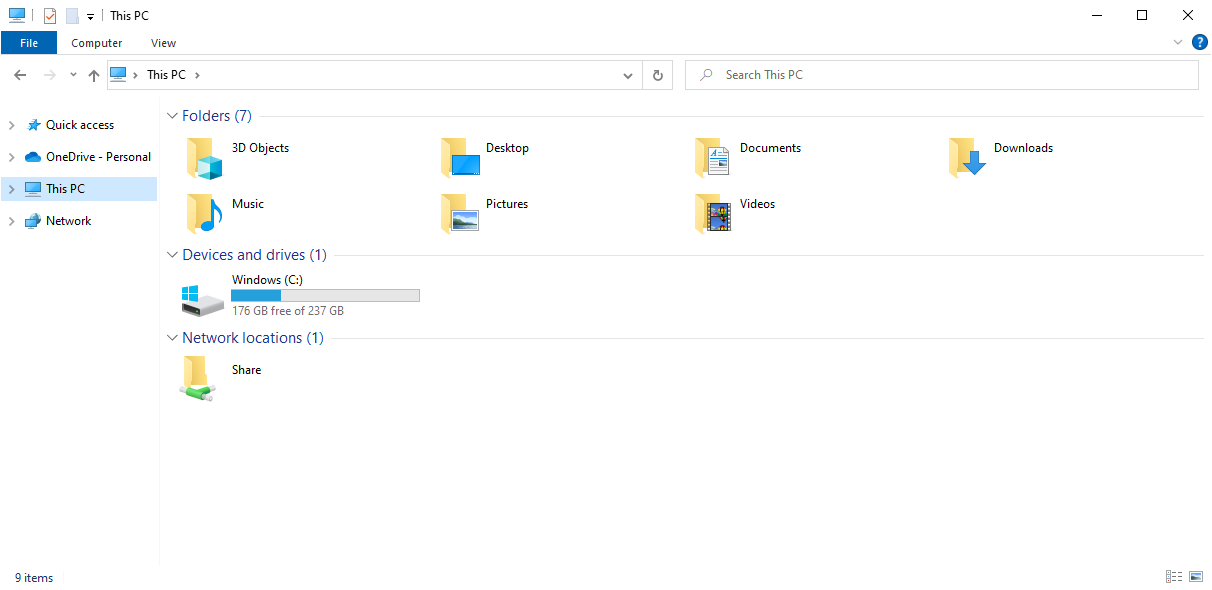
It will now be listed under Network locations in the File Explorer window. It can be renamed by right clicking and selecting “Rename.” You can also disconnect the mapped drive by right clicking and selecting “Disconnect.”

Mapped network drive in Windows File Explorer
Adding a Network Location
Alternatively, Windows also gives you the option of adding a network location. We recommend mapping the network drive as described in Step 2.
In order to add a network location, open a file explorer window again (Win+E). Click “This PC” on the left hand side navigation pane. At the bottom of the File Explorer window, right click the whitespace under Network locations and select “Add network location.”
Click through the Welcome to the Add Network Location Wizard information page. On the next page, Where do you want to create this network location,” select “Choose a custom network location,” and click Next.
This will bring you to the Specify the location of your website page. This is where you will enter the path of your network share that you’d like to mount. For example, we might enter in the following syntax for a our fileserver with a 10.10.10.199 IP address.
You may need to enter in credentials if you have not accessed the share before, or if they were not saved in Step 1.

Enter in the path to add a network location
Finally, the last step is to name your Share. Click Next, then Finish to finish adding your network location. It will now show up under network locations in the File Explorer.
Mapped network location in Windows File Explorer
The official Microsoft documentation for mapping network drives can be found here.