
Installing Docker and Portainer on AWS Lightsail to Manage your Containerized Environments
AWS Lightsail allows for easy deployment of virtual servers in the cloud. In this guide we will spin up a CentOS virtual machine and install Docker and Portainer. This will give us an easy to use environment to manage and deploy our containerized environments.
Create New Lightsail Instance
The first step in creating our Docker + Portainer server is to create a AWS Lightsail instance to host the services. Here we will be uinsg the Linux distro CentOS.
Navigate to your Lightsail dashboard and select Create Instance. On the next page configure your instance options.
Under Select a platform, choose Linux/Unix and under Select a blueprint, toggle over to Operating System (OS) only and select CentOS.
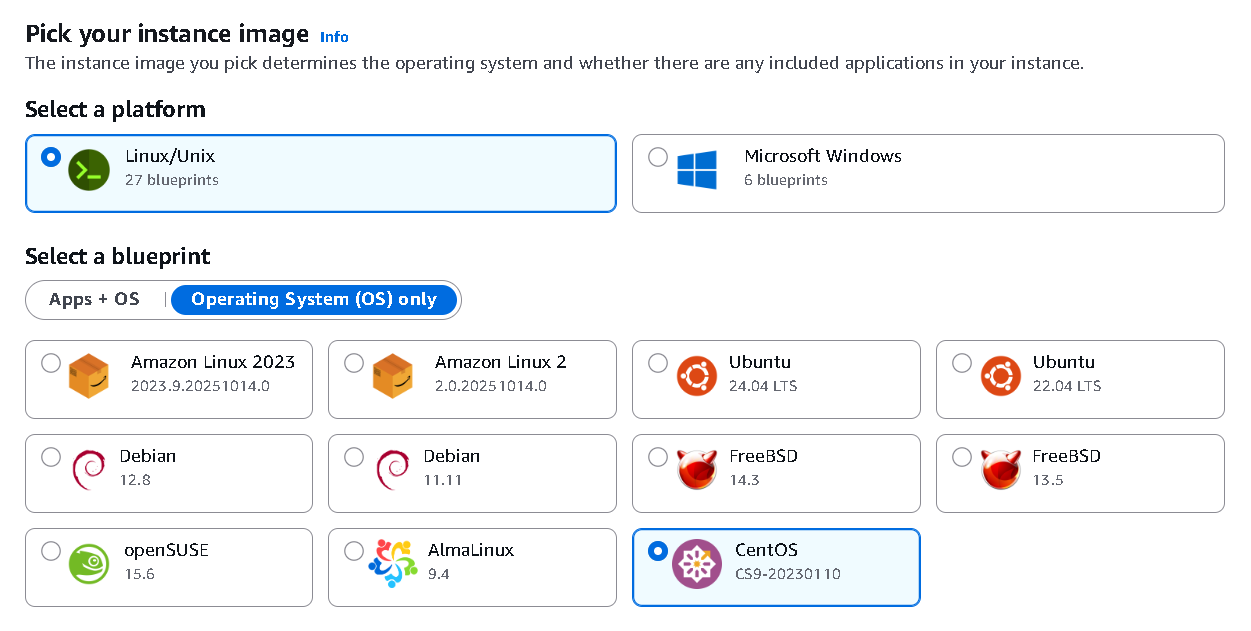
Select Instance Image and Blueprint
Scroll down and select an SSH key for this instance. If you create a new one, you will need to download the .pem private key.
Next select an instance size. We will choose the 2GB, 2vCPU size to meet the Docker recommended minimum requirements.
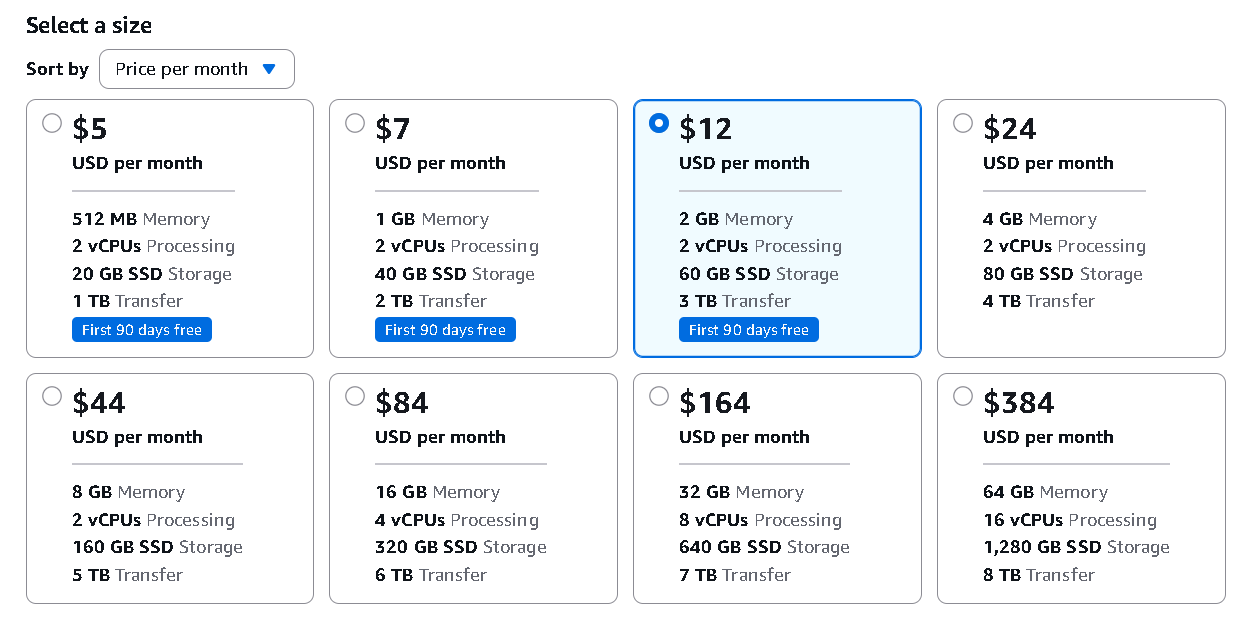
Select Instance Size
Finally name your instance and select Create Instance.
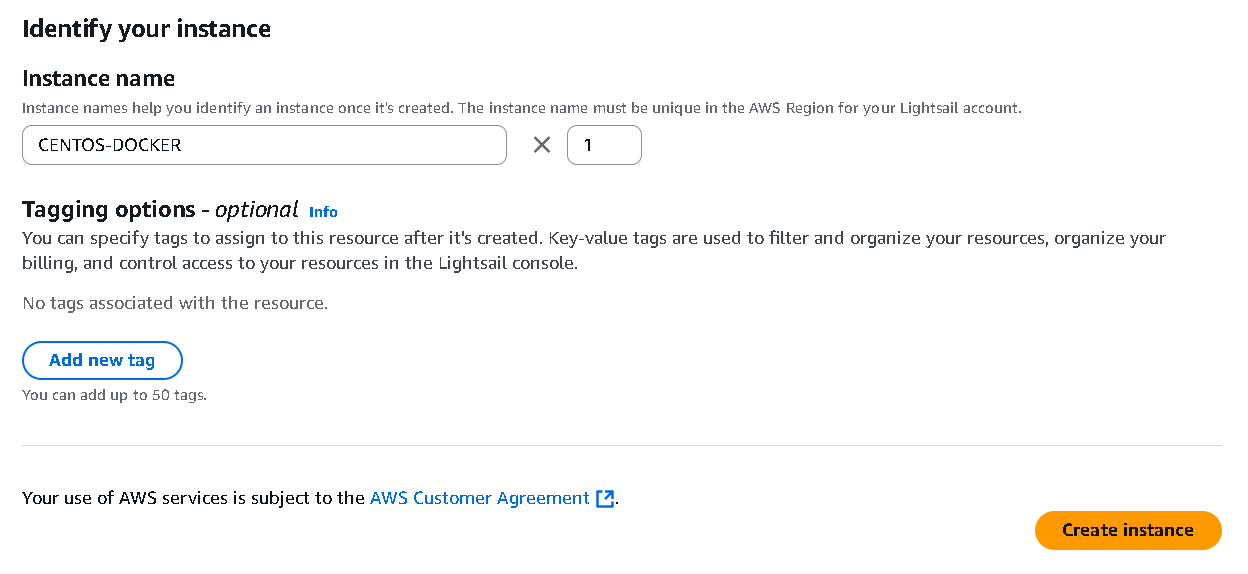 You’ve now created your AWS Lightsail CentOS instance, which we will use to install Docker and Portainer.
Configure Instance Network Settings
There are a few initial settings we will want to configure on our new Lightsail instance to before installing Docker and Portainer.
First, go to the instance from the dashboard and navigate to the Network tab. On the network settings page, let’s attach a new static public IP address. Scroll down to IPv4 and Attach static IP. Create and name a new static IP and attach it. This will prevent the IP address from changing.
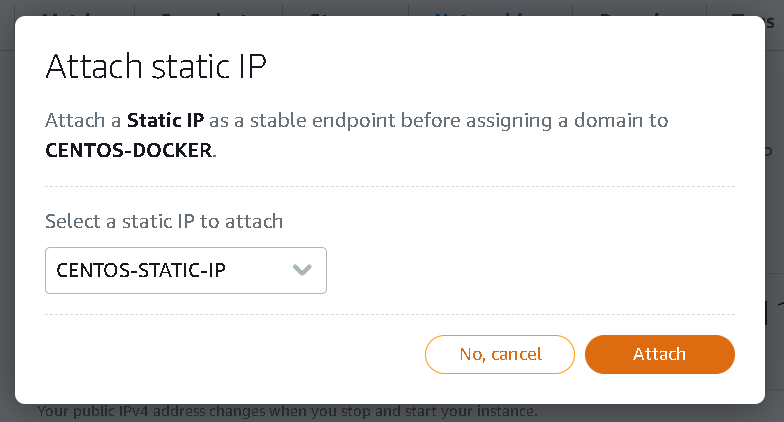
Attach a static IP to your instance
Next, toggle of IPv6 networking.
Lastly, under IPv4 Firewall, create a new rule that allows inbound TCP traffic on port 9443. This port will be used to access the Portainer GUI.
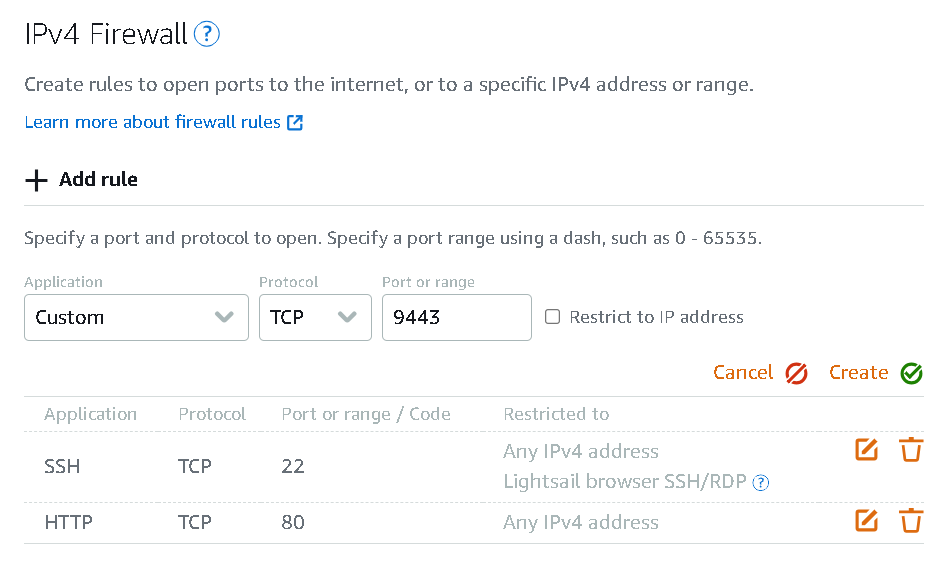
Open port 9443
We are now ready to install Docker.
Install Docker
To install Docker you will need to connect to the instance terminal. This can be accessed via the Lightsail browser-based SSH client under the Connect tab of the instance or Connect with any SSH Client. If using an SSH client you will connect using the key downloaded while creating the instance in the first step.
Once connected, follow the official Docker Documentation to install Docker.
https://docs.docker.com/engine/install/centos/
We will follow the recommended procedure of installation using the Docker Engine repositories.
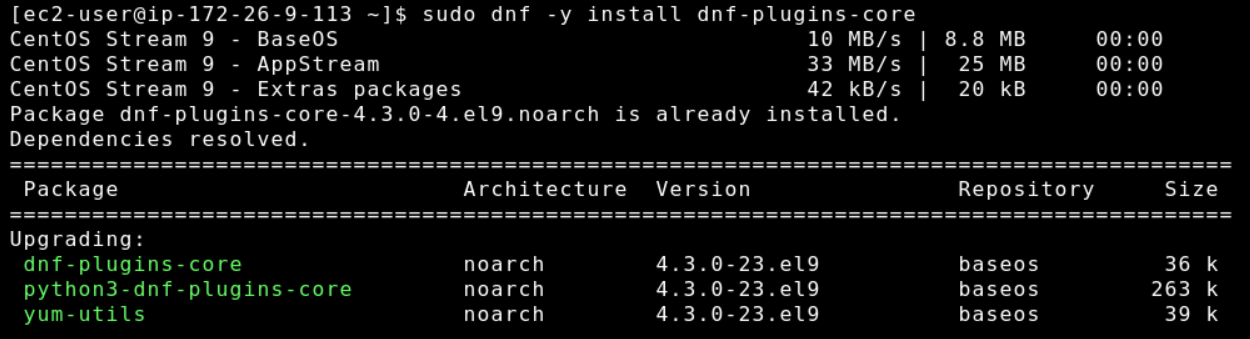
Run the following commands to set up the repository.
You may find that some of this is already installed.
Once those have been run, execute the following command to install the latest version of Docker.
You will be prompted to confirm a couple of times during the process.
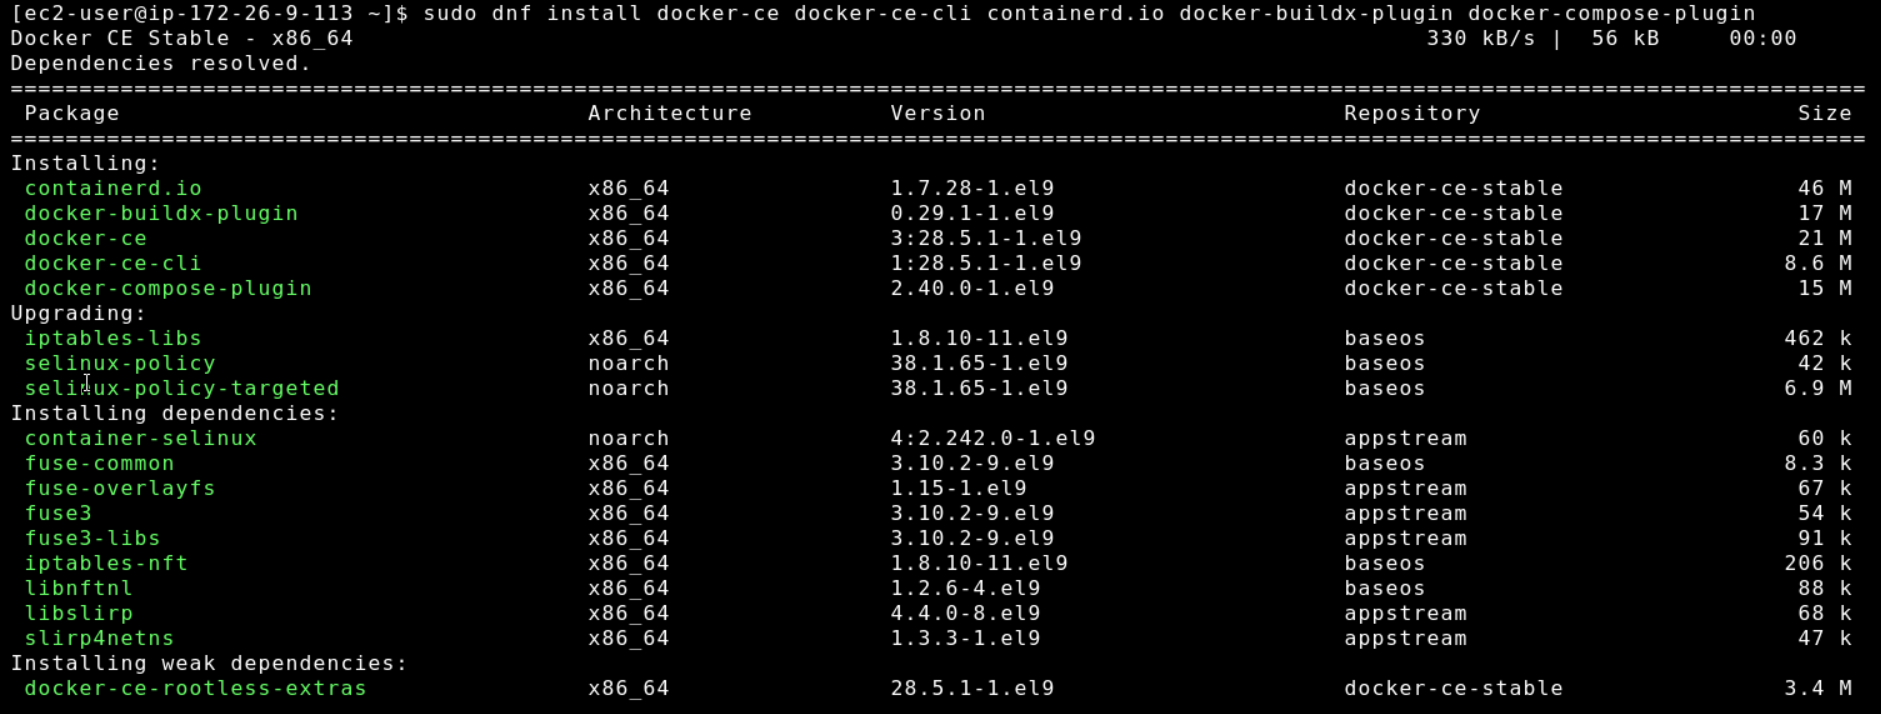
Install Docker Engine
The next step is to start the Docker Engine.
Finally, you can confirm Docker is running with the following command.
Install Portainer
This last step is optional, but installing the Docker container, Portainer, gives a nice GUI to manage our new containerized environment.
Portainer will also be installed from the SSH terminal using the official Portainer documentation. We will install the Community Edition using the docker run method.
https://docs.portainer.io/start/install-ce/server/docker/linux
First, create the Portainer volume.
Next, download and install Portainer using the docker run method.
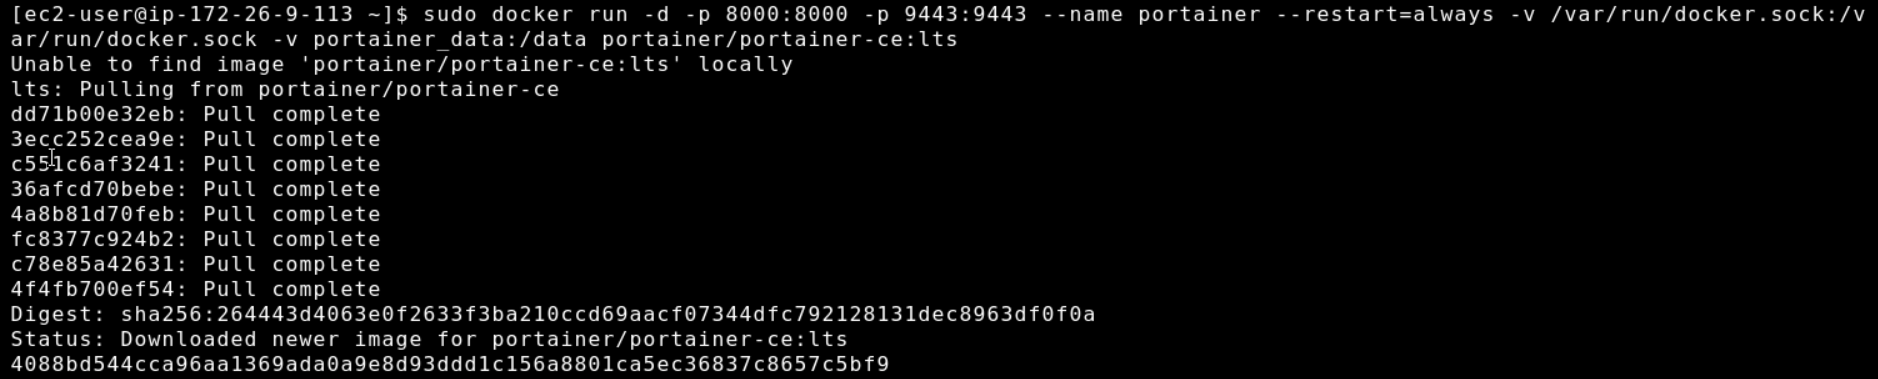
Install Portainer
Once completed, we can verify it was successful.

Now that Portainer is installed, we can access it via the static IP address assigned in step #2 – Configure Instance Network Settings. Enter it into a web browser using the format https://aa.bb.cc.dd:9443, where aa.bb.cc.dd is the IP address of your server.
The first time you access the Portainer GUI, you will be prompted to create a password.
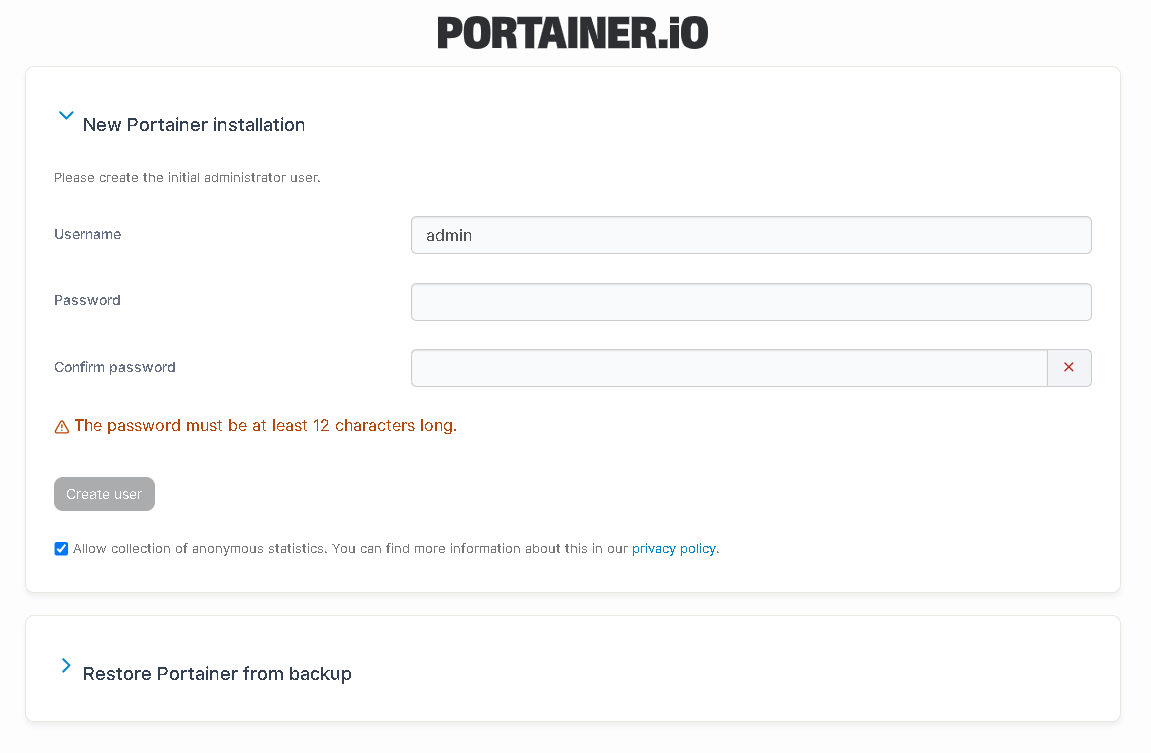
The first login of the Portainer front-end GUI
After creating the user and logging in, you can now manage your Docker containers via the Portainer GUI.
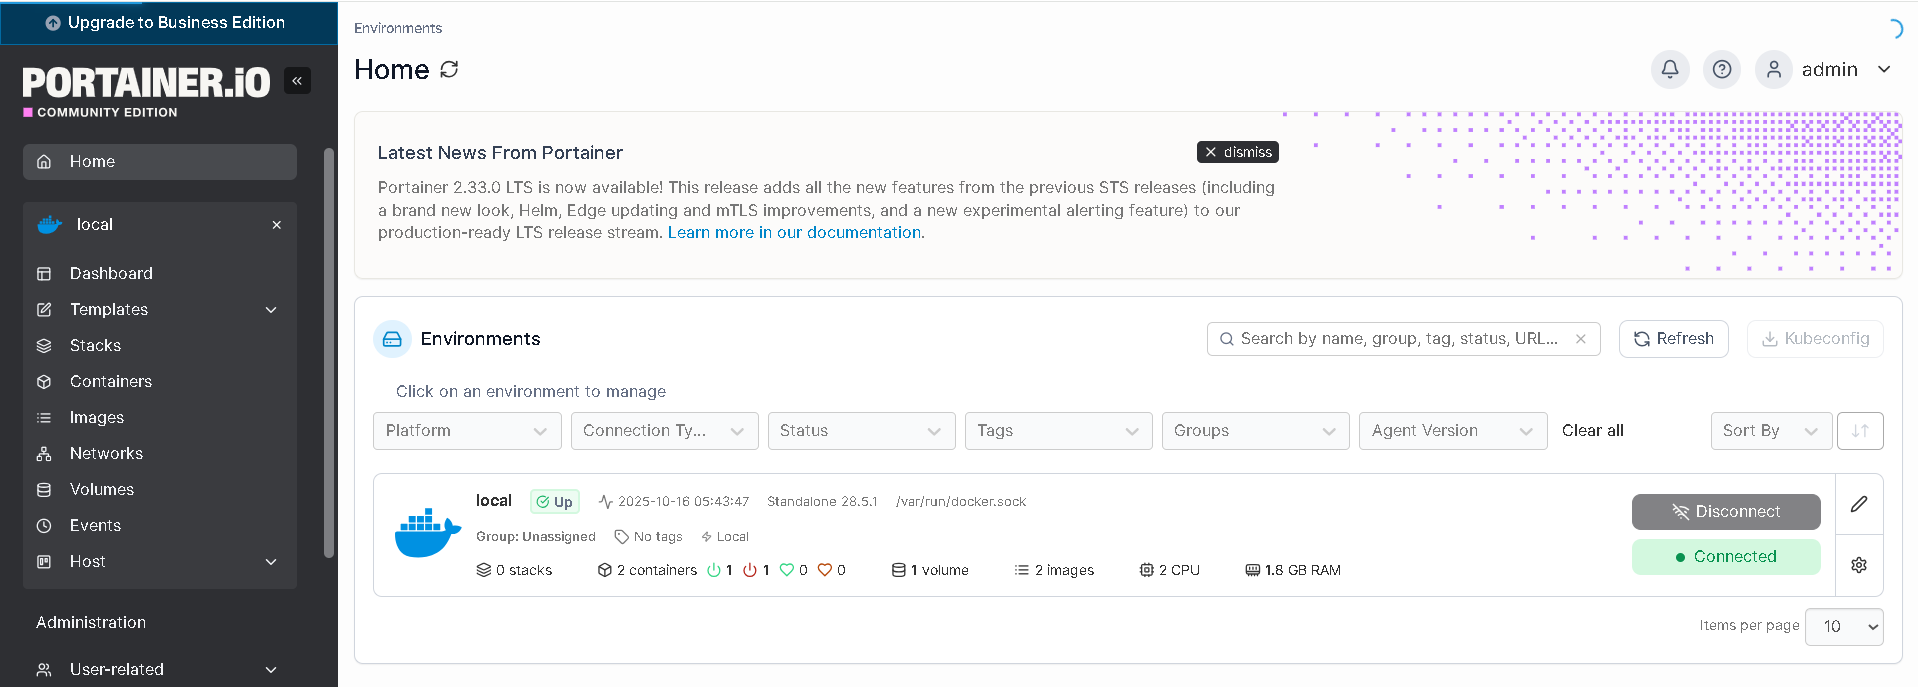
The Portainer Dashboard