
Google Domains offers a Free DDNS service
Google Domains works great as a domain registrar and DNS service, but did you know that it also offers a free DDNS service if you use their name servers? Dynamic Domain Name System, or DDNS, for purposes of this article, refers to a client’s ability to automatically update DNS records as a means to provide persistent addressing in the case where it may change. This is especially useful for Small Office Home Office (SOHO) network locations which frequently do not have a static public IP. This guide will show you how to set up Google’s free DDNS service.
Step 1 – Register Your Domain with Google Domains
OK, so technically this part is not necessarily free. You do need to have your fully qualified domain (FQDN) name registered at Google Domains. This is because the DDNS service is only available to domains using Google Domains native name servers for DNS management. Most domains typically only cost $12/yr, though, and you can also transfer your current domain to Google Domains for free. The link for Google Domains is https://domains.google.com.
Step 2 – Enable the Default Nameservers
Click on your domain in Google Domains and navigate to the DNS tab on the left hand side. There are two options for how your DNS is managed: Custom name servers, or Default name servers. This can be selected at the top of the DNS management page. If you are using a third party for your DNS management (Custom name servers), you will need to transfer your DNS records over to Google Domains DNS settings in the Default name servers section before switching to them. If you’ve just purchased a new domain, you can just leave the Default name servers enabled.
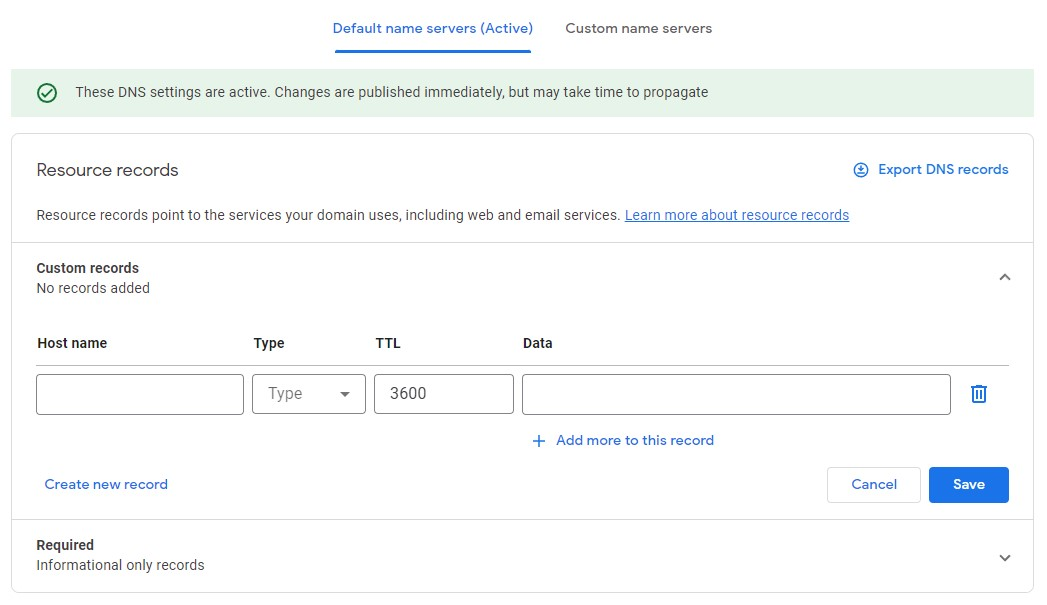
In order to use Google’s free DDNS service, you have to use the Default name servers in Google Domains
Step 3 – Enable Dynamic DNS
Once your have the default name servers enabled, you can enable the DDNS service. Scroll to the bottom of the DNS management page and click “Show advanced settings” to show the DDNS settings. Next, click “Manage dynamic DNS,” and you will given an input for a new A record under Host name. It is entered in the form of a subdomain for your FQDN. This A record is the entry that will get updated with, and resolve to, the dynamic IP address that your network receives.
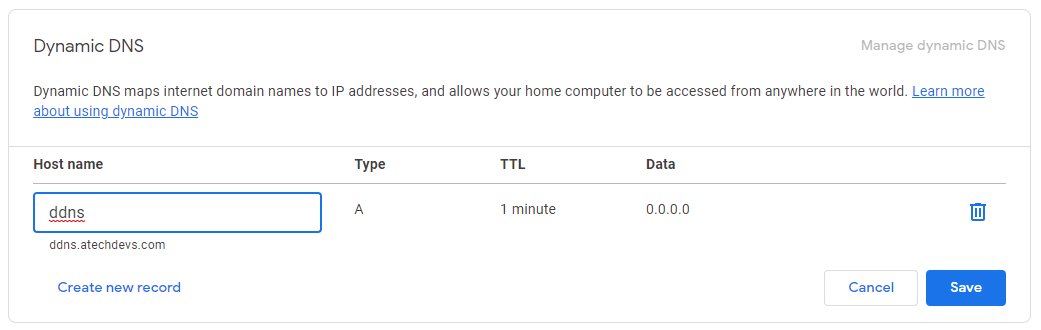
Click “Manage dynamic DNS” to enter in the DDNS record
Step 4 – Create Your DDNS Records
Enter in the subdomain name that you’d like to use and click “Save.” For example, we have set up the domain “atechdevs.com” with the host name subdomain “ddns.” Once we save it, we will have a new DNS A record for ddns.atechdevs.com, which we will set up to resolve to our network’s dynamic IP address. Initially the DNS record will point to 0.0.0.0.
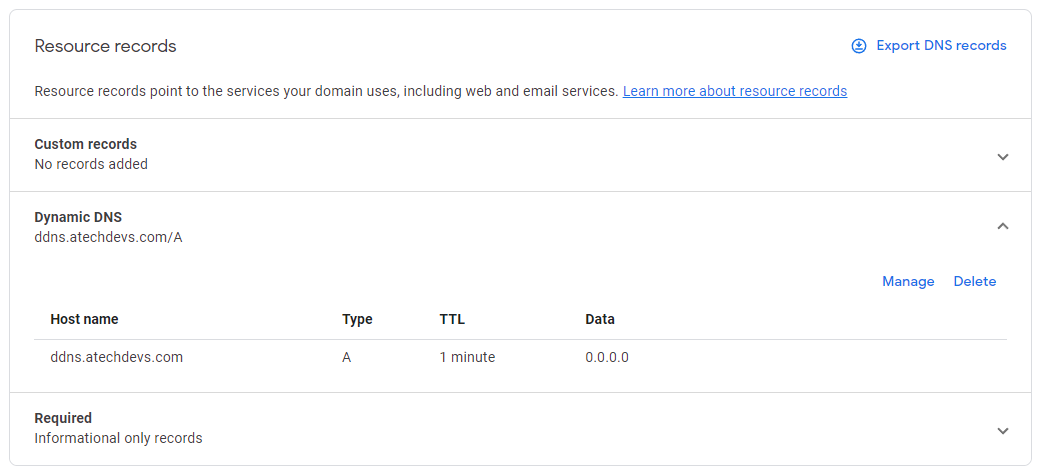
Google Domains displaying the new DDNS record
Note: You can also just leave this field blank and use the FQDN alone for the DDNS service. The subdomain option is more scalable, though, as it will allow you to set up more than one DDNS service. It’s also no more complicated to set it up that way. We recommend using the subdomain record.
Step 5 – Record Your DDNS Service Credentials and Configure Your DDNS Client
At this point the Google Domains DDNS service is set up and is ready to go. You will need to use a client to send the latest IP address information to Google Domains so that the record can be updated. The client is usually a gateway, appliance, or server with software that can detect IP changes and communicate them with the Google Domains name services. Configuring this client is where the credentials come in. To obtain them, once again scroll down to the bottom of the DNS management page, and click “Show advanced settings.” Drop down the DDNS entries tab and select “View Credentials.” In the pop up window, you can get the username and password needed to configure your DDNS client.
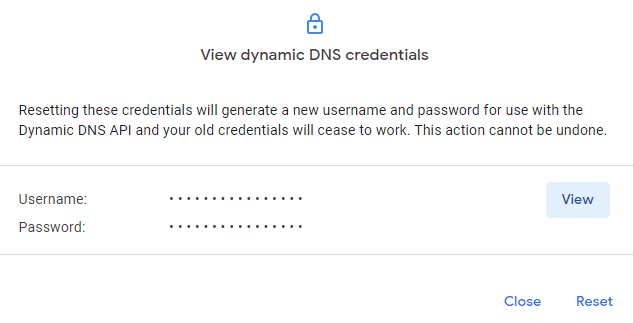
Click “View credentials” to get the credentials for DDNS client configuration
Each DDNS client set up is different, but in general the settings that will be required are as follows.
Username/Password: Generated by Google Domains DDNS service
Service: Dyndns
Hostname: Set in Step 4, for example “ddns.atechdevs.com”
Server: domains.google.com
One of our favorite DDNS clients to work with is the Ubiquiti Dream Machine Pro – see Setting Up Google DDNS on the Ubiquiti Dream Machine Pro.
Congratulations, you’ve set up Google’s free DDNS service!
Testing
If you’d like to test your DDNS service, Google provides a API to make manual updates to your DDNS record. The API uses the following syntax:
If you enter it into a browser or client, you can manually update the record. For example, the preceding syntax would update the DDNS record to point to the IP address 1.2.3.4. The username, password, and hostname must all be accurately filled out for your specific DDNS service record.