Accessing Network Shares on Domain Joined PCs (Including Azure Active Directory)
Windows has a Different Way of Authenticating Access to Network Shares when Using Domain Joined PC
We’ve written before about Accessing Network Shares in Windows, but there is a slightly different method for entering in authentication information if you are using a Domain Joined PC. This includes Azure Active Directory (Azured AD or just AAD) joined devices. It is particularly useful to know when accessing non AD connected SMB file server shares (non SSO devices, such as a Synology NAS).
Azure AD joined devices are authenticated to Windows and corporate resources using a user id on AAD. If you log into your PC using a corporate email or pin, your device may be AAD joined.
The syntax for accessing the network share from a domain joined PC is simple, you just have to know what it is.
Accessing the Network Share and Using the Correct Login Syntax
First off, you’ll need to access the share in Windows by either mounting it or putting the share path into a Windows File Explorer. Normally, this is where you would enter your network credentials (username and password) for the SMB share. In the case of an domain joined or AAD joined device, you will see the same login prompt but it will default to using your corporate ID or email (pin) as the username for the network credentials.
Under the “Enter Network Credentials” dialog, select “More choices” near the bottom of the Windows Security login prompt. Under “More choices,” select “Use a different account” from the drop down.

Select “Use a different account” to change the login username
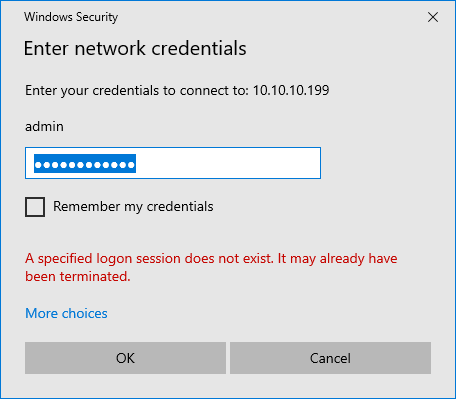
Selecting Use a different account will allow you to change your username and password. But, this is where things get a bit interesting. Unlike most Windows environments, when using an Azure Active Directory joined PC, the normal SMB share credentials will not be accepted from this log in. Even with the correct credentials you get a dubious error such as “A specified logon session does not exist. It may already have been terminated.”

Login error seen when using AAD joined devices
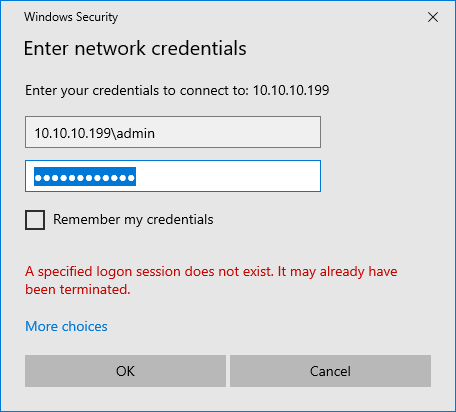
In order to access the share, you must prepend the username with the IP address or hostname of the server followed by a backslash. The syntax is as follows.
Or
In our case the server IP address with the desired share is 10.10.10.199 and the username is admin, so we enter “10.10.10.199\admin” in the username field.

By using the correct syntax, you will authenticate and access the network share normally. Don’t forget to check “Remember my credentials” if you access the share regularly!
This issue has been discussed on the following Microsoft Q&A Article.