Building a Custom Mobile Network Rack for the Small Office and Home Office
This custom-built, mobile network rack brings together many essential components for a small office/home office (SOHO) in one organized, efficient, and aesthetically pleasing system. The aim is to create a modular, customizable setup that maximizes space while maintaining functionality and clean visuals.
This build includes an uninterruptible power supply (UPS), power distribution unit (PDU), firewall, printer, and storage components. By utilizing a standard network rack mounting system, you gain the flexibility to expand and customize the setup to meet your unique requirements. This guide focuses on assembling a baseline configuration ideal for SOHO use.
Shopping List
To create this mobile network rack, here are the components included in this build. While the total cost came to just under $1,500 USD, your final cost may vary depending on your chosen components. This build also features the Ubiquiti Dream Machine Pro firewall, which we selected for its capabilities and value. For more information, see our Recommended SOHO Firewalls guide.
Components Used:
- 15U network rack
- Uninterruptible Power Supply (UPS)
- Power Distribution Unit (PDU)
- 1U and 2U rack drawers
- 24-port patch panel
- Firewall (Ubiquiti Dream Machine Pro)
This list is intended to inspire customization for your needs. Use it as a guide to create a setup that aligns with your specific requirements.
Full List of Components and Pricing
- Ubiquiti Dream Machine Pro Firewall- $379
- NavePoint 15U Server Cabinet Wall Mount Rack Enclosure – $299
- CyberPower OR500LCDRM1U Smart App LCD UPS – $199
- Epson WF-2760 All-in-One Wireless Color Printer with Scanner – $129.99
- Tripp Lite 12-Outlet Rackmount PDU Power Strip – $79.99
- AC Infinity Rack Mount Drawer 2U – $69.99
- AC Infinity Rack Mount Drawer 1U – $59.99
- VCE CAT6 RJ45 Keystone Couplers $21.99
- AC Infinity Carbon Steel M6 Rack Screws – $19.99
- TRENDnet 24-Port Blank Keystone 1U Patch Panel – $17.99
- AC Infinity Rack Panel Accessory Blank 1U – $12.99 Each
Assembly – Rack and Power
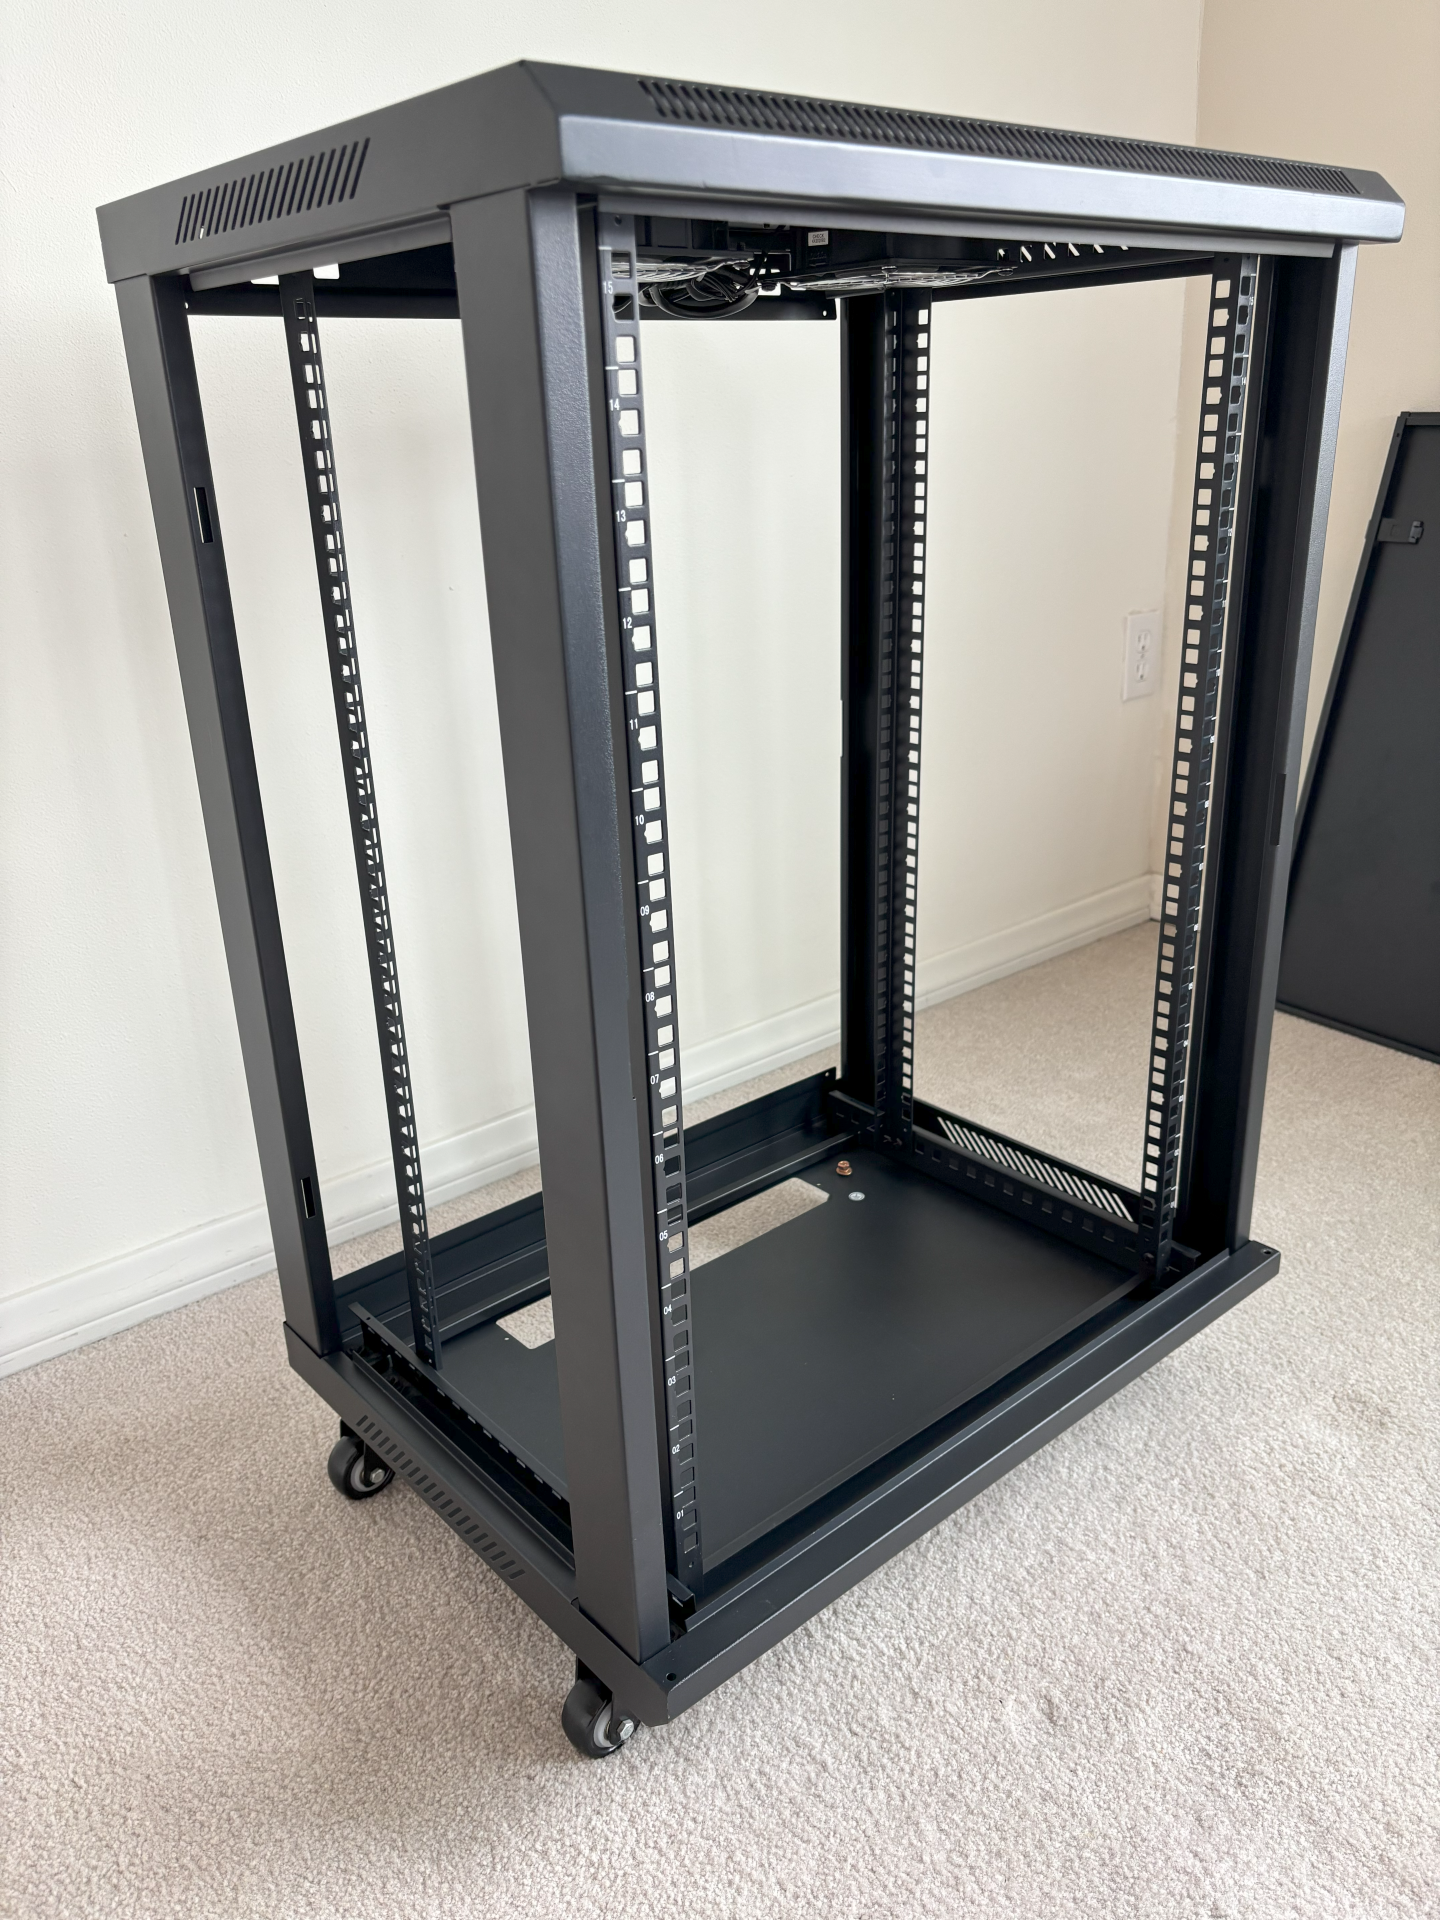
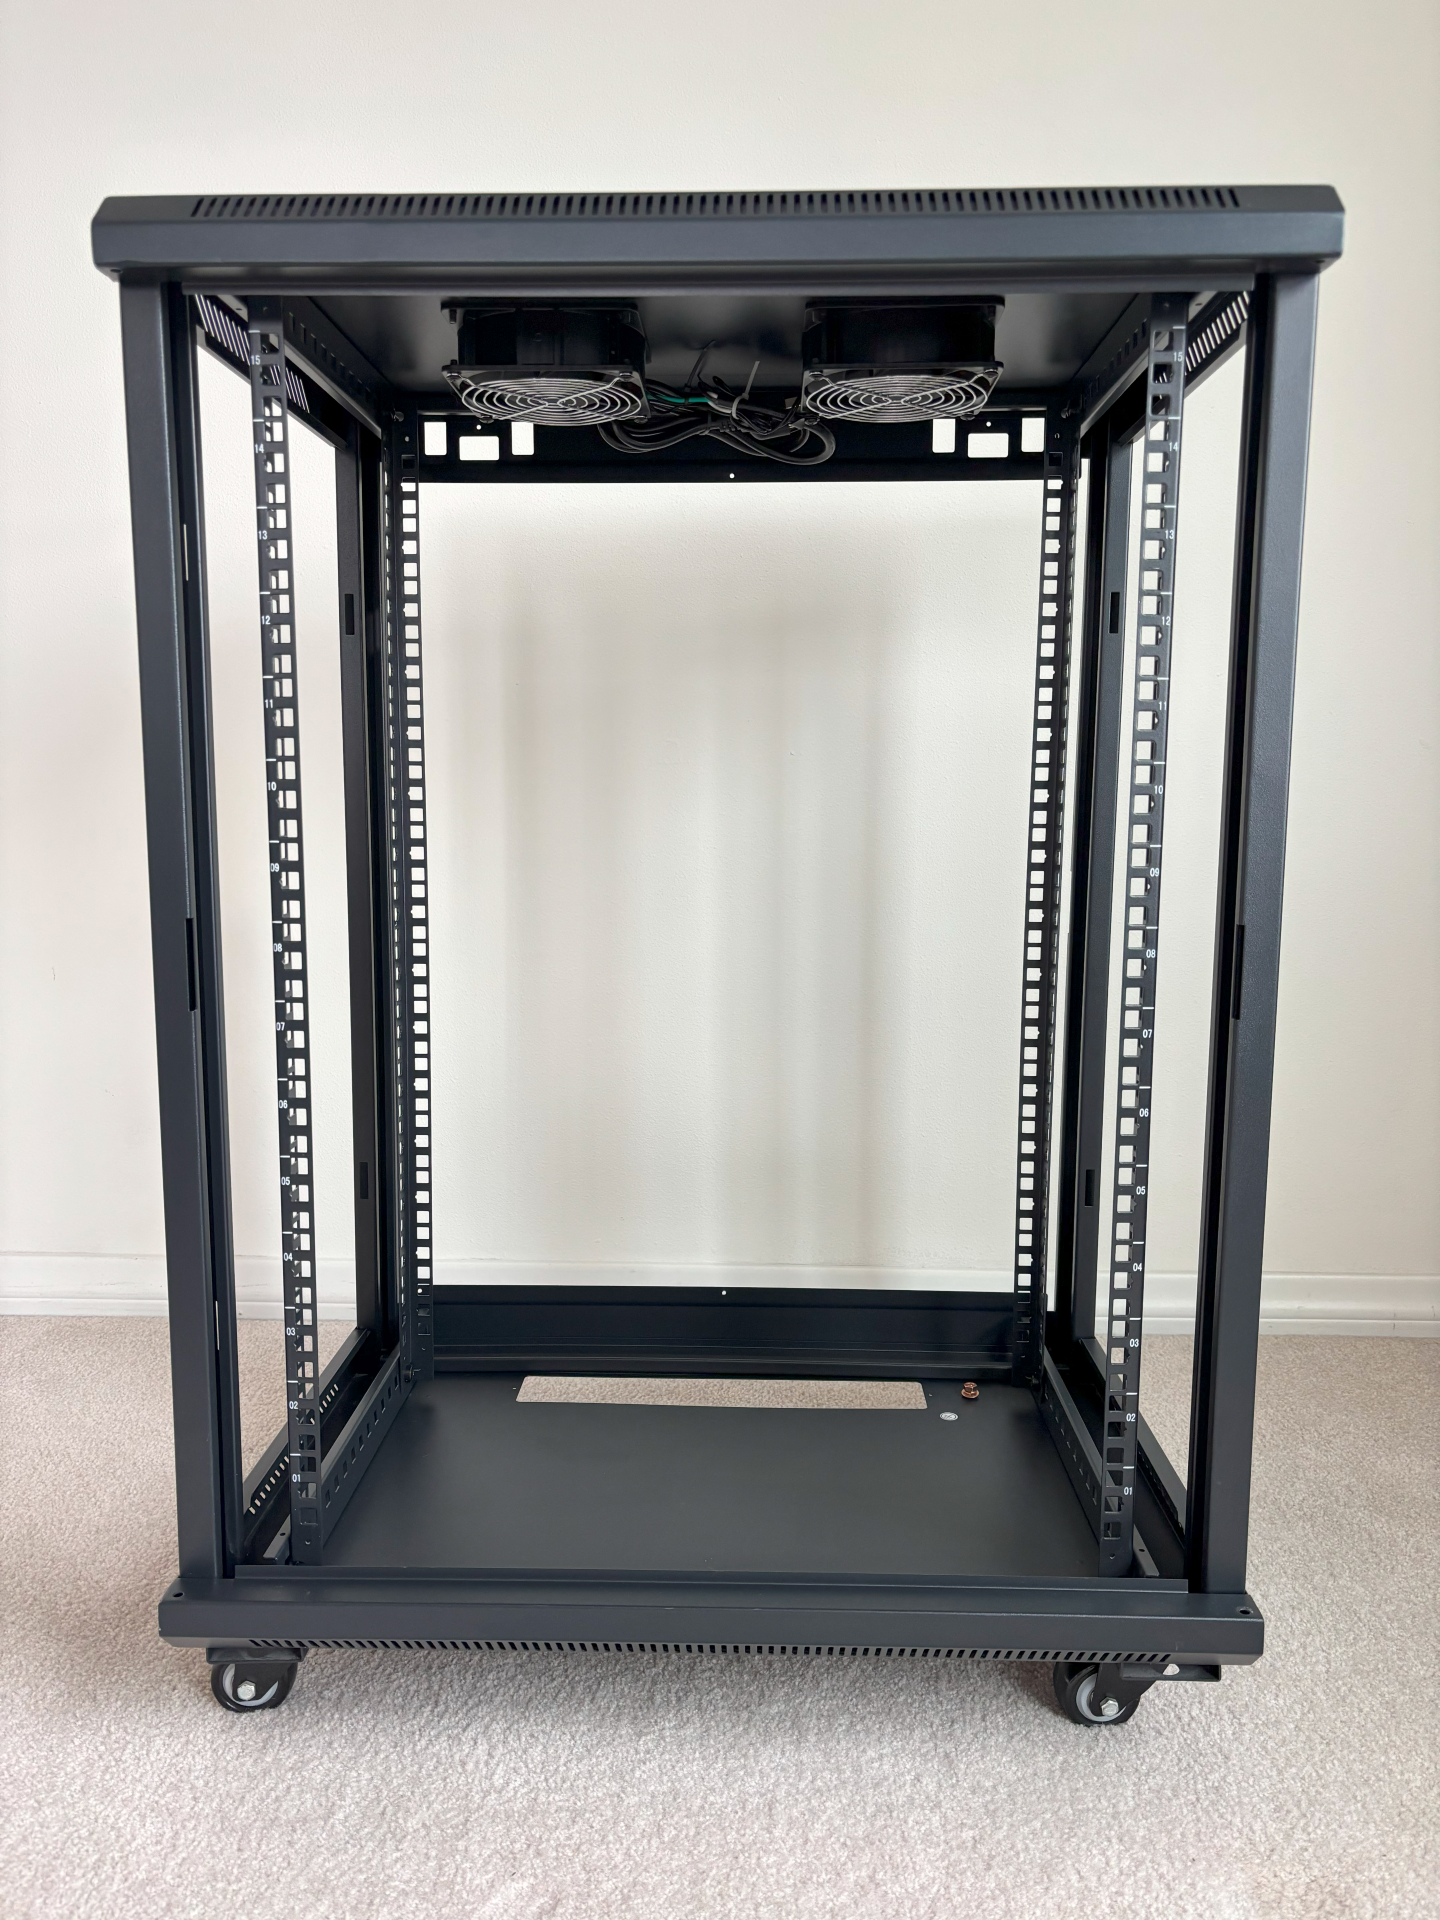
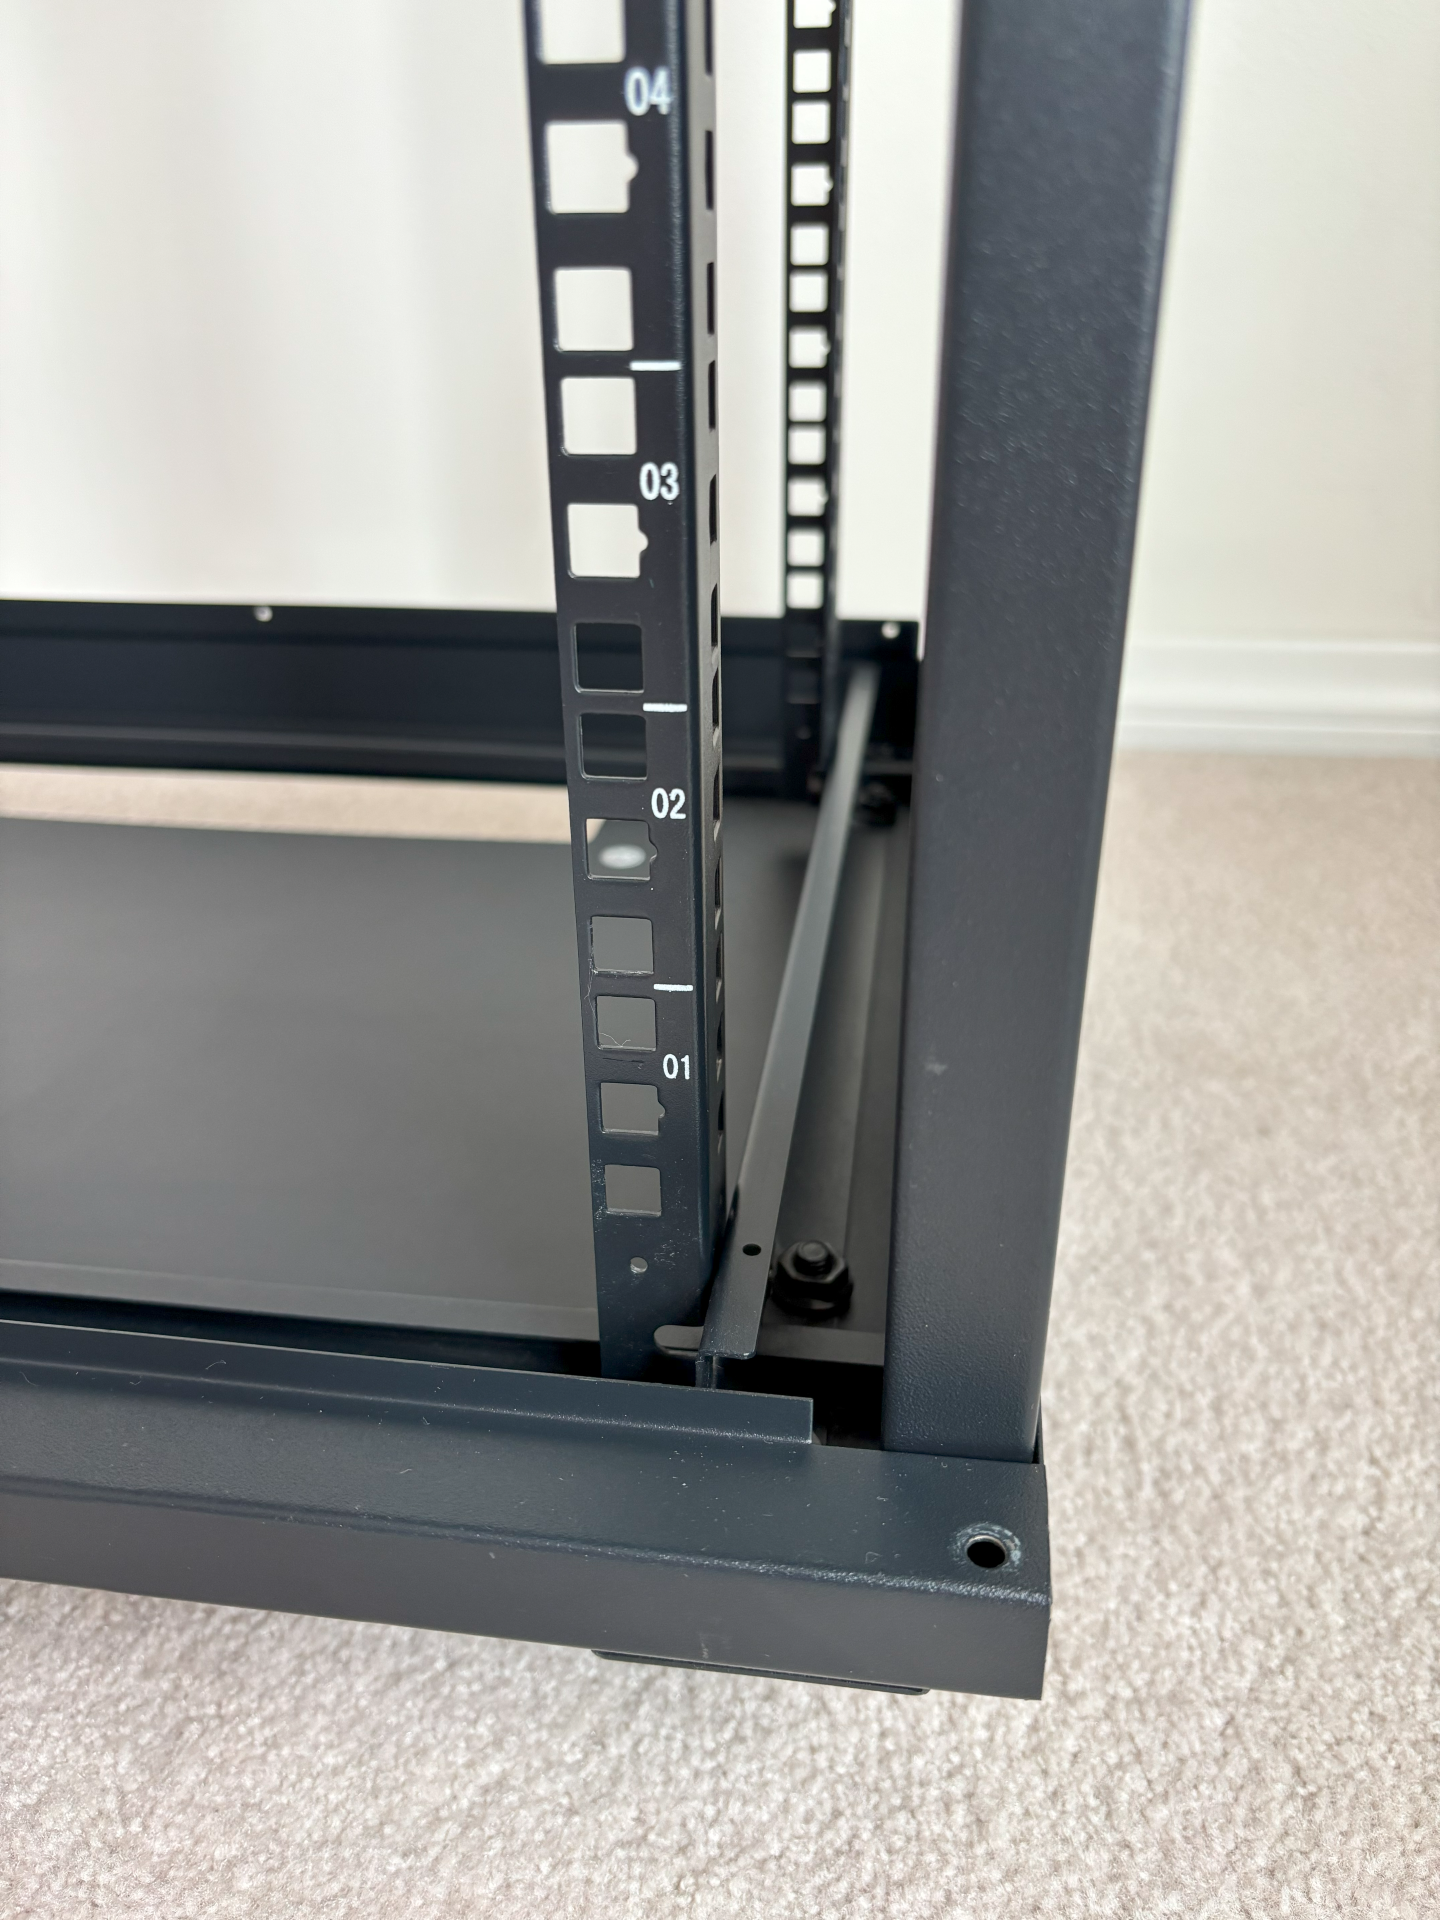
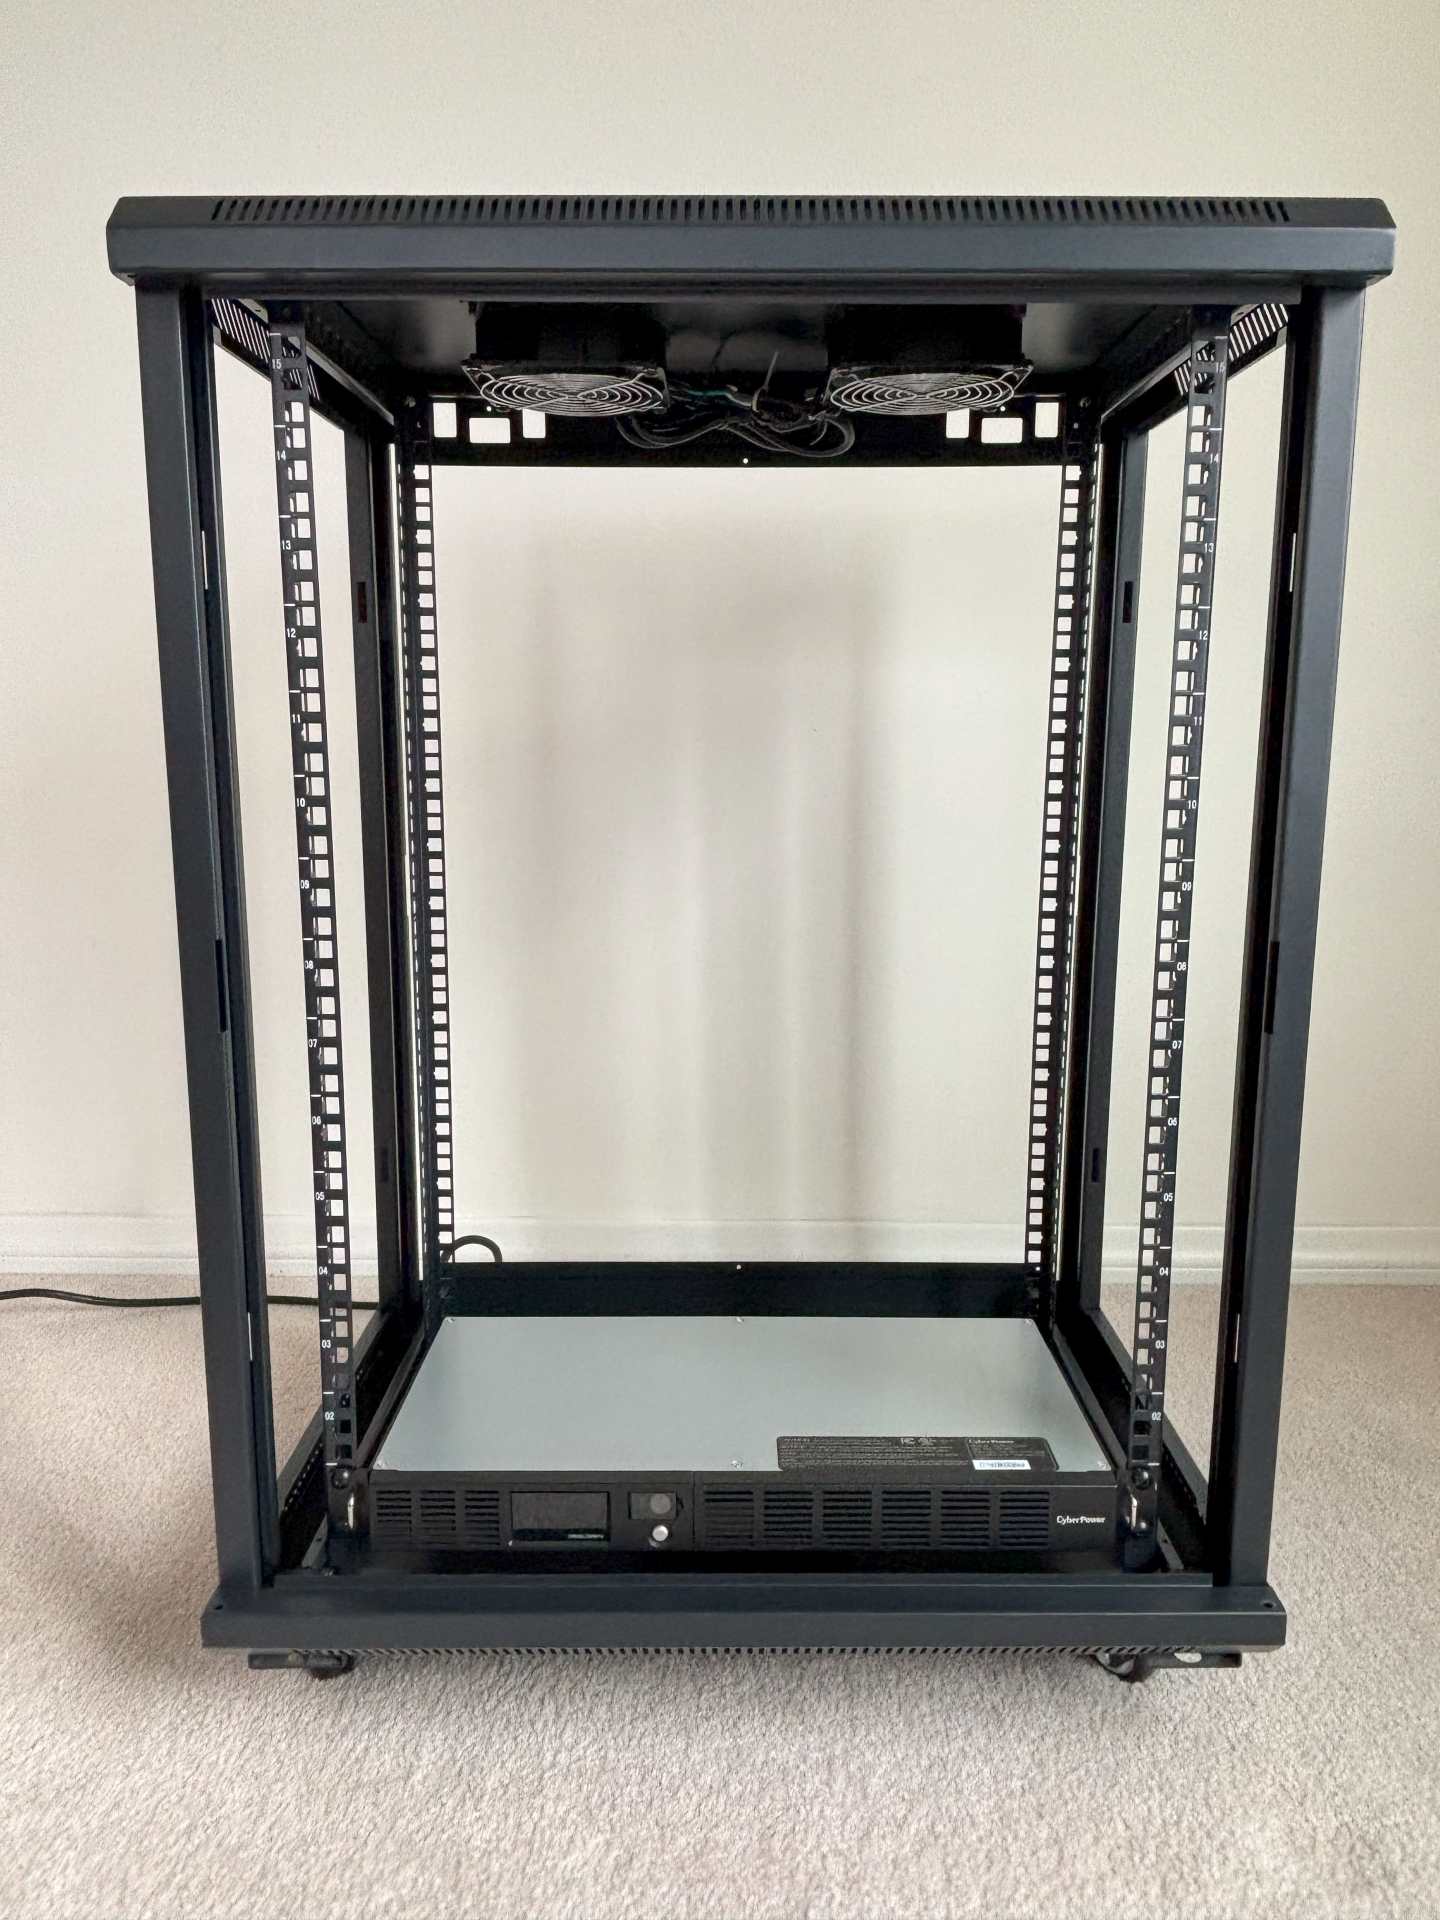
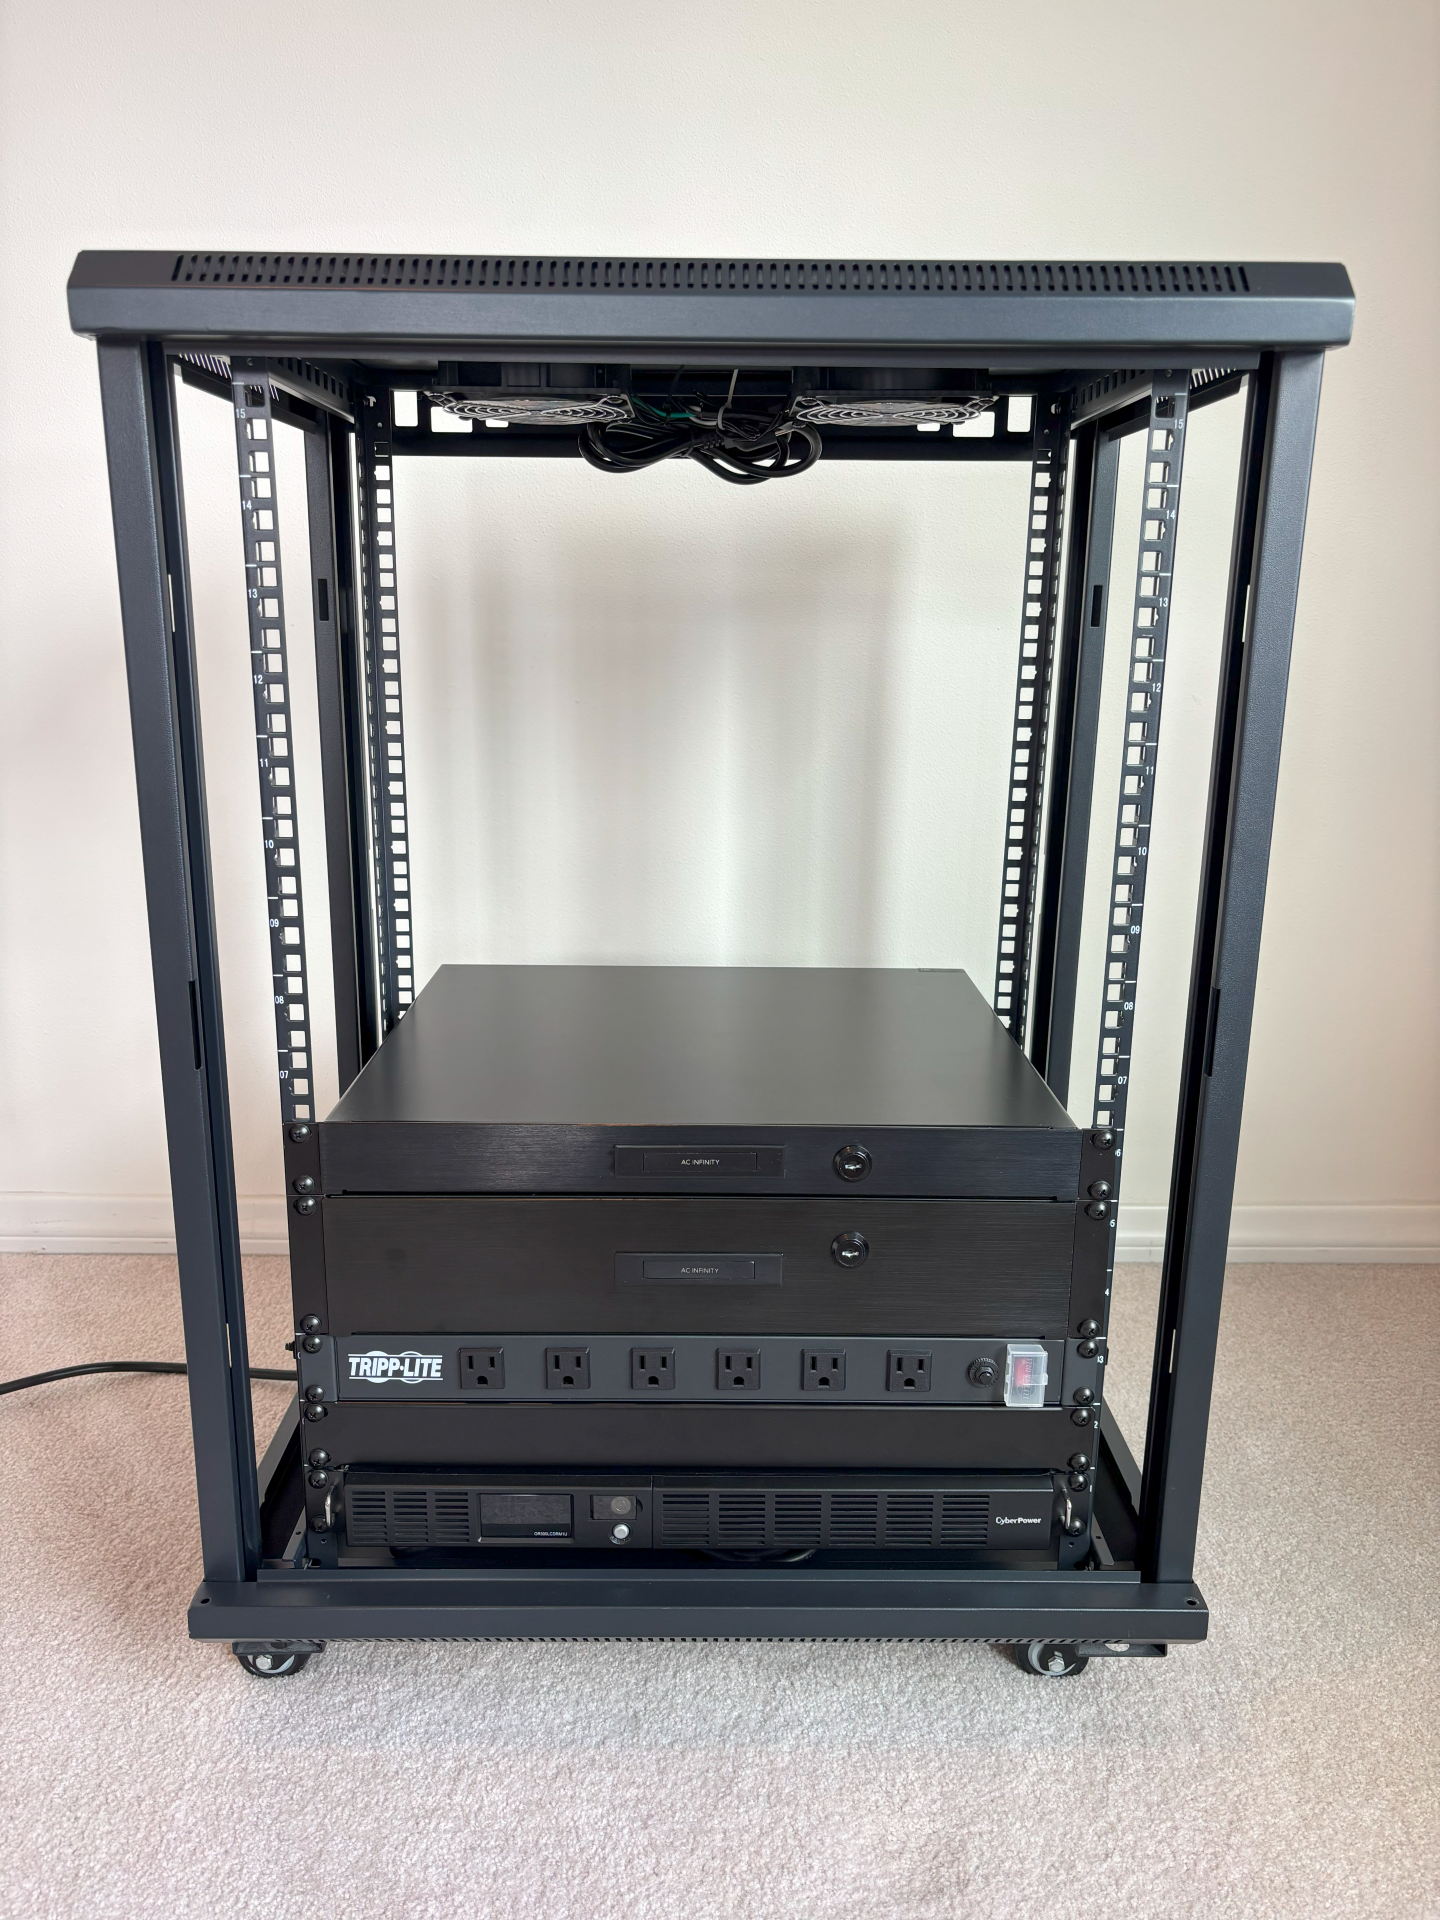
Begin by assembling the network rack according to the manufacturer’s instructions. This build uses a 15U rack with a depth of 17.7 inches, supplied by NavePoint. Once the rack hardware is assembled, the empty rack will look like the pictures below.
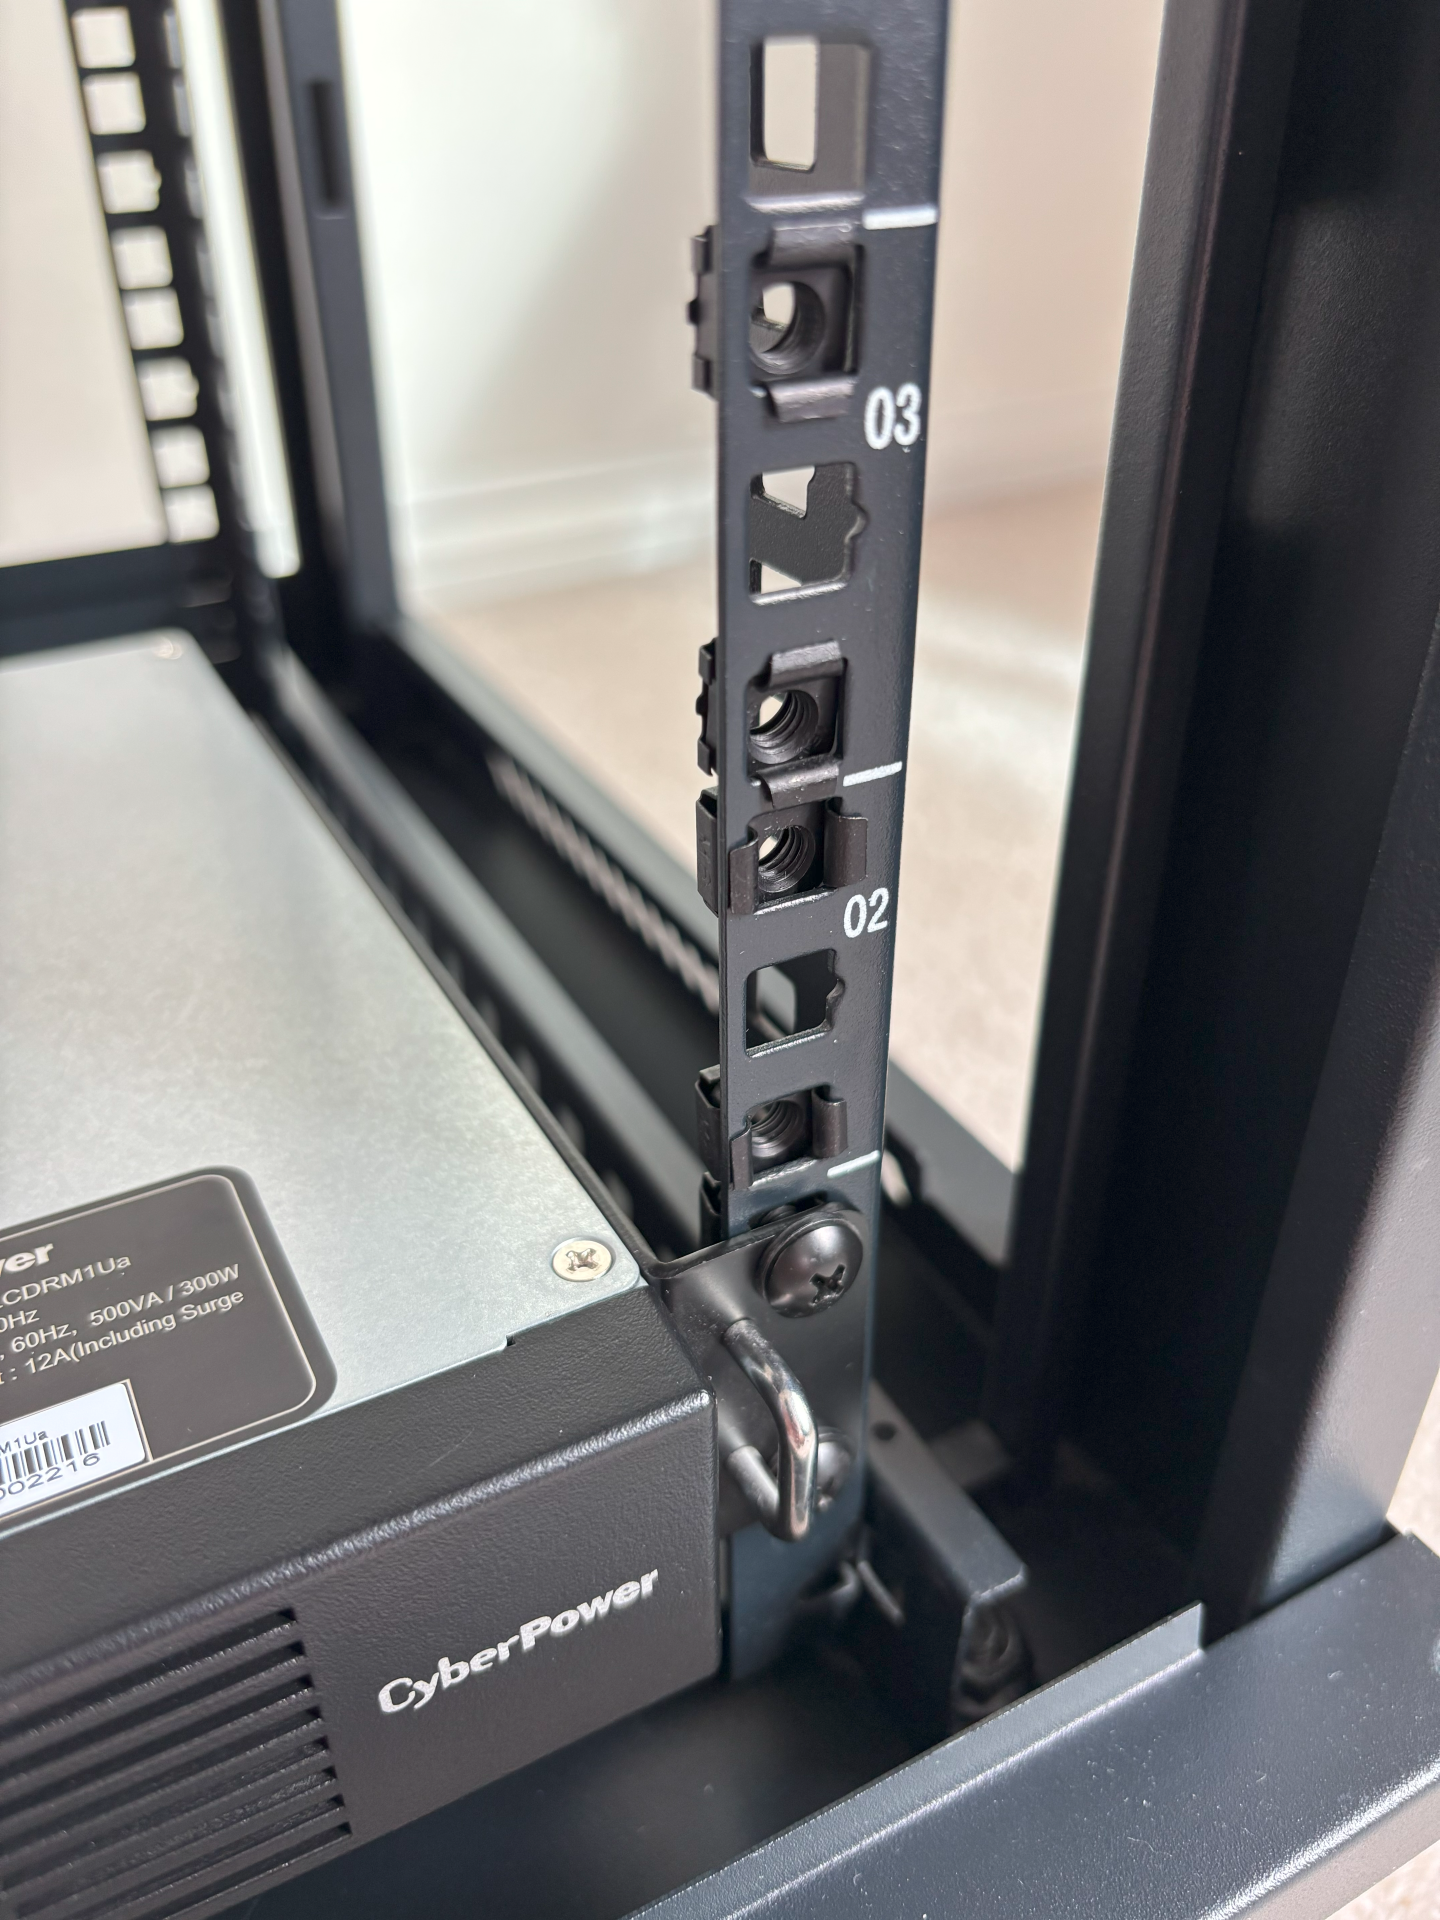
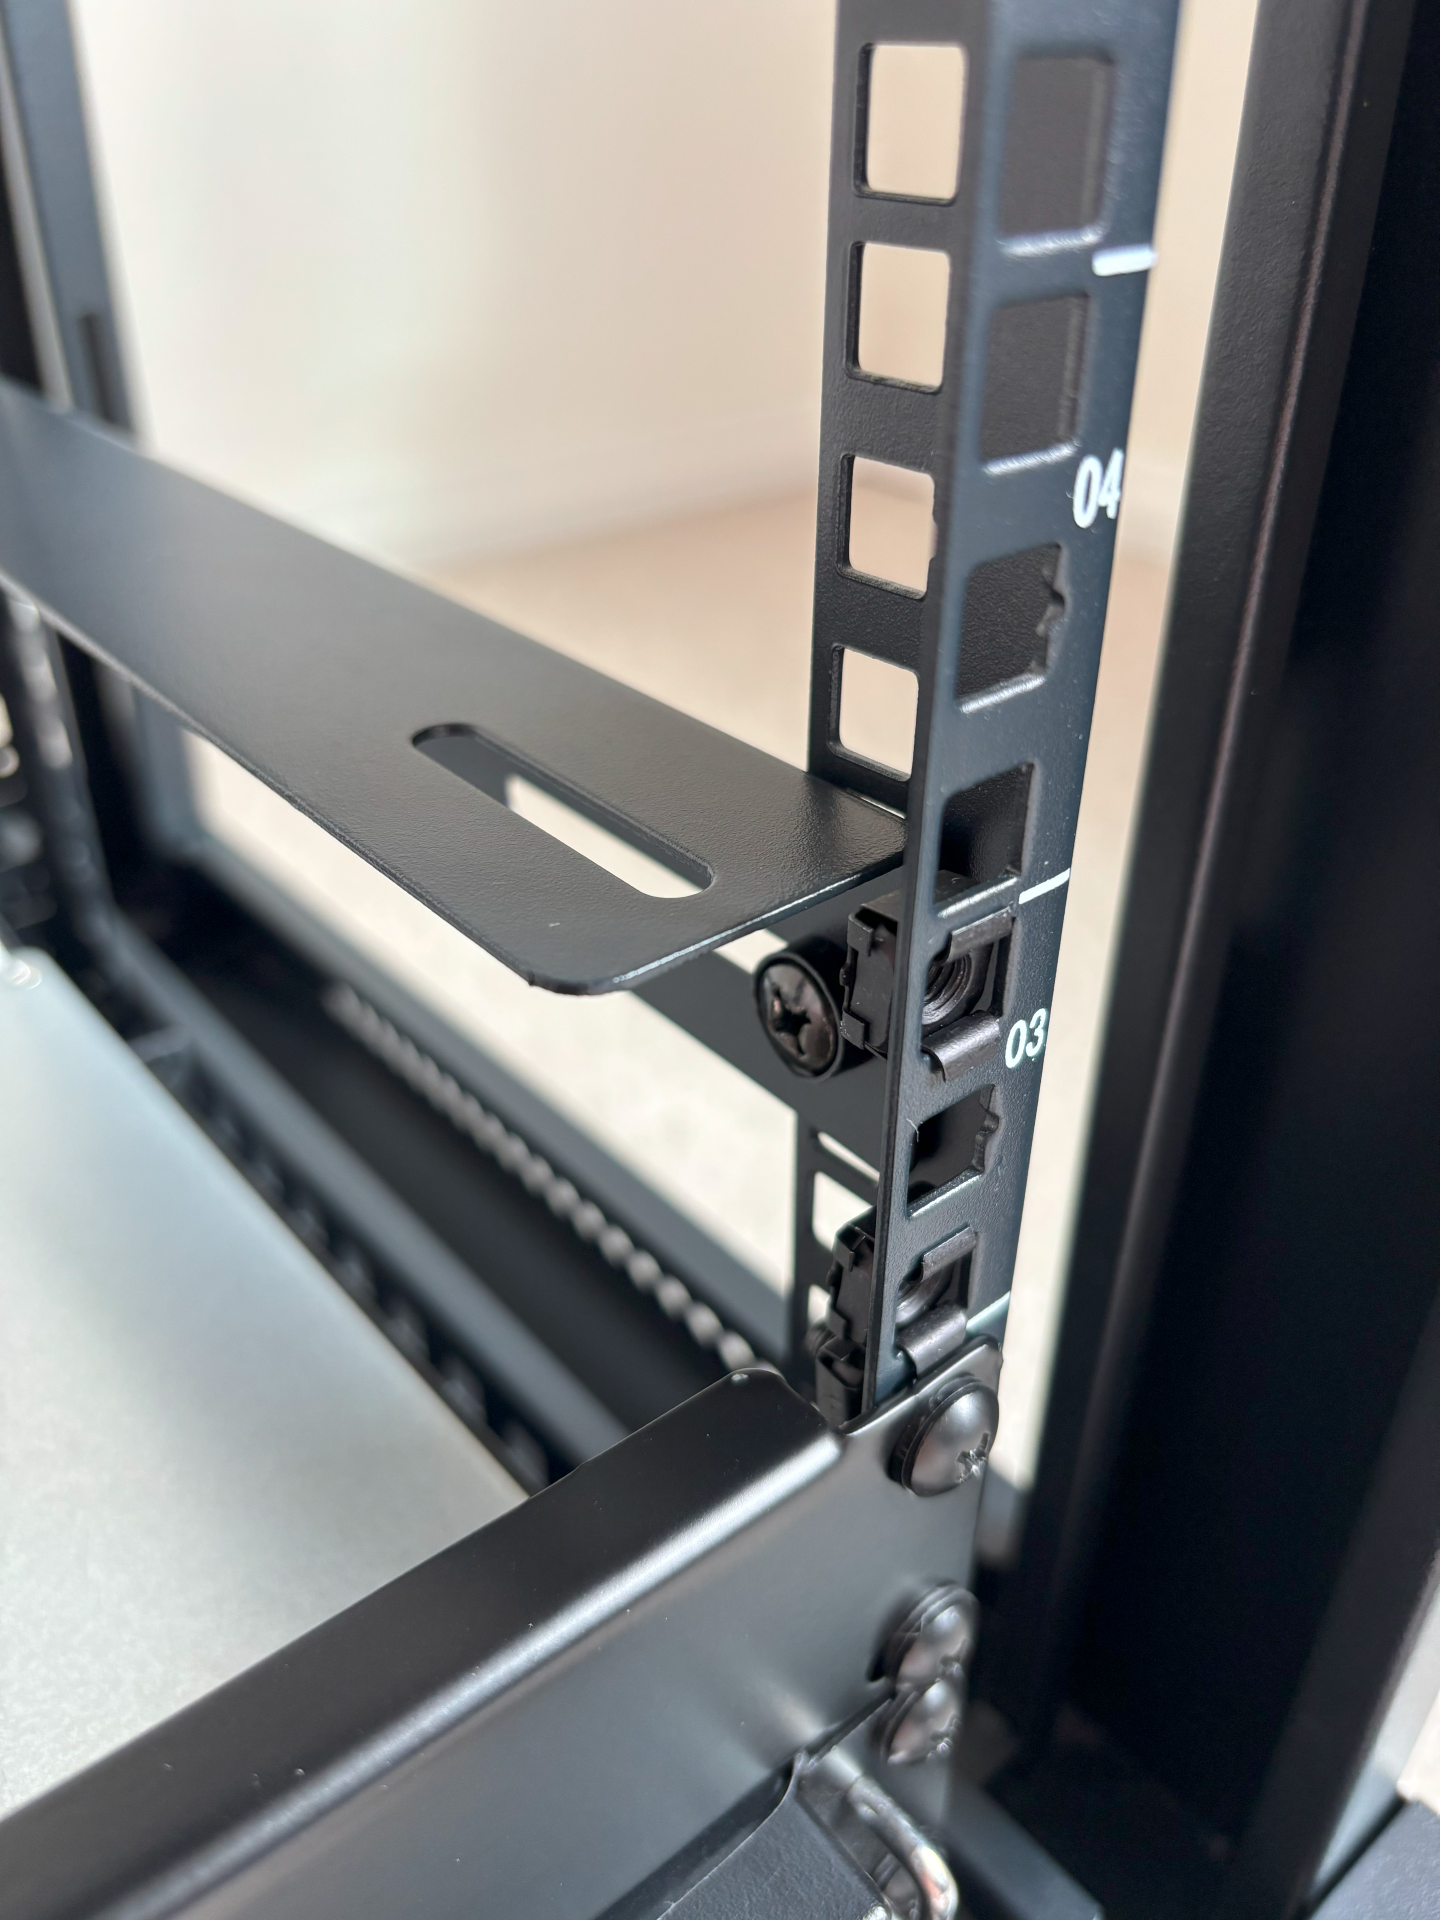
After completing the rack hardware build, install cage nuts in preparation for component installation. Alternating the orientation of the cage nuts on each row makes them easier to insert and remove during assembly.
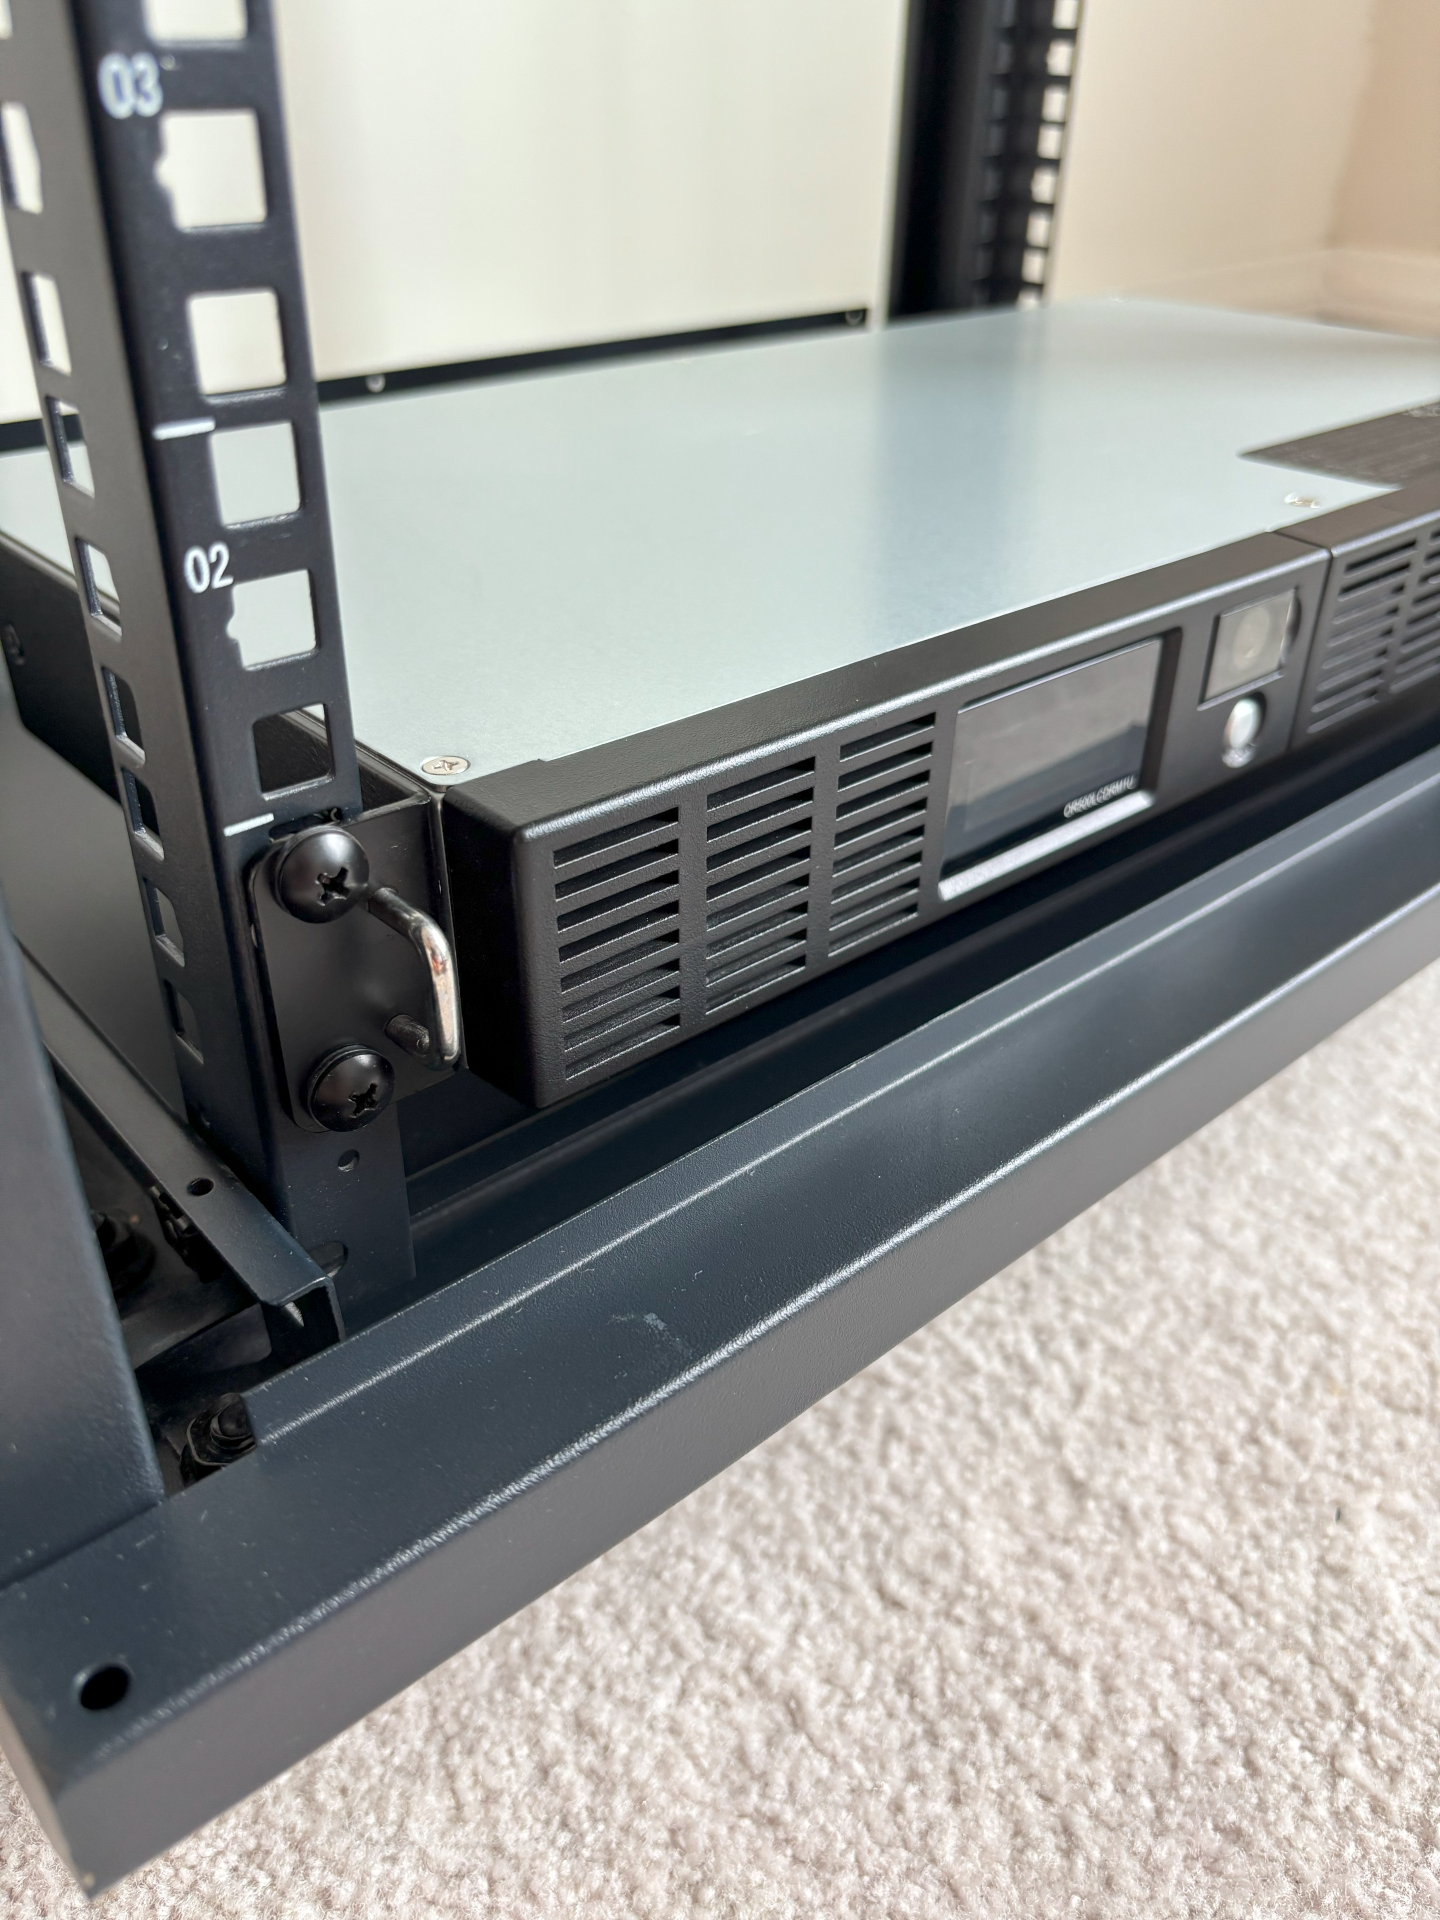
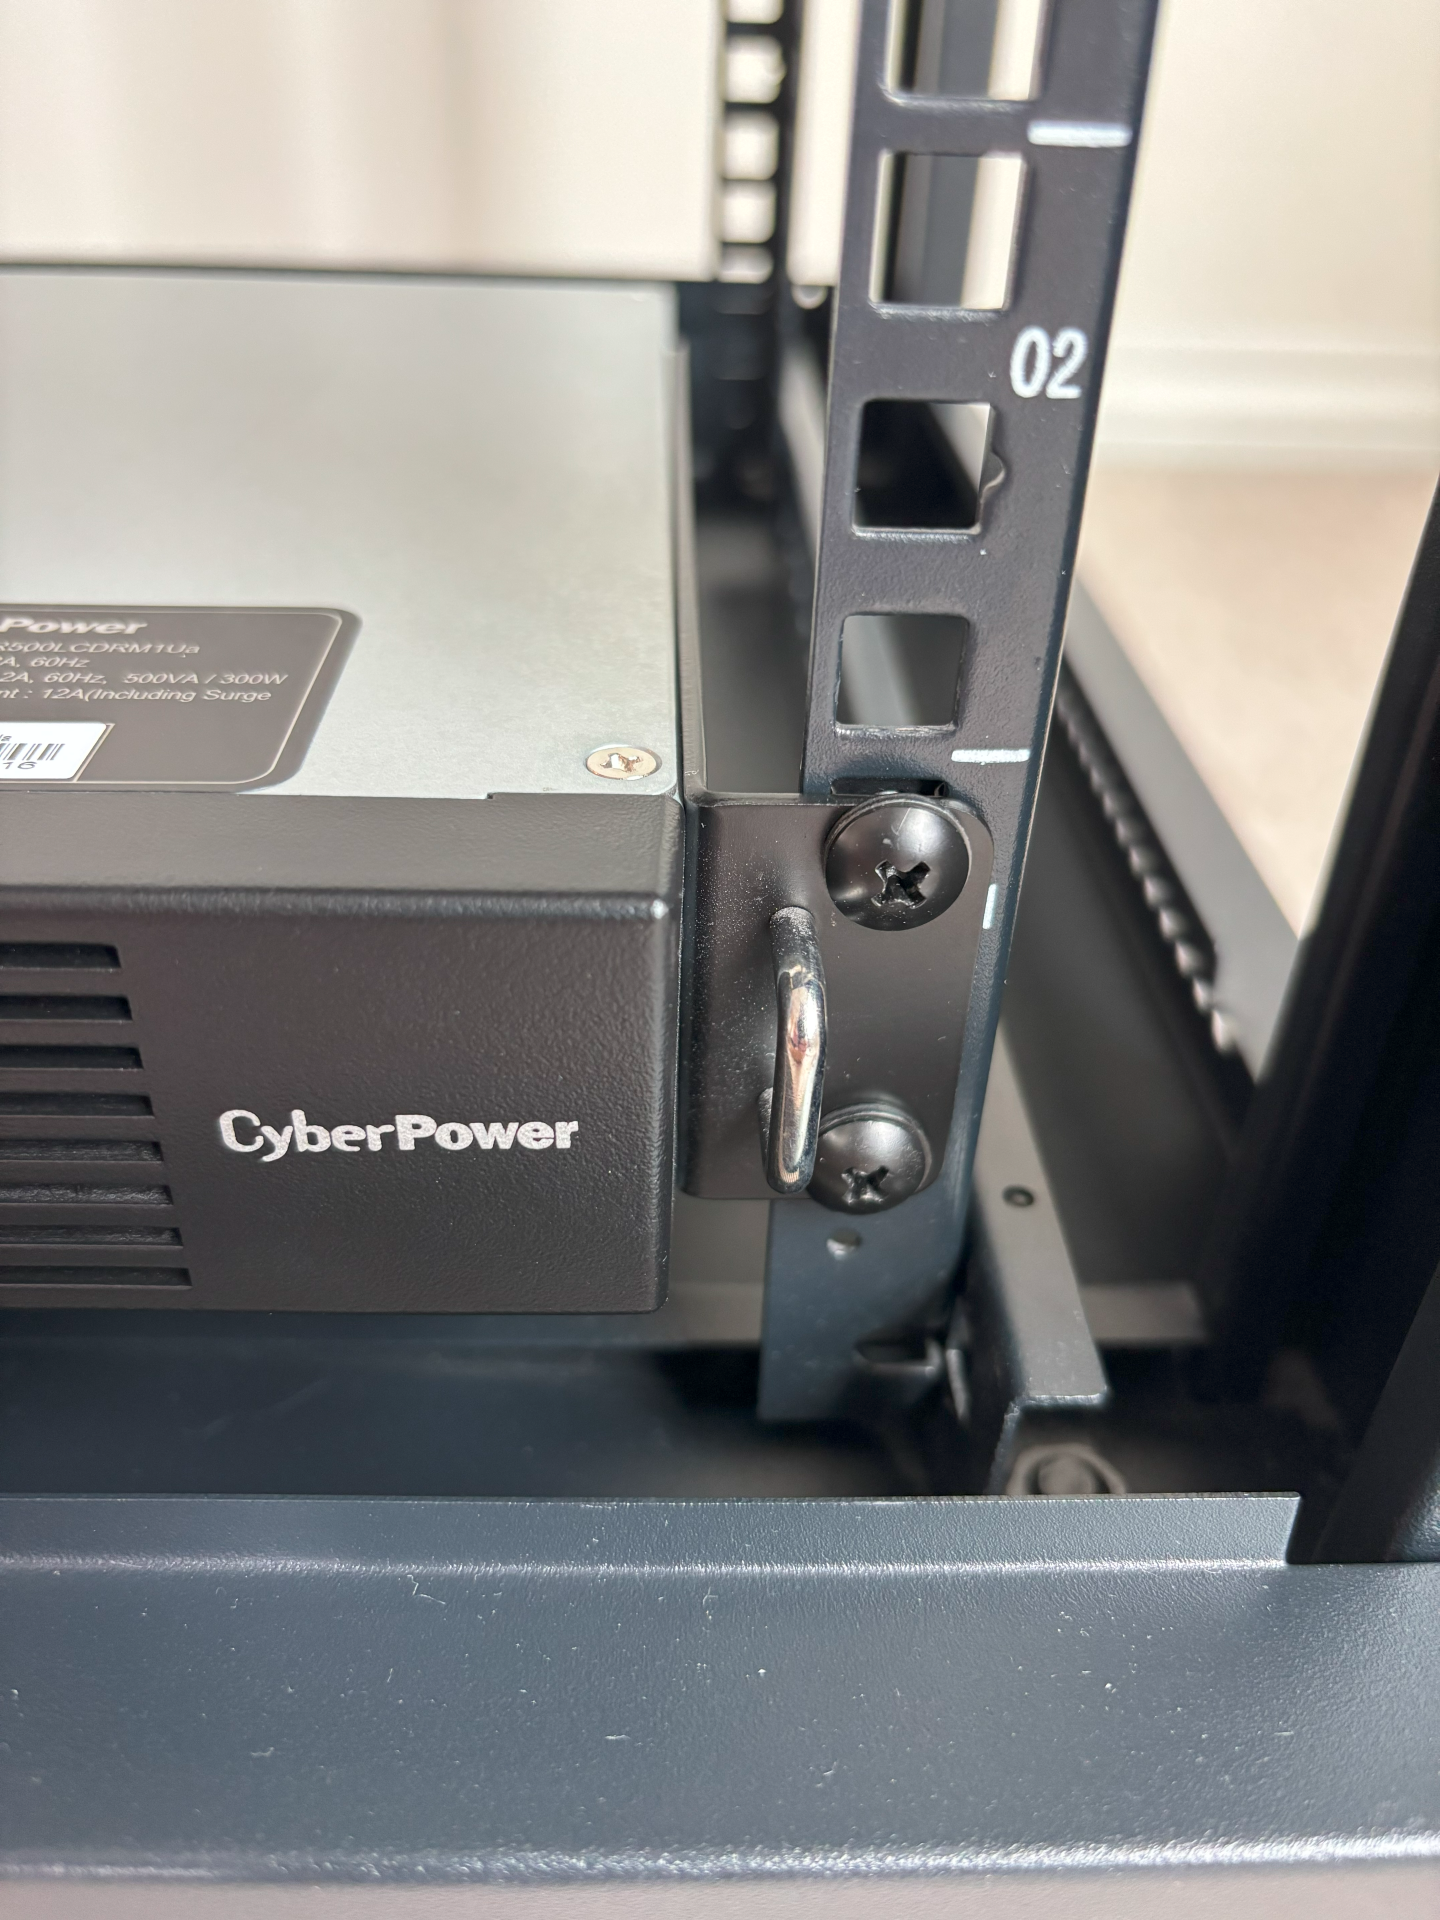
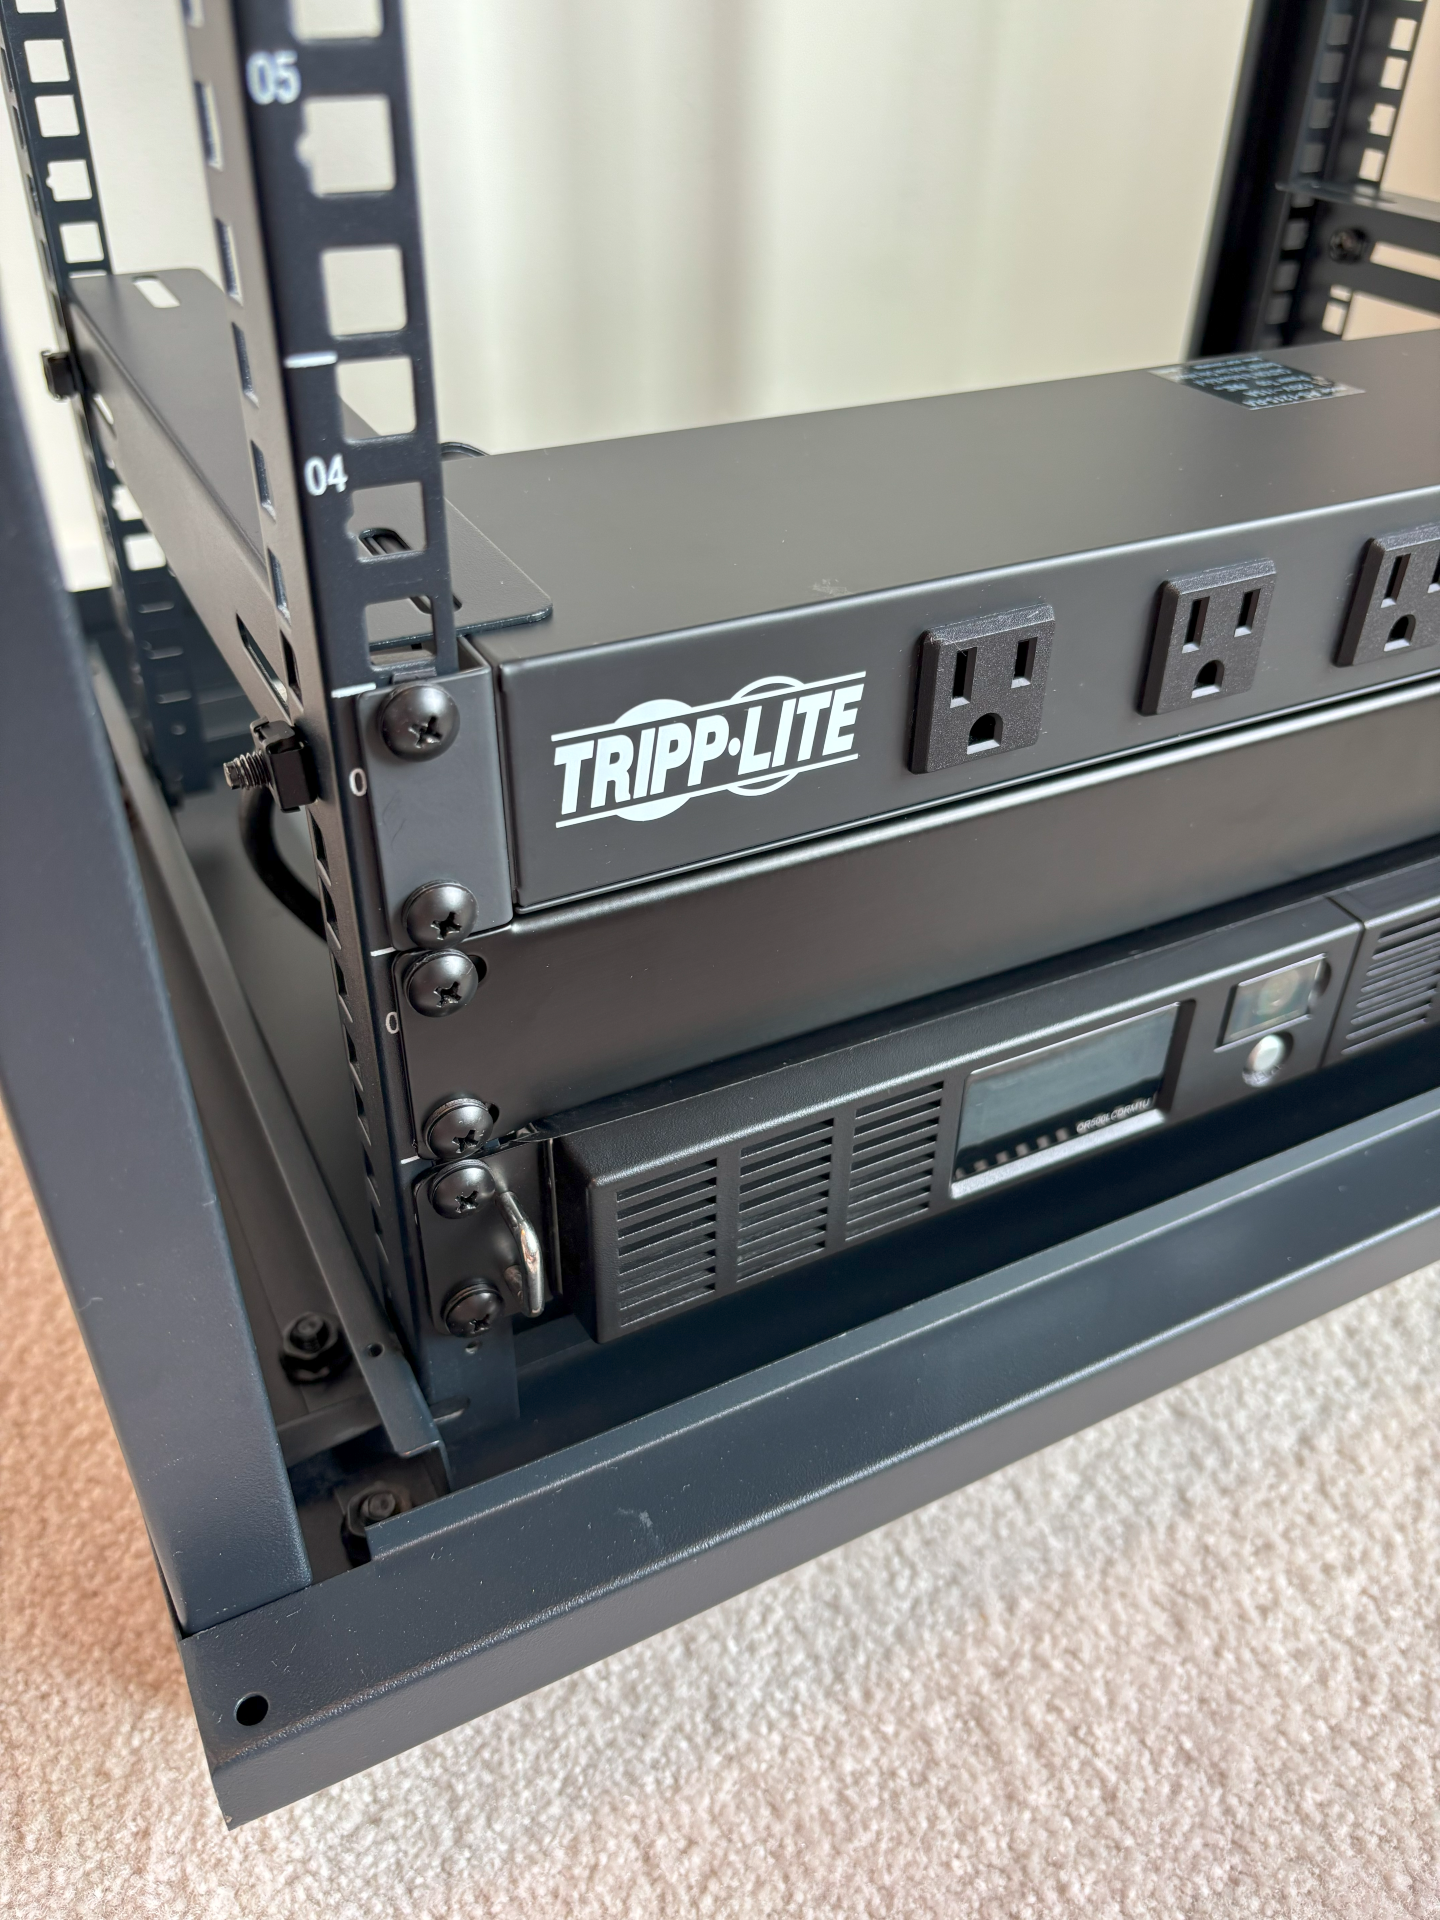
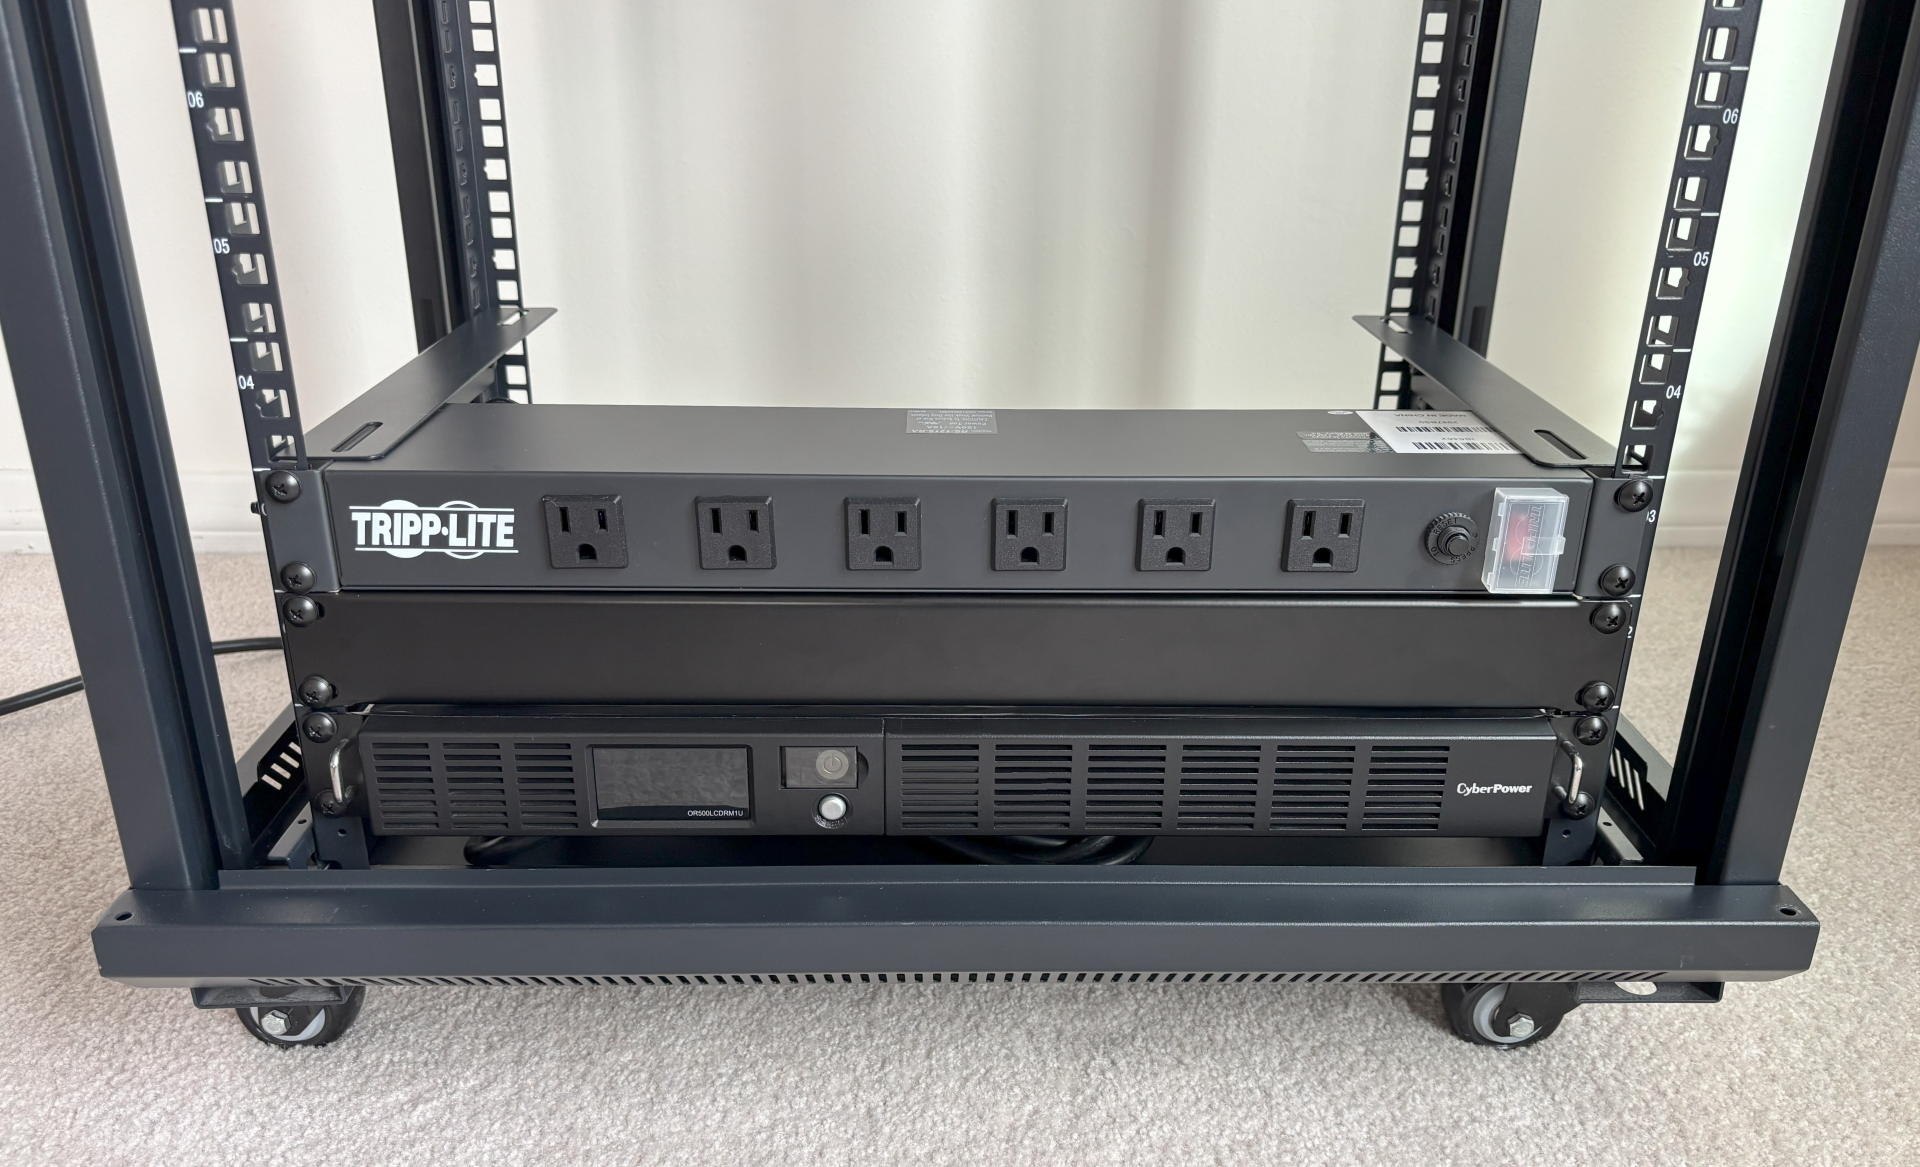
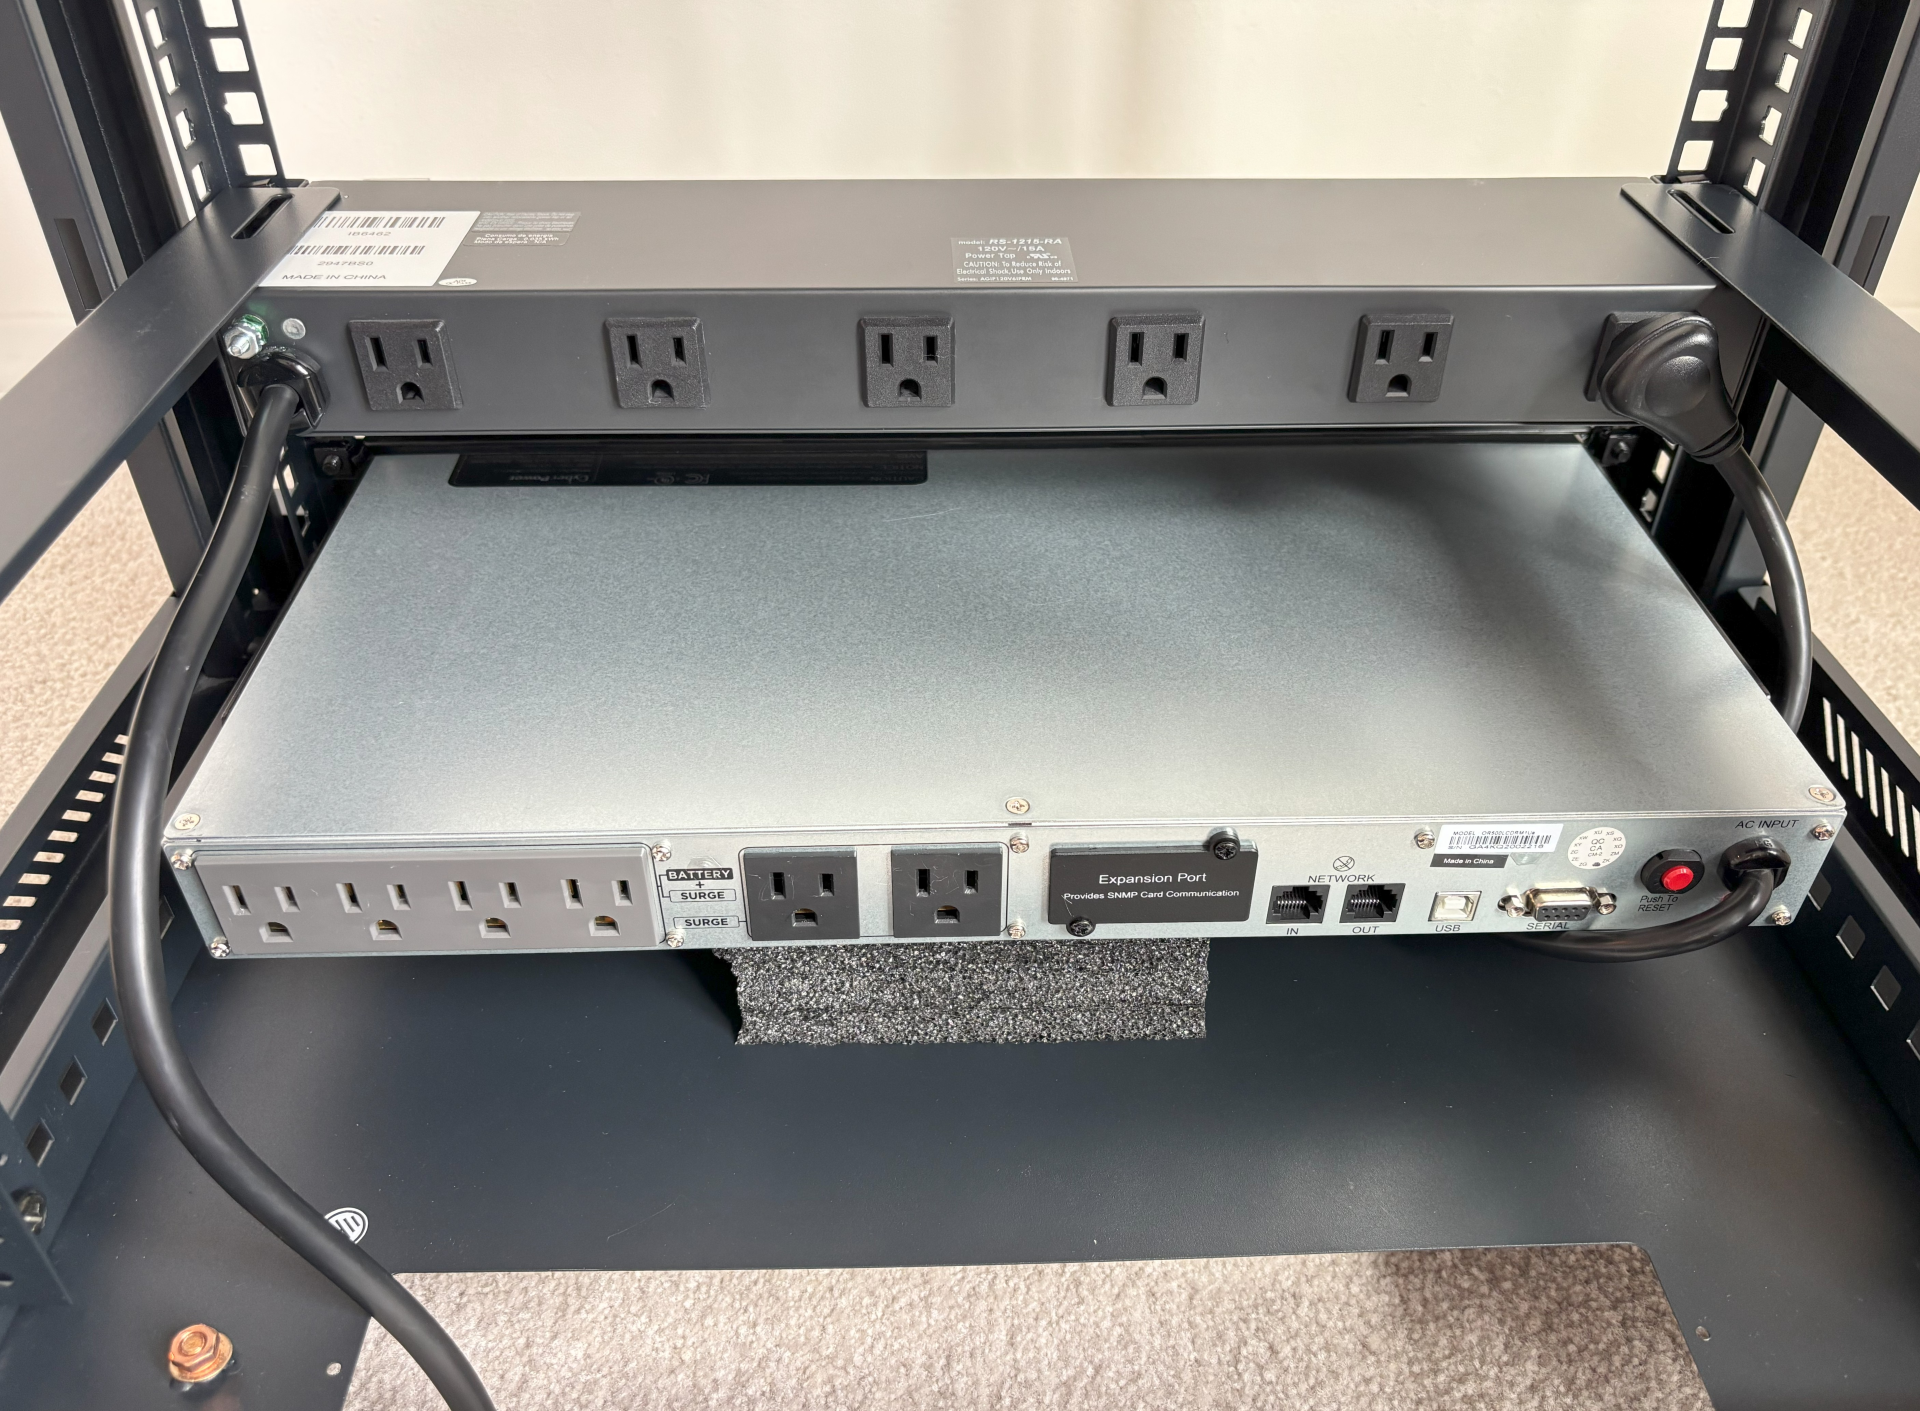
Start by installing the uninterruptible power supply (UPS). Position the UPS at the bottom of the rack, as its weight makes it best suited for this location. To support the weight further, consider adding sturdy foam padding beneath the rear of the UPS. This UPS provides two banks of power outlets—one battery-protected and one not. Therefor, either connect the PDU to the non-battery-protected outlets or connect the UPS behind the PDU to keep the backup load light.
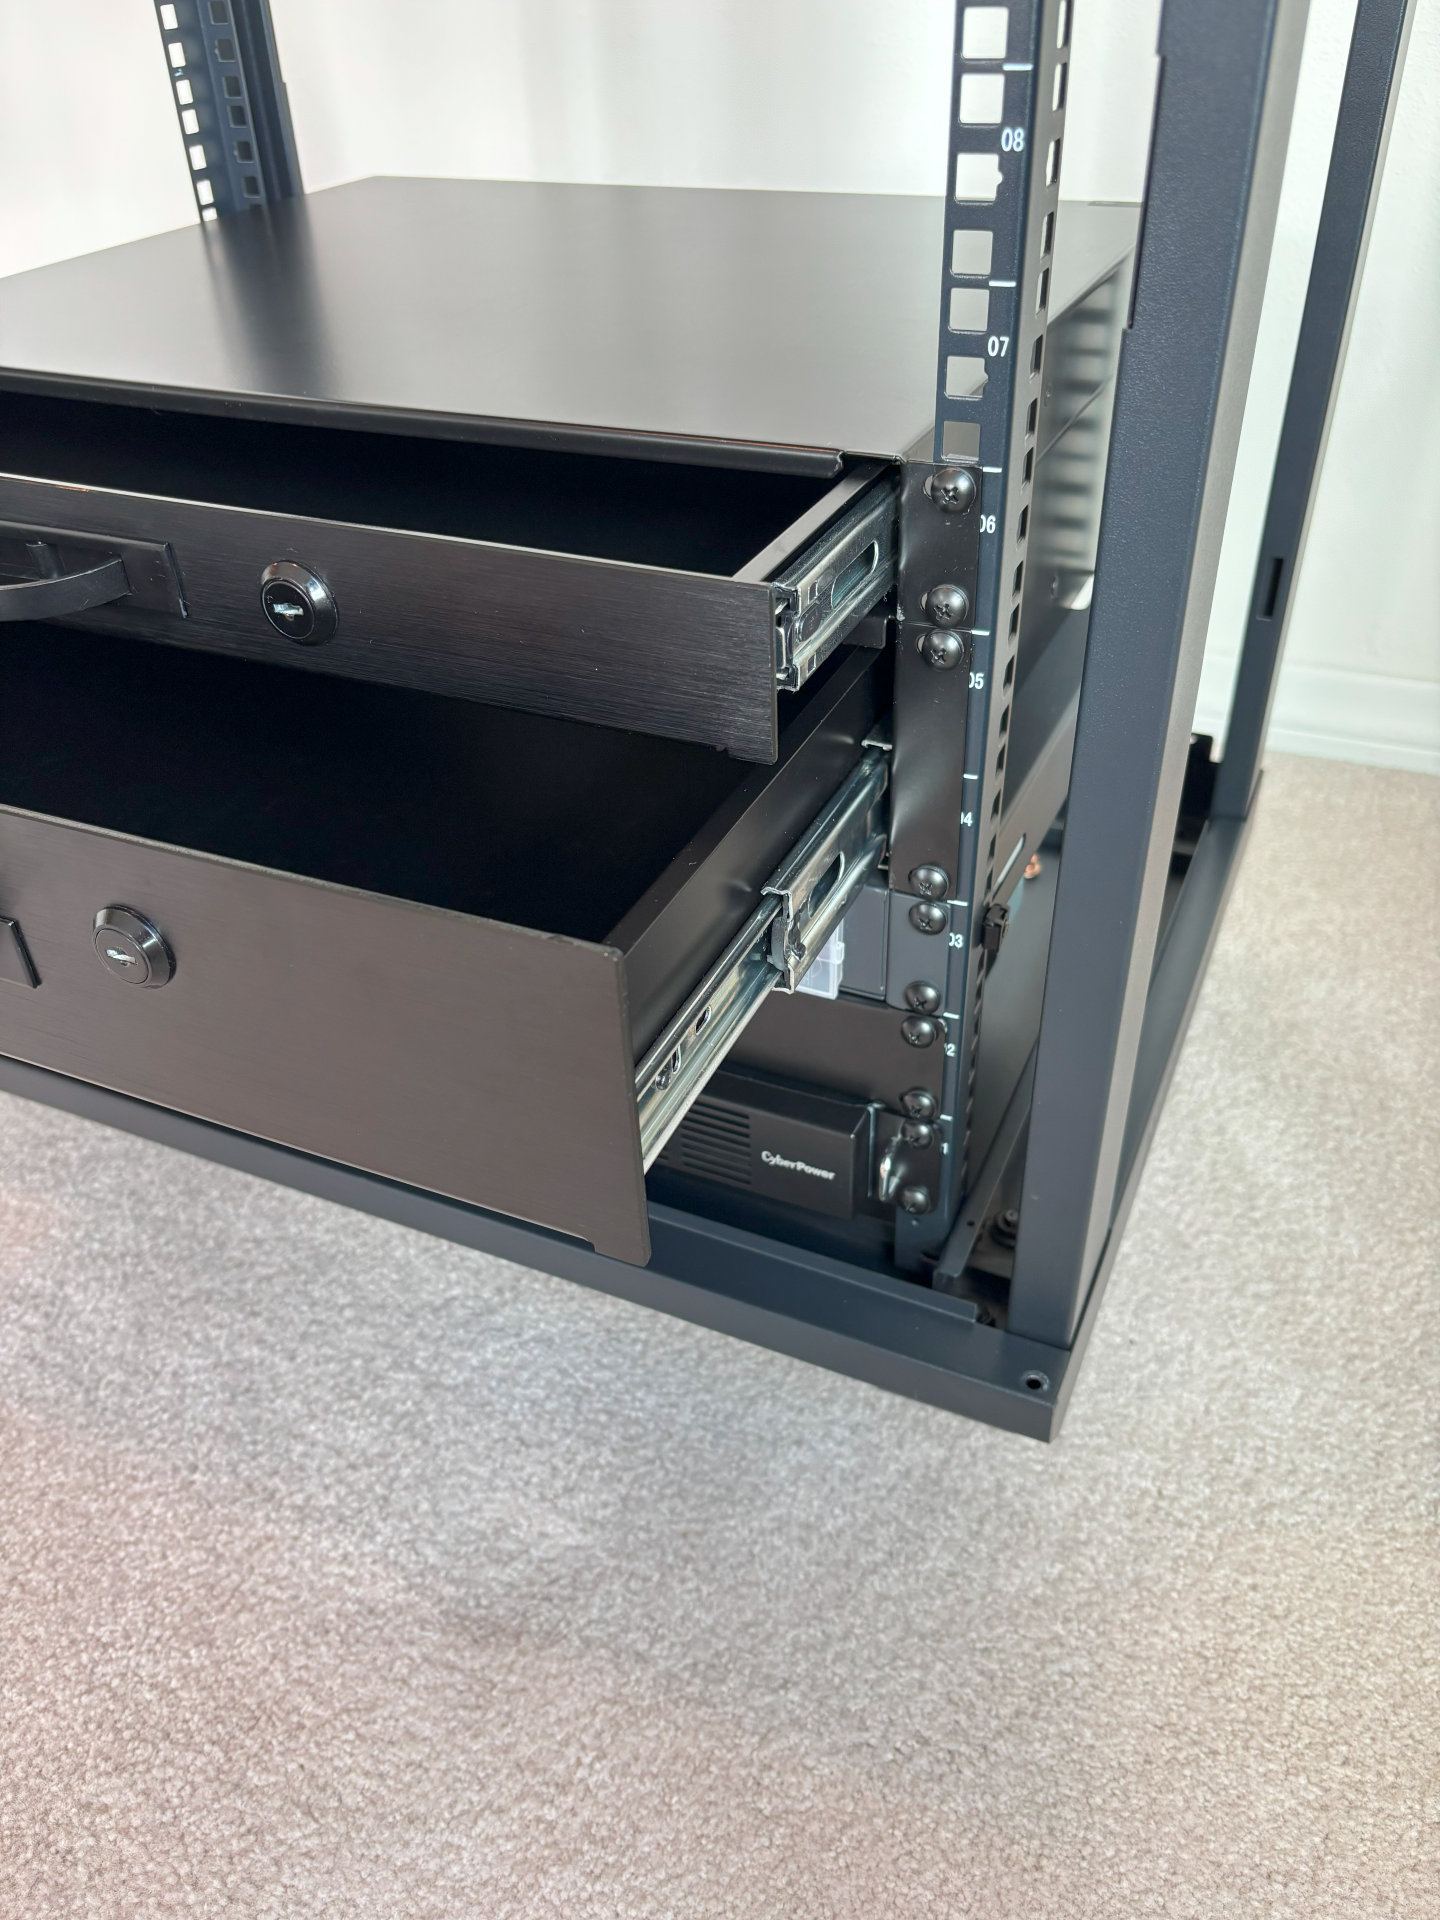
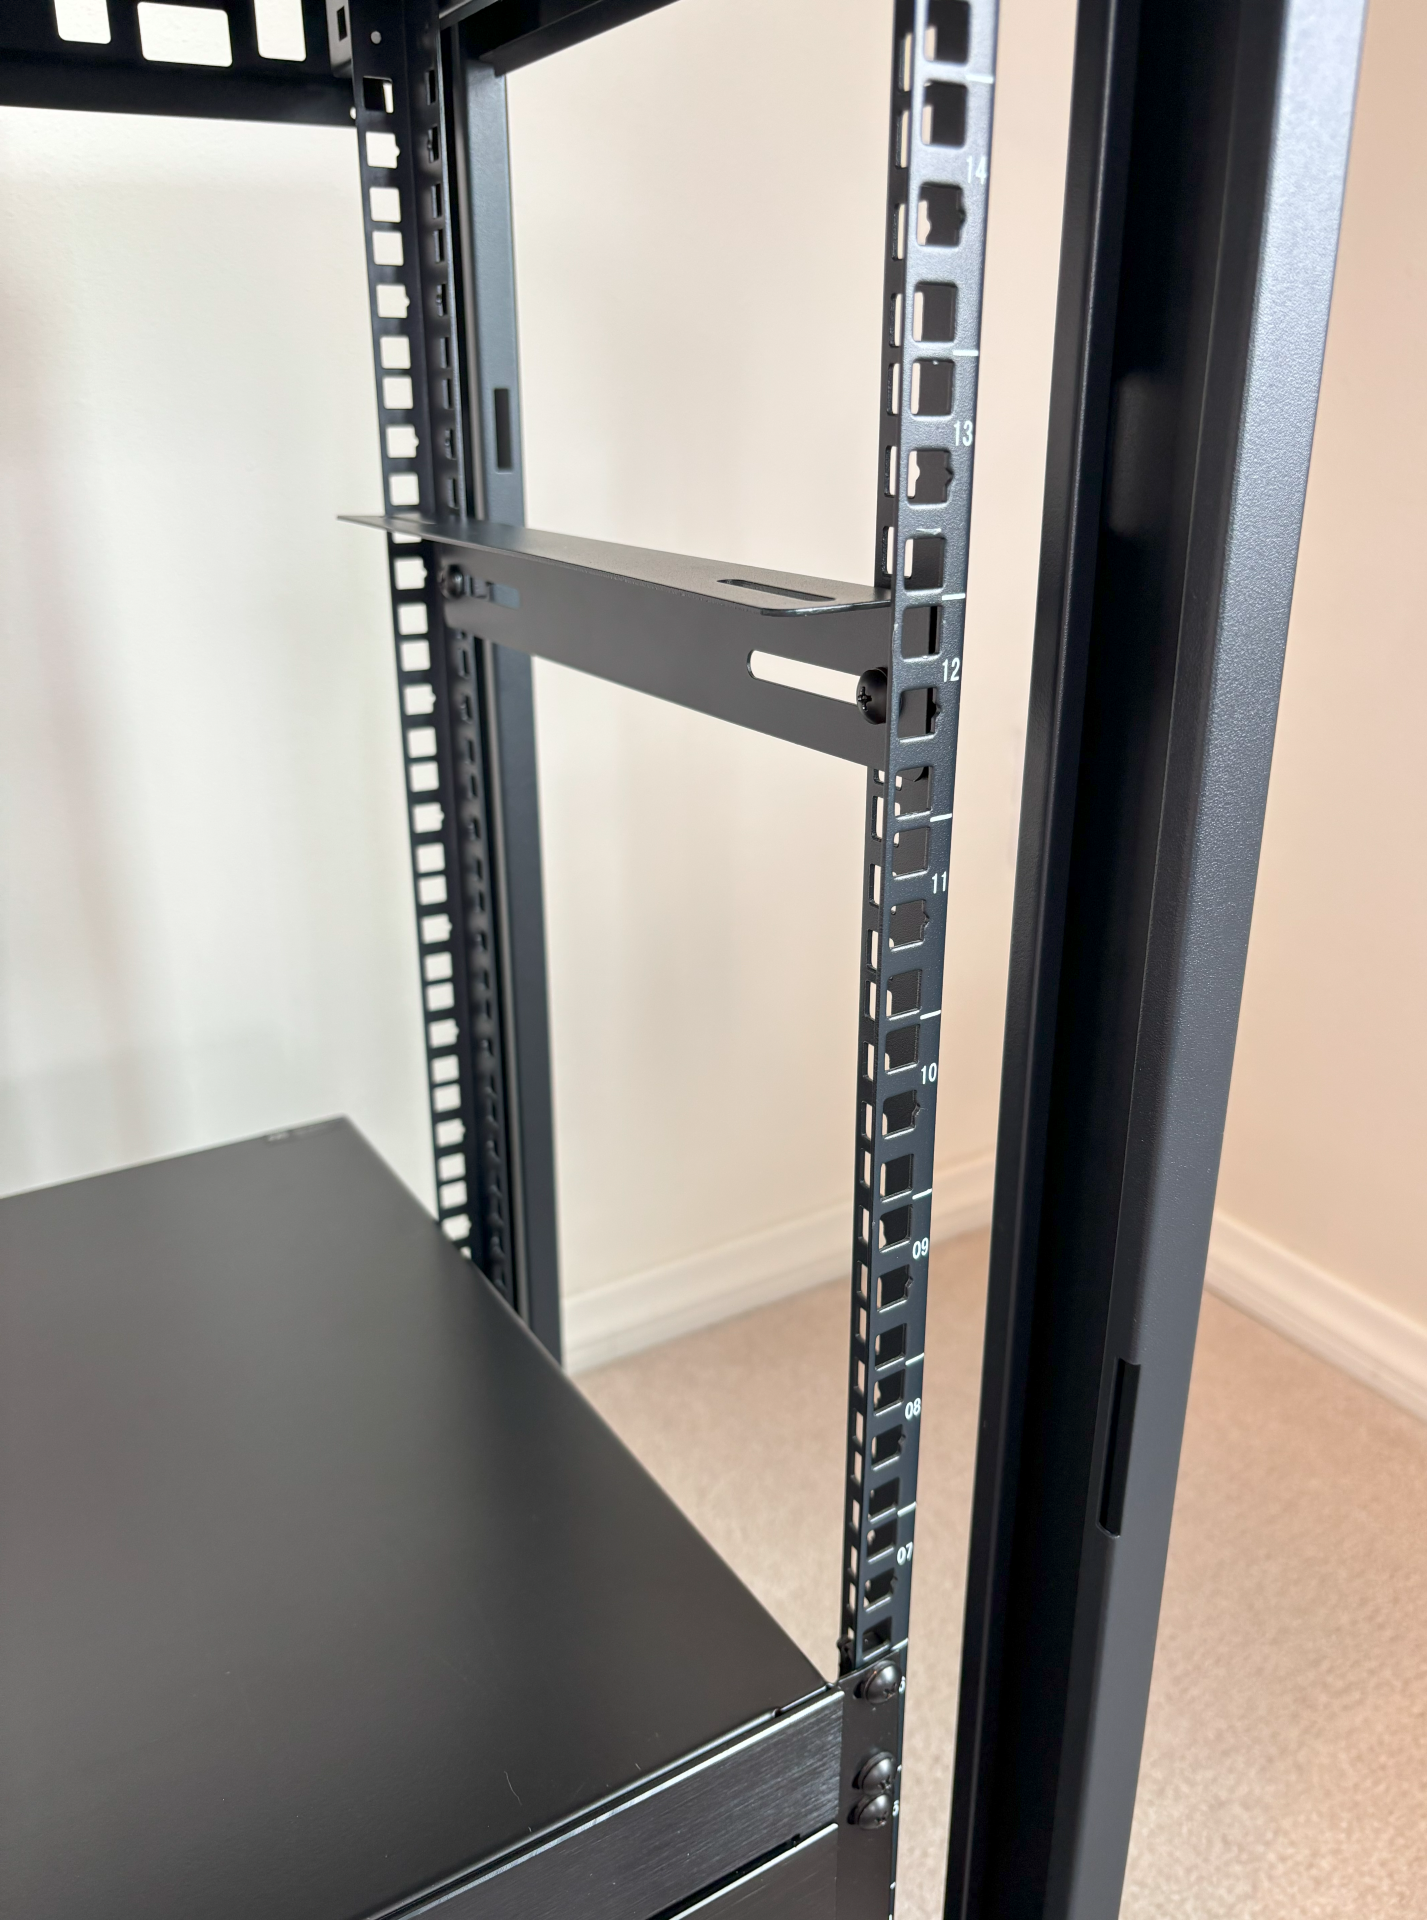
After securing the UPS, proceed to install additional cage nuts and components. Above the UPS, add a blank plate for spacing, followed by the PDU and horizontal rack rails. The horizontal rails, included with the rack, act as a shelf to support the components above, especially useful for two-post racks. Furthermore, ensure all installed components are properly secured for stability and safety.
Assembly – Storage
The next step is to install storage drawers. For this build, we used AC Infinity 1U and 2U rack-mounted drawers, placed above the PDU. These drawers offer convenient storage for tools, cables, or small equipment. If storage is not a priority, these spaces can be used for additional networking components based on your needs. Additionally, the horizontal rails installed earlier provide the necessary support for these drawers.
Once the storage components are installed, the bottom half of the rack assembly is complete.
Assembly – Firewall and Patch Panel
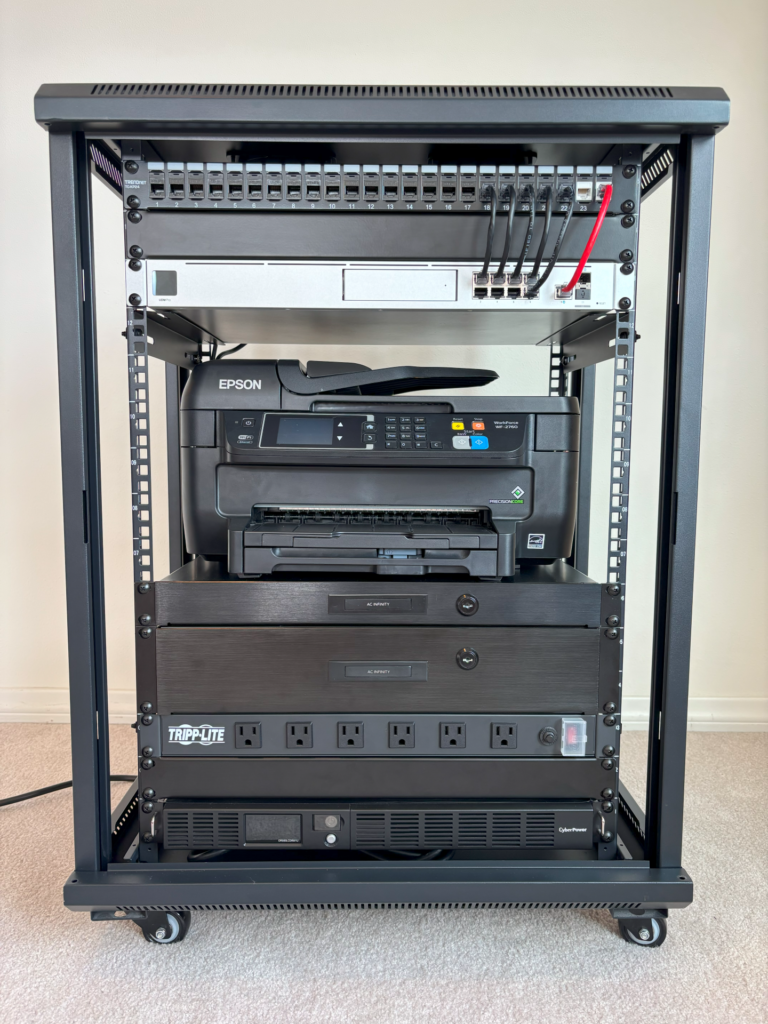
Moving to the top half of the rack, install the firewall—in this case, the Ubiquiti Dream Machine Pro—just below a 24-port patch panel. Use a blank panel for spacing between components to ensure proper airflow and organization.
Additionally, for added stability, use horizontal support bars to secure the two-post firewall. While the rack includes one set of horizontal bars, additional sets can be requested from the manufacturer.
When setting up the patch panel, remember that its primary purpose is organizational. For permanent and critical installations, avoid using Ethernet couplers. Instead, directly connect cables from the firewall or switch to properly terminated Ethernet patch panels or fiber cassettes. This approach is particularly important for WAN or ISP handoffs to ensure reliability.
Assembly – Cabling and Printer
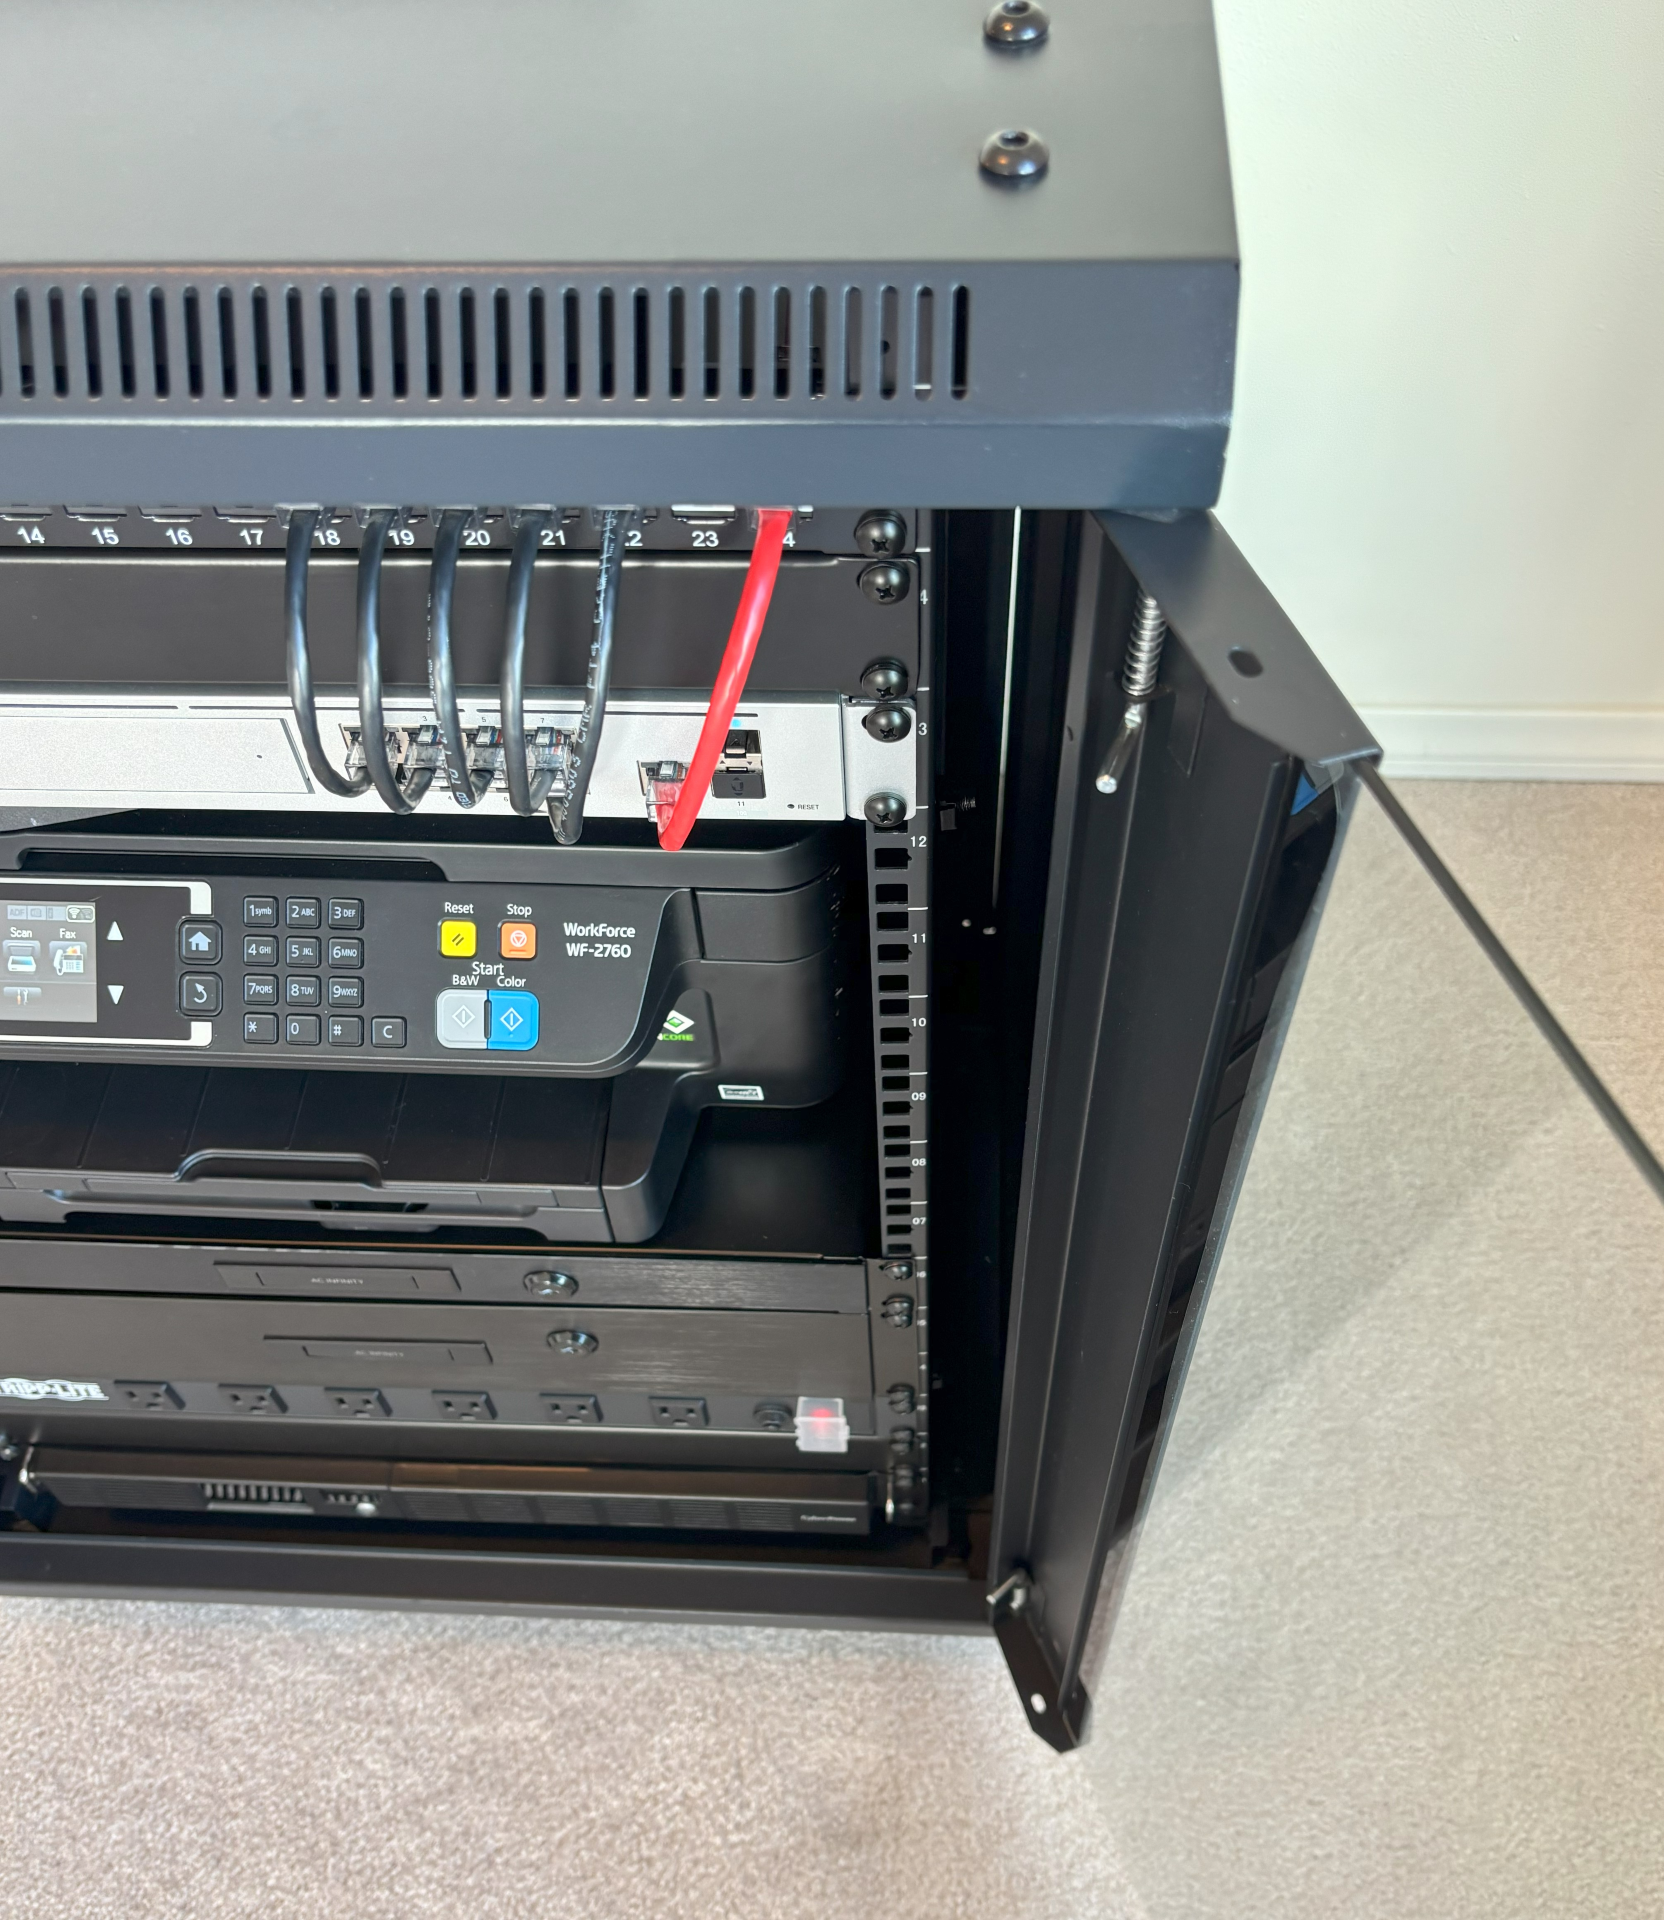
With the main components installed, the next step is cabling and adding the printer. Route cables neatly along the back of the rack for a clean and organized appearance. Critical devices, such as the firewall, should be plugged directly into the UPS for power protection. Less critical devices, like the printer, can be connected to the PDU on the non-UPS-protected outlets.
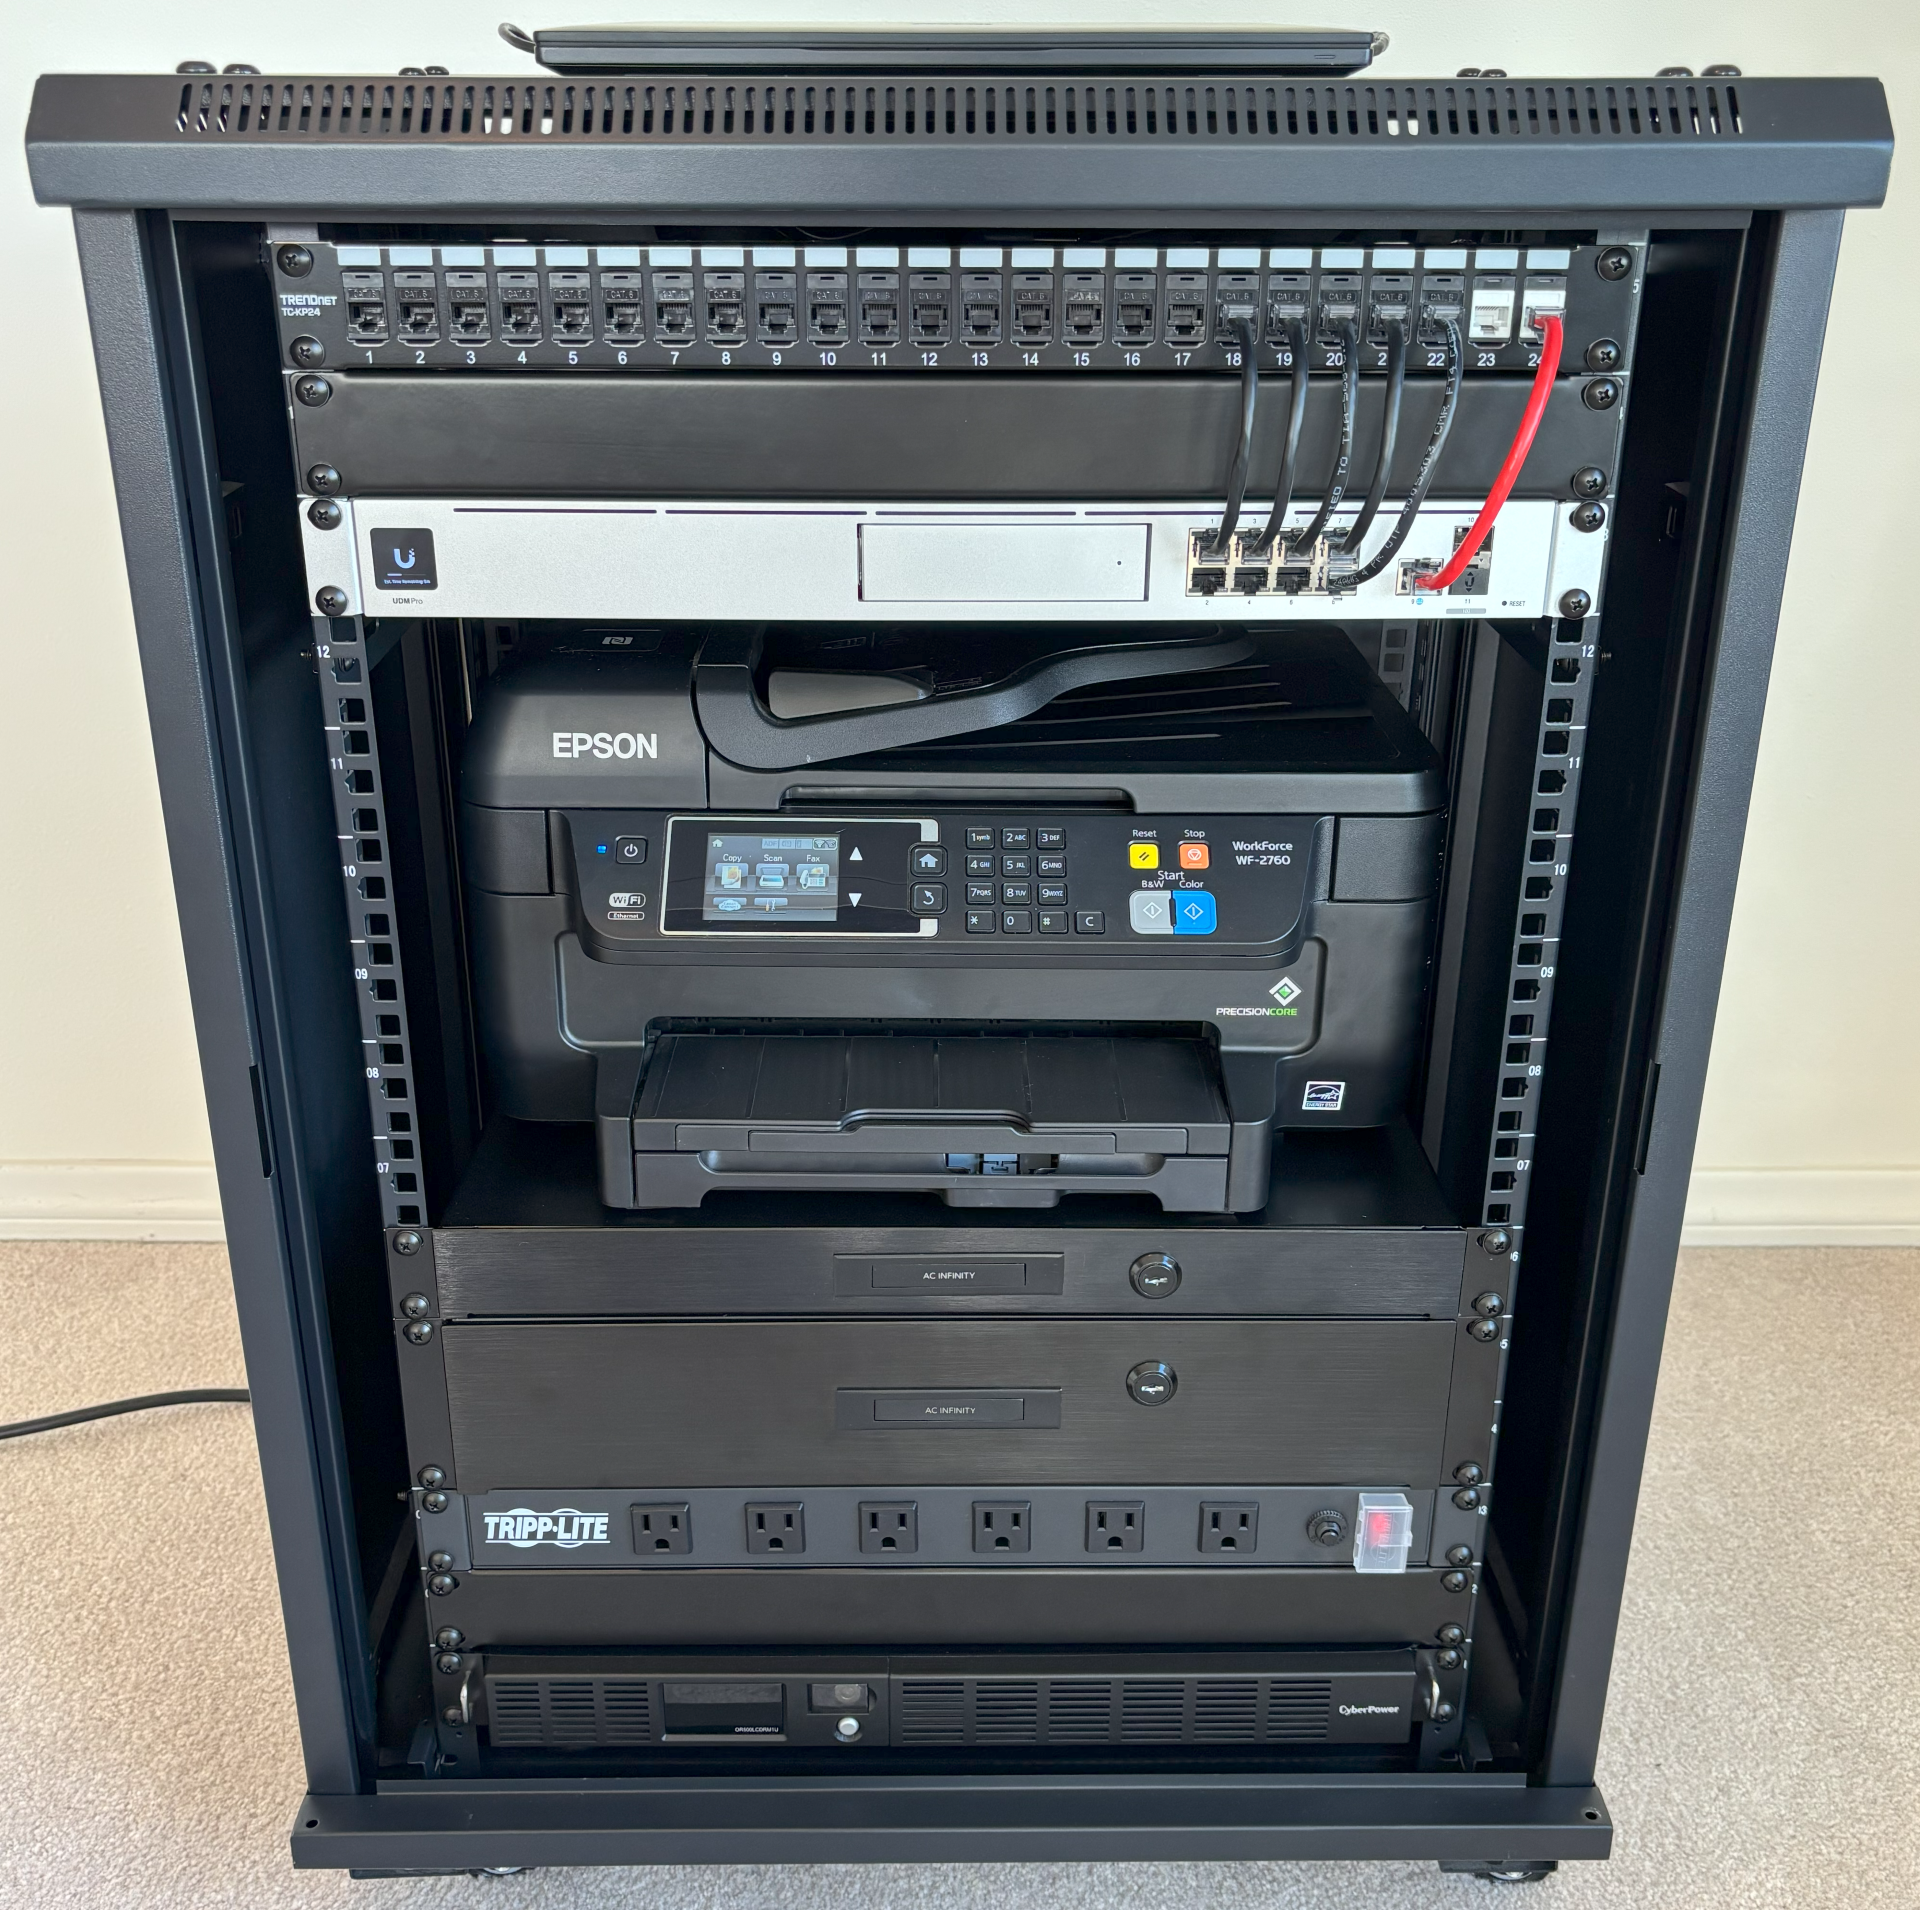
While we typically discourage the use of Ethernet couplers, they can be helpful for mobility and organization. For this setup, short black patch cables connect the firewall switch, while a red patch cable is used for the WAN connection.
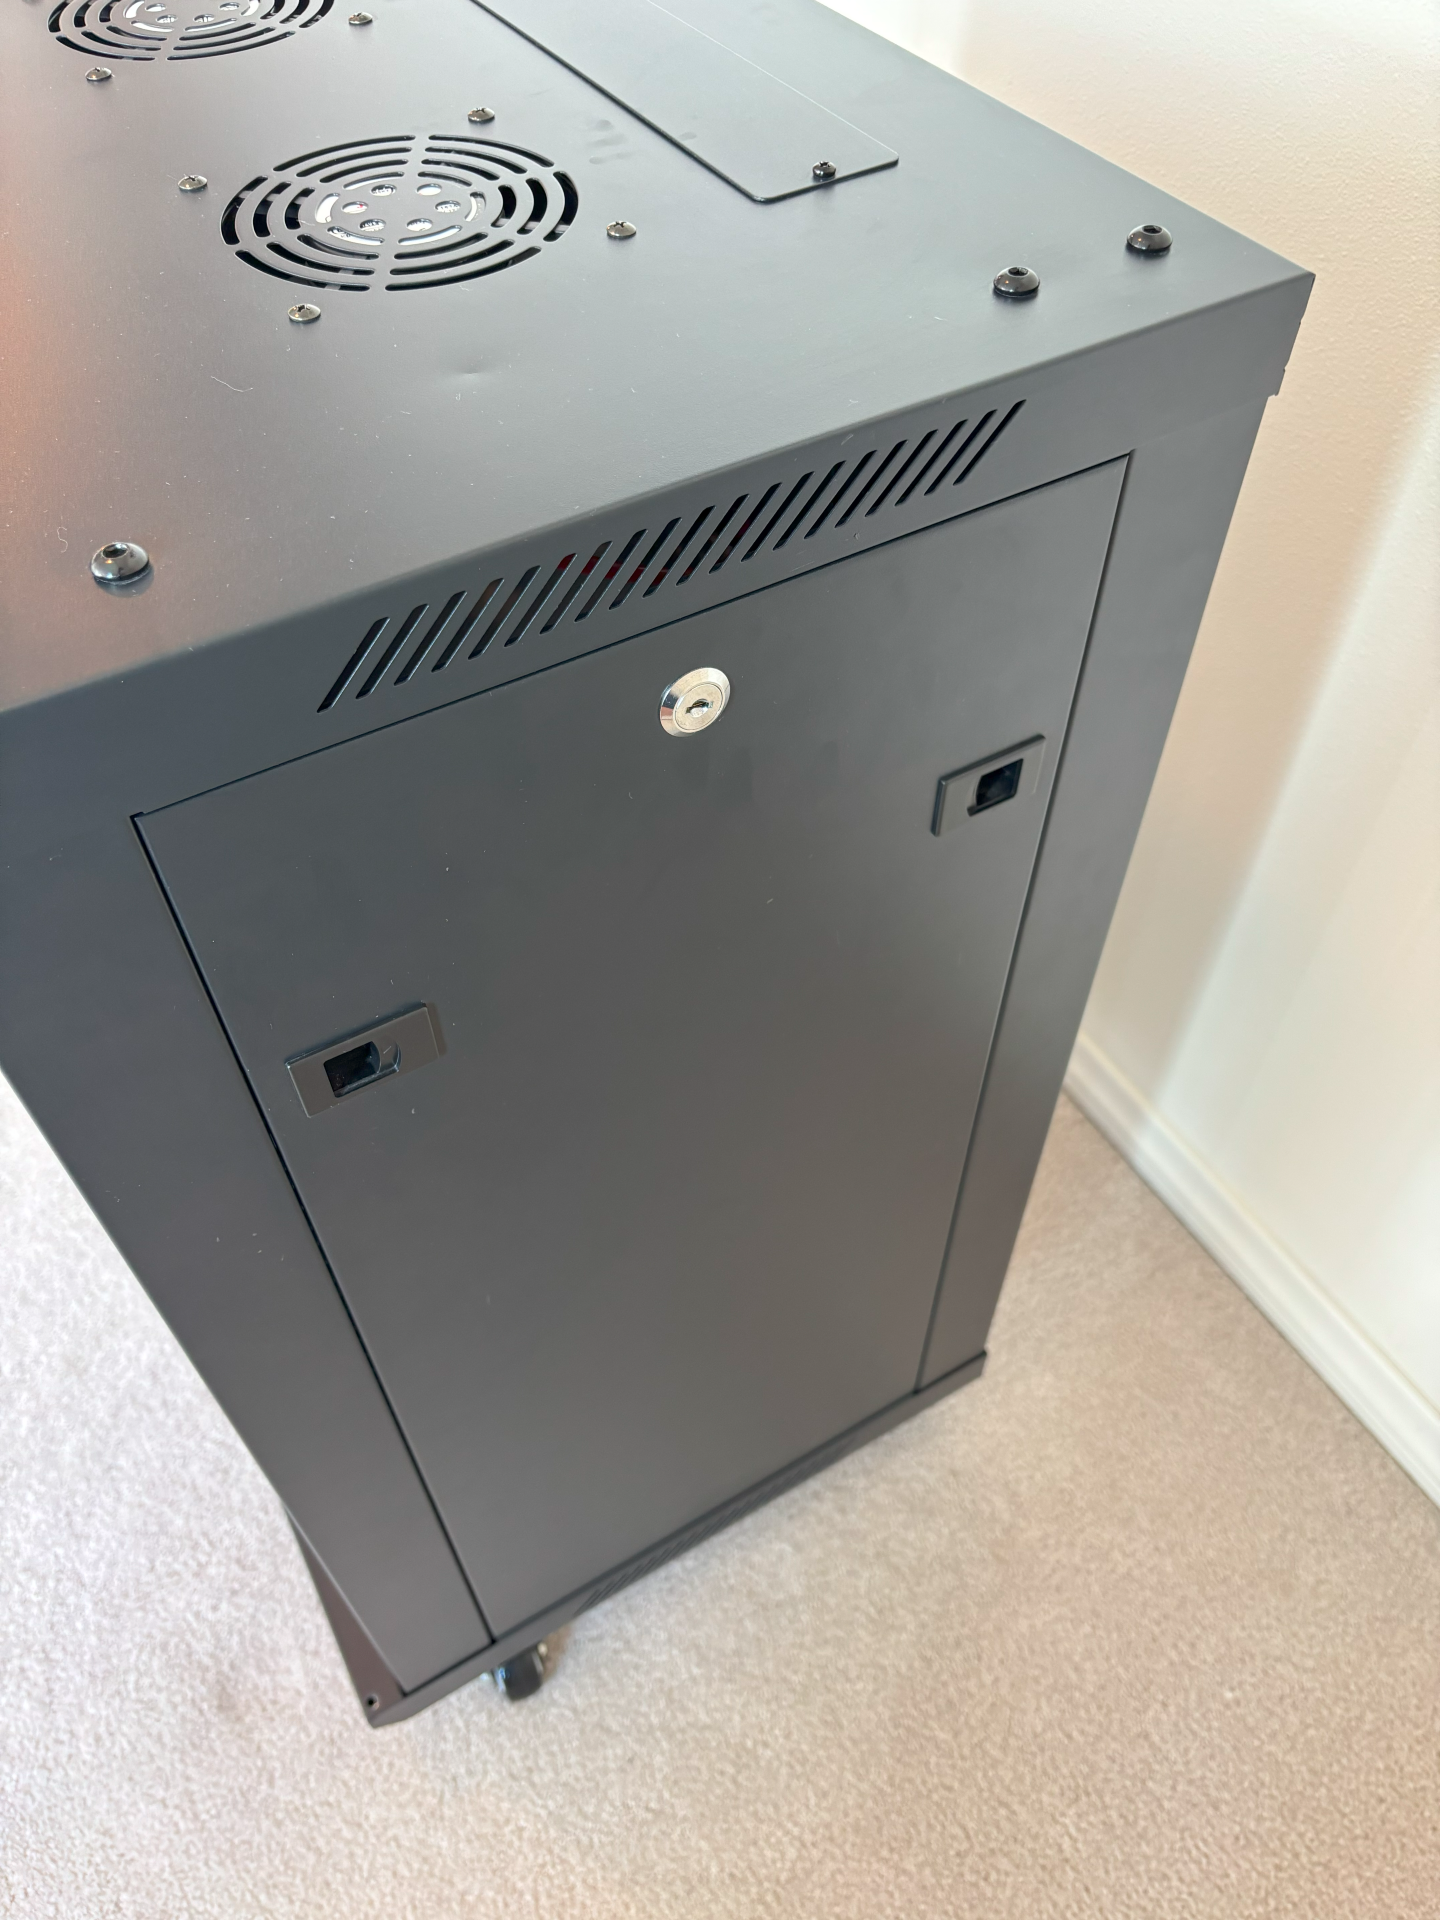
After cabling is complete, finish by installing the side panels, back panel, and glass front door. These additions not only enhance the rack’s aesthetics but also provide protection for the components inside.
Finished Product
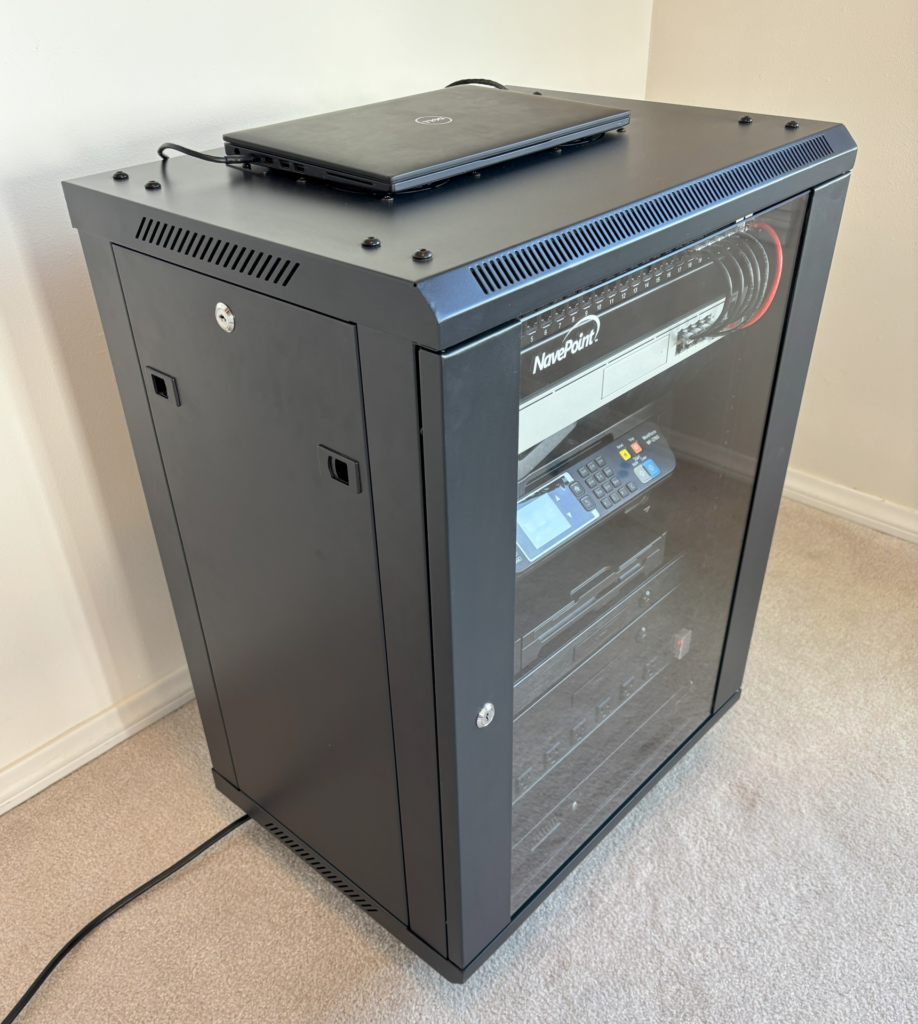
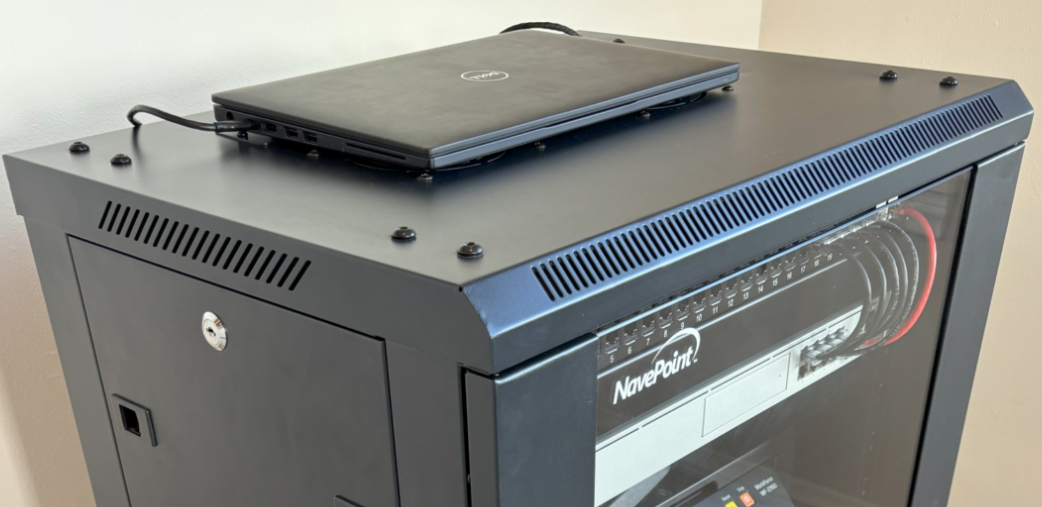
To complete the setup, consider placing a laptop on top of the rack. This laptop can connect directly to the firewall for remote management, monitoring, and troubleshooting.
The finished product is a fully customizable, mobile network rack designed to meet the needs of a small office or home office. Its modular design allows for future upgrades, making it an excellent long-term solution for IT infrastructure.
